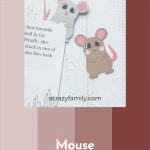
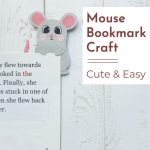
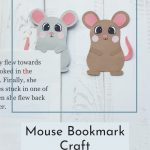
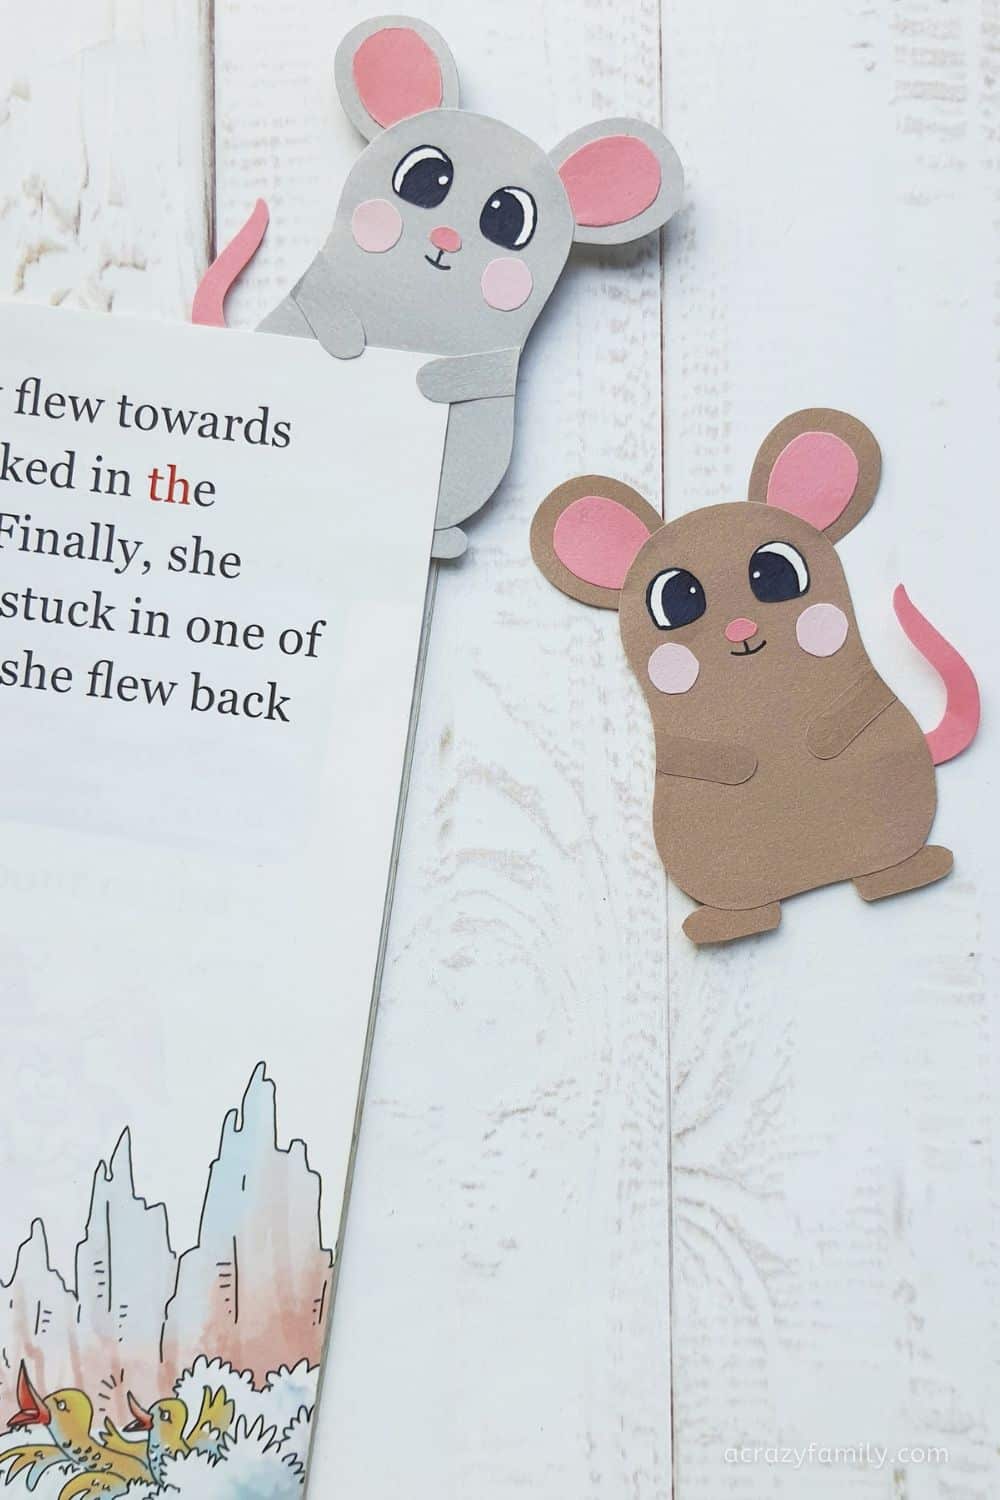
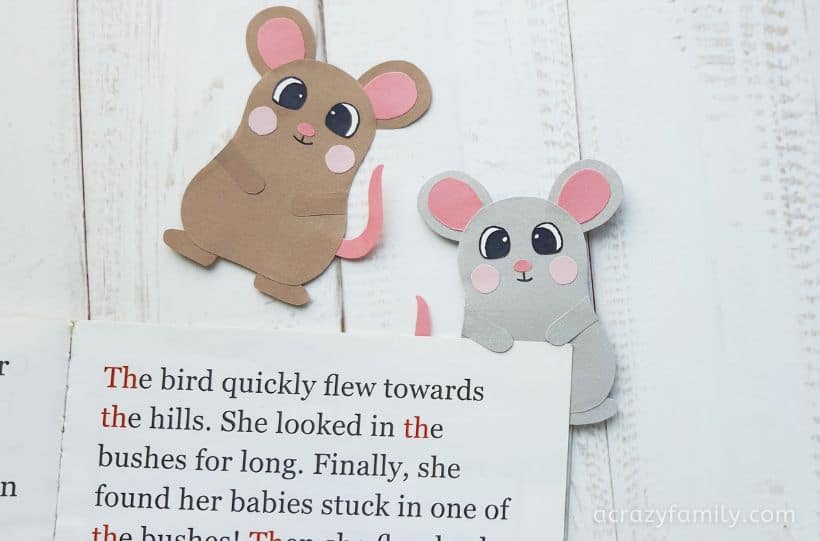
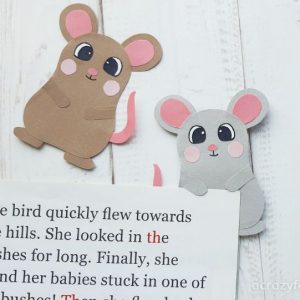
Here is a fantastic DIY bookmark craft for kids. Making a bookmark is an easy craft idea for kids, and these mouse bookmarks are super cute.
Bookmarks are a great thing to make. They have longevity, they are something that you can use, and they even make excellent gifts for family members and friends.
Bookmarks are usually an easy craft that younger children can get involved in as well. I wanted to share with you these papercraft mouse bookmarks. An easy craft that even the most non-crafty amongst us will be able to master.
Disclaimer: Please note that some of the links below are affiliate links, and at no cost to you, I will earn a commission if you purchase through those links. Please see my Disclosure and Privacy Policy for more information.
Papercraft Mouse Bookmark Supplies
- Printable Mouse Template
- Colored craft papers
- Sharpie
- Craft glue
- Pencil
- Scissors
How to Make Papercraft Mouse Bookmarks
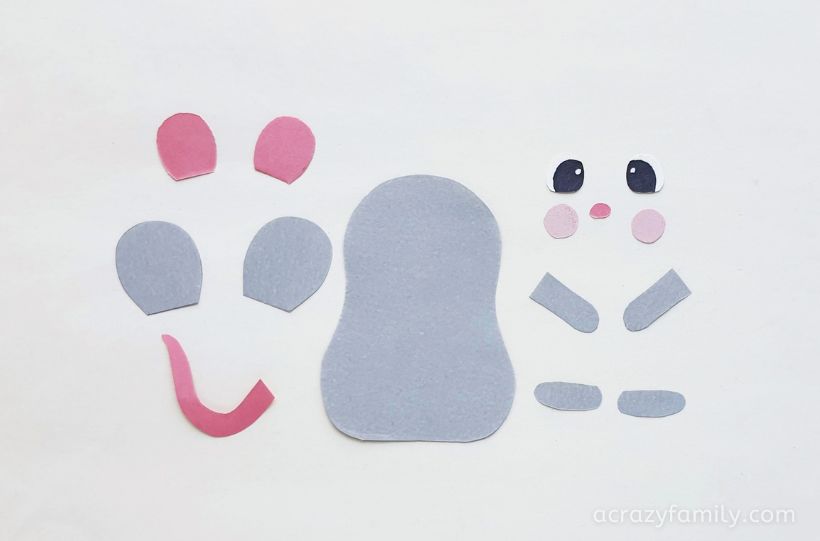
First of all, you will need to download and print the MOUSE BOOKMARK TEMPLATE SHEET. Then begin by selecting the right colors for this particular papercraft. Select grey and pink colored craft papers like we did.
Trace the nose, tail, blush, and inner ear patterns on the pink paper and trace the outer ear patterns, body base, lower legs, and upper legs on grey-colored craft paper.
Once you have traced those elements you will now need to cut out the patterns carefully. If children are helping this is where you may want to use child safety scissors or take over at this point.
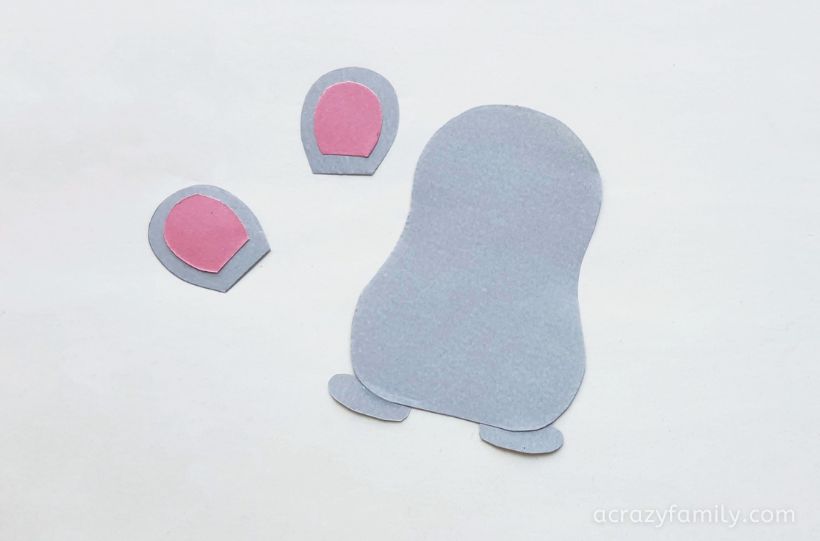
Using the craft glue attach the inner ear cutouts in the middle of the outer ear cutouts. Then look to attach the lower legs to the bottom side of the body base.
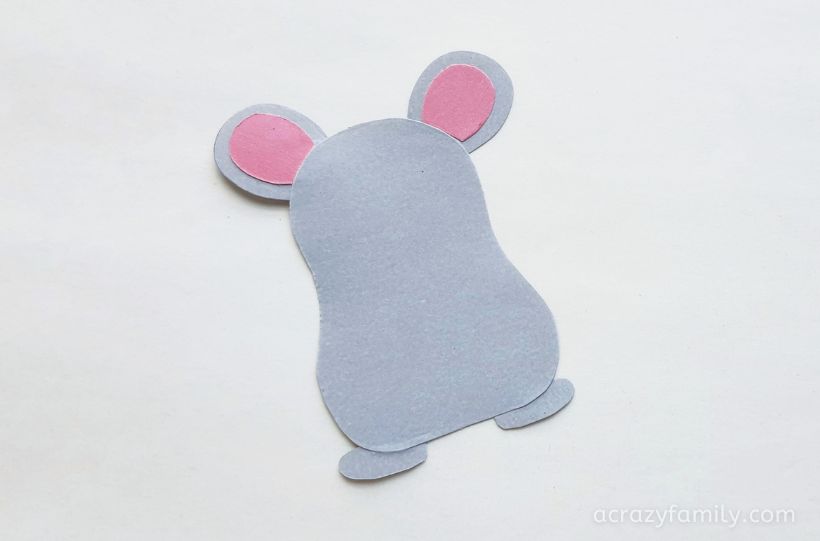
With the craft glue, attach the ear patterns on the top side of the body base pattern.
Then attach the nose and blush cutouts on the head part of the body base. Next up, glue the tail cutout on either side of the body base pattern.
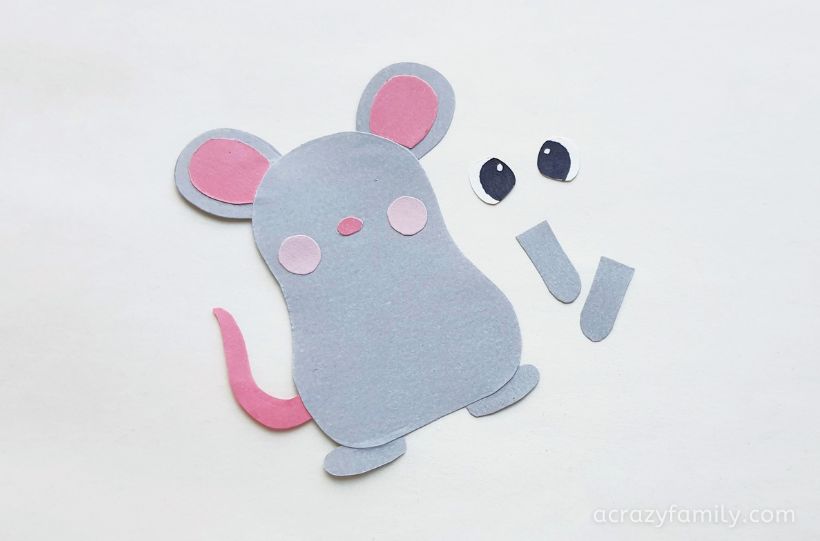
Last of all, attach the eye cutouts above the nose, on the head part. Using a sharpie or gel pen you can then draw the mouth-line of the papercraft mouse figure.
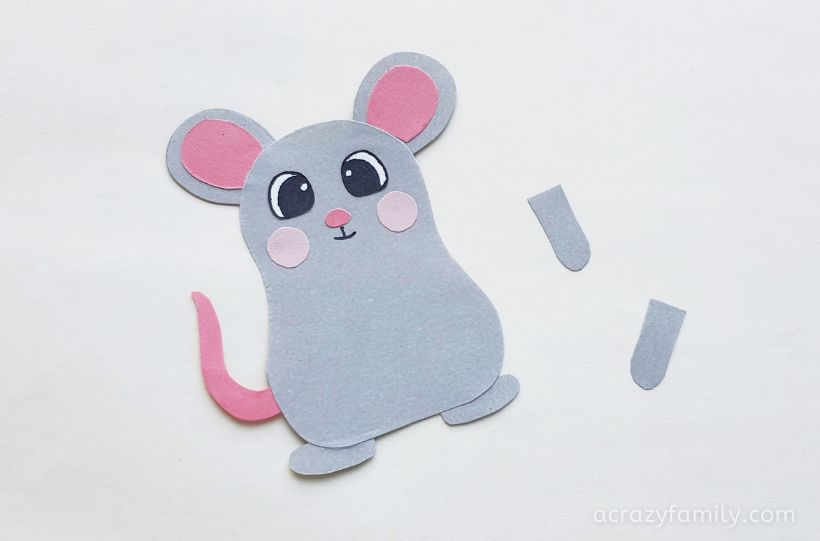
Apply glue along the side of the body base and attach the upper leg cutouts on the side and keeping the rest of the upper leg free from glue.
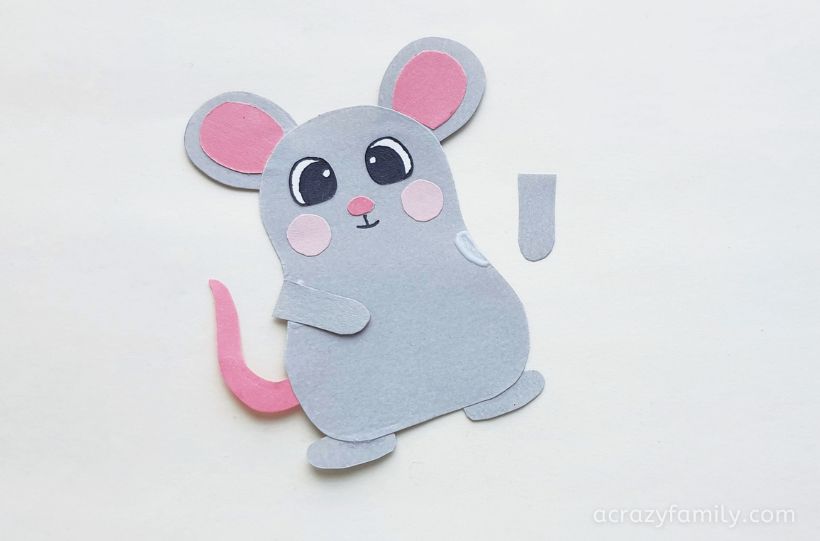
Similarly, attach the other upper leg to the other side.
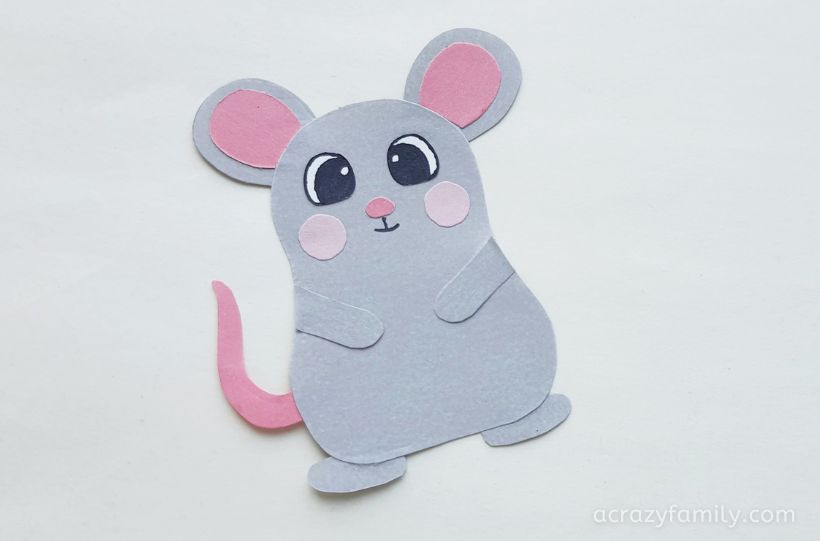
To use the papercraft mouse as a bookmark, you can simply slide a page under the upper legs; between the upper legs and the body base. And there you have it, your completed papercraft mouse bookmarks.
Notes and Tips
A craft is always a perfect opportunity to spend some time with your children, or even just to occupy them so that they aren’t always going to technology to feel stimulated. However, while it may be a simple craft, here are some tips to keep in mind:
- Make sure anyone using scissors is careful when cutting out the traced elements. If children are doing this craft make sure they are supervised or using child safety scissors.
- Pour some craft glue into a bowl and then use a little brush to paint it on where needed. This will ensure you only use the right amount.
Variations
- Who says a mouse has to be grey? You could use whatever colors you like. A brown mouse, or even a yellow and green mouse? It is all in the detail, so the elements that you trace and cut out will be able to help distinguish the shape and what the bookmark is trying to look like.
- You could add an extra element to this craft. Why not draw a speech bubble and write a cute little message inside it? You can then use the craft glue to stick the speech bubble near the mouth. It could be an extra element that you add to give the papercraft mouse bookmarks as a gift.
- If you are creative, then you could make different animals such as an elephant or a rabbit.
- If you don’t have craft glue PVA glue or a glue stick will work just as well.
FAQs
What age range is this craft suitable for?
There are a lot of intricate elements to making these papercraft mouse bookmarks. The tracing and the cutting out. However, you can let younger children get creative and help them with the tracing and the cutting out.
If you wanted a craft that doesn’t need much supervision, then a child aged 8 and above could do this. However, if you are happy to help, then younger children will enjoy making papercraft mouse bookmarks. It is also a great way to educate a child.
Can you theme the Papercraft mouse bookmarks?
You can use whatever colors you like and add different elements like a hat or a speech bubble. This is a basic process that you can build upon.
What if I don’t have all of the supplies I need?
Get creative. You don’t have to have the exact supplies or colors for this. This is just a guide. You could also use card, cardboard, or even paint the mousse to get the right colors if you only have white paper. Check out the variations above for alternative supplies.
More of our favorite crafts for kids:
Hopefully, this will have encouraged you to give the Papercraft Mouse Bookmarks a try. If so, please leave a star ★★★★★ rating and a comment below! And follow along on Pinterest, Facebook, or Twitter for more fun crafts!
Papercraft Mouse Bookmarks
Supplies
- Printable Mouse Template
- Colored craft papers
- Sharpie
- Craft glue
- Pencil
- Scissors
Instructions
- Download and print the MOUSE BOOKMARK TEMPLATE SHEET.
- Select grey and pink colored craft papers like we did. Trace the nose, tail, blush and inner ear patterns on the pink paper and trace the outer ear patterns, body base, lower legs and upper legs on grey colored craft paper. Cut out the traced patterns nicely.
- Attach the inner ear cutouts in the middle of the outer ear cutouts. Attach the lower legs on the bottom side of the body base.
- Attach the ear patterns on the top side of the body base pattern.
- Attach the nose and blush cutouts on the head part of the body base. Attach the tail cutout on either side of the body base pattern.
- Attach the eye cutouts above the nose, on the head part. Use a sharpie or gel pen to draw the mouth-line of the papercraft mouse figure.
- Apply glue along the side of the body base and attach the upper leg cutouts on the side and keeping the rest of the upper leg free from glue.
- Similarly, attach the other upper leg on the other side.
- To use the papercraft mouse as a bookmark, you can simply slide a page under the upper legs; between the upper legs and the body base.