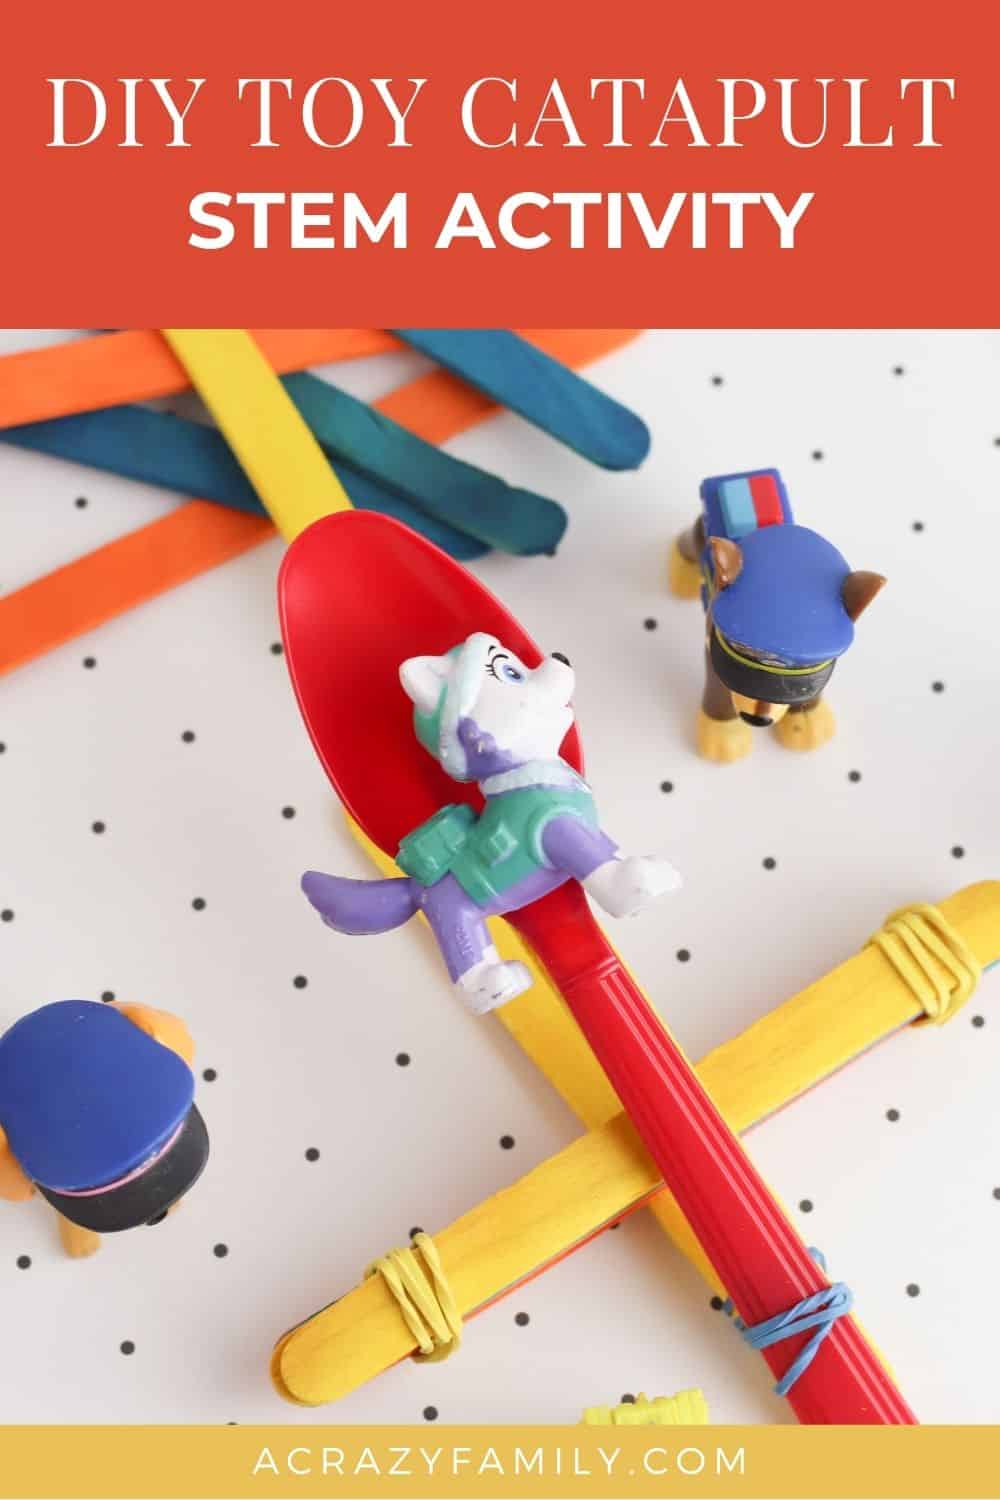
Finding educational and entertaining activities for your kids is a great way to keep the learning going, even when they’re not in school. And when it comes to fun STEM activities, you won’t find a better craft than a catapult!
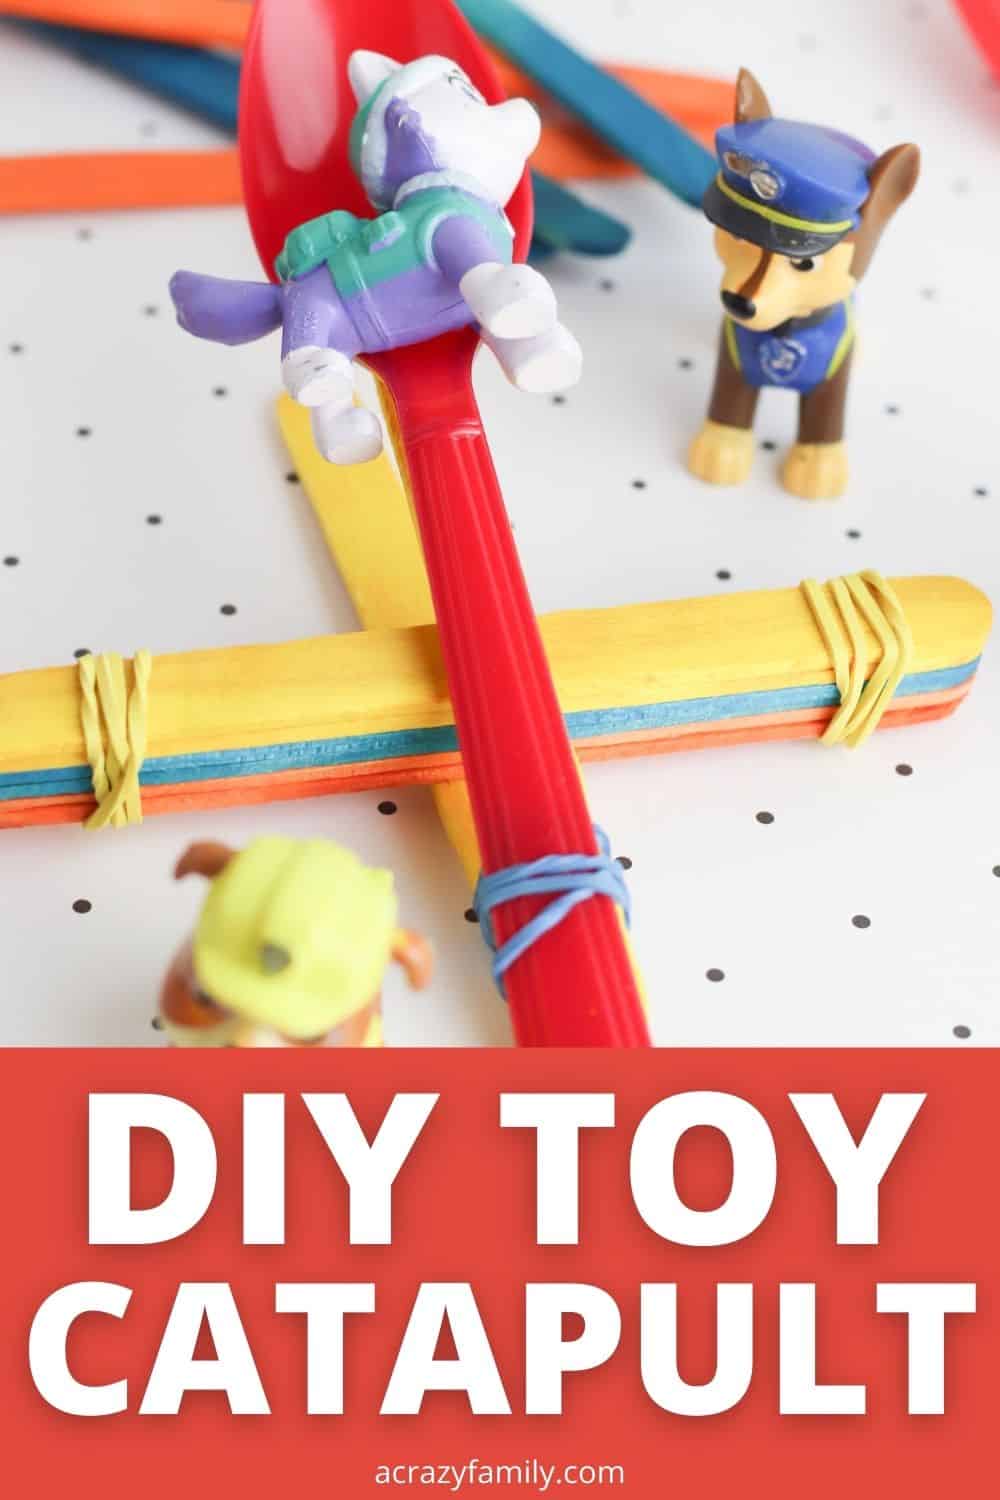
In addition to having a blast putting it together, your kids will have so much fun playing with this DIY toy catapult.
Disclaimer: Please note that some of the links below are affiliate links, and at no cost to you, I will earn a commission if you purchase through those links. Please see my Disclosure and Privacy Policy for more information.
Supplies to Make a Catapult
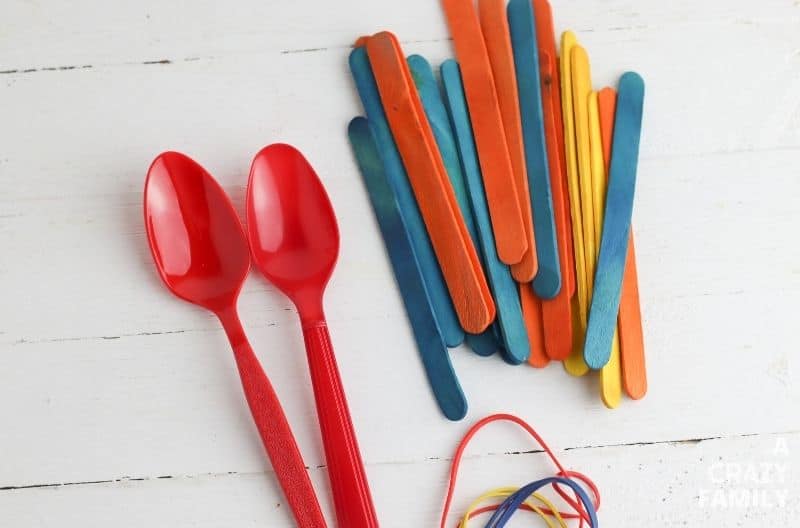
This easy STEM craft is so simple to make, which means you probably already have everything you need to put it together at home right now. To build your own catapult with your kids, you’ll need:
- Popsicle sticks. This simple catapult is made with six popsicle sticks. You can use plain popsicle sticks or color sticks. Or let your kids get creative and decorate their own popsicle sticks before they put the catapult together.
- Rubber bands. You will need rubber bands to hold the different elements of the catapult together. Traditional rubber bands are perfect for this craft because they’re stretchy and come in a variety of different sizes and colors.
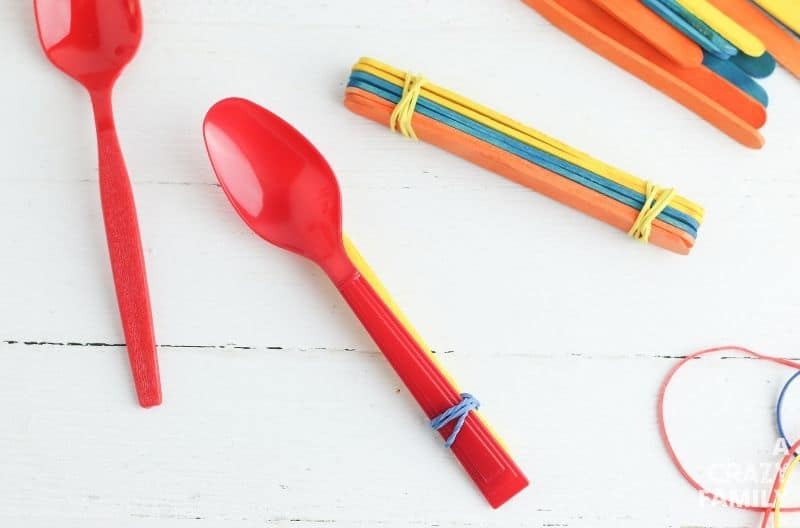
- Plastic spoon. To hold your kid’s toys on top of the catapult, you’ll need a plastic spoon. Any size or color will work for this craft; just make sure it’s small enough to fit on top of your popsicle sticks.
- Small toys. After your kids put their catapult together, they’ll need small toys to launch. The best toys for this activity are ones that fit inside the scoop of the spoon.
How to Make a Catapult
Once you have all your supplies gathered, it’s time to start constructing your toy catapult. The catapult is made up of two parts:
- The popsicle stick base
- The spoon catapult
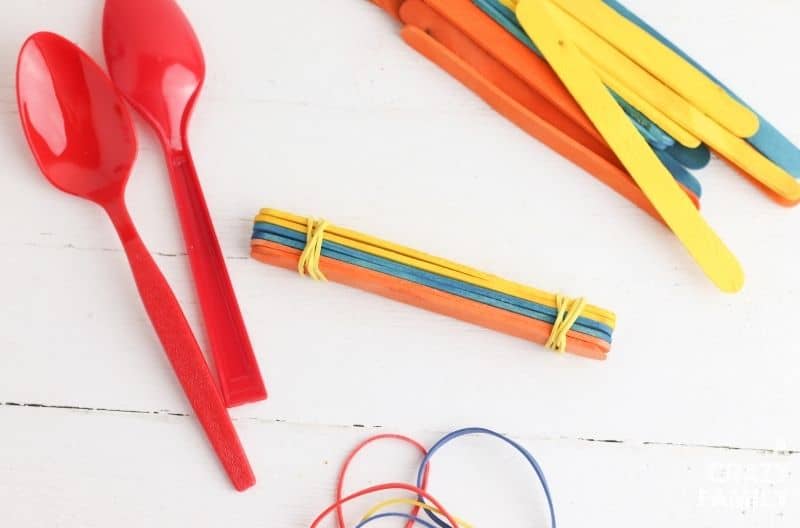
To start building your catapult, stack four popsicle sticks together on top of each other. When the sticks are in an even stack, wrap a rubber band tightly around each end of the stack to hold all the popsicle sticks together.
Set your popsicle stick base aside for a minute and move on to the catapult section of the project. Start by stacking your remaining two popsicle sticks on top of each other.
Then, place the spoon on top of your stack, lining up the flat end of the spoon with the end of the popsicle sticks. Wrap a rubber band around the end of the spoon and the popsicle sticks until all three items are secured together.
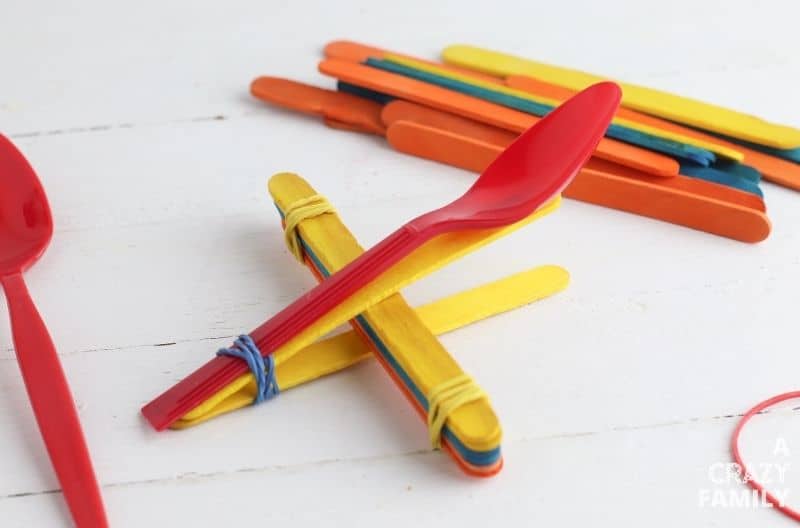
Use your fingers to separate the two popsicle sticks and carefully slide the popsicle stick base between the two sticks. Push the base between the sticks until it’s in the middle of the sticks.
Finding the right positioning for your base is part of the fun. If you push the base too far in, you’ll break the catapult apart. But if you don’t push it far enough, your toys won’t fly as far.
How to Use Your Toy Catapult
Now that you have your catapult put together, it’s time to have some fun! Using your toy catapult is so simple!
Follow these instructions for launching your kid’s toys with the catapult:
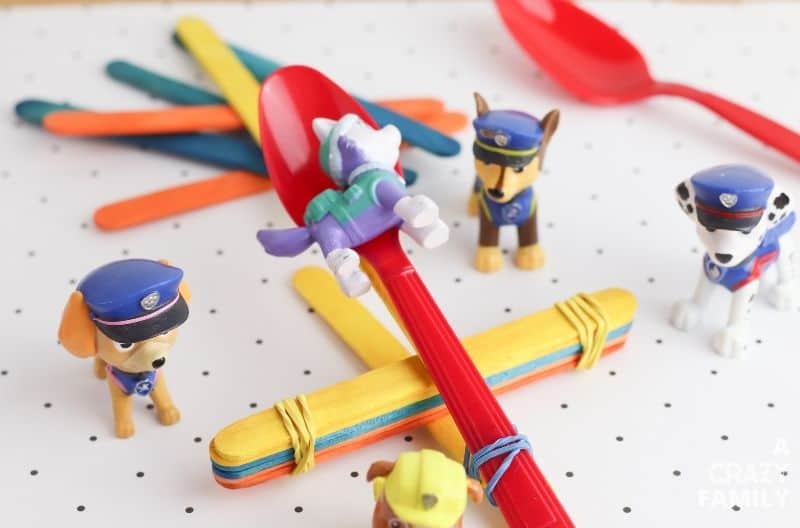
- Place a small toy on the scoop part of the spoon.
- Place your finger on the tip of the spoon and press down lightly, being careful not to knock the toy off the spoon.
- Let go of the spoon and watch the toy launch into the air.
Repeat those three steps over and over again to play with your DIY toy catapult.
How Do You Make a Catapult Go Farther?
One of the best parts about playing with your catapult is seeing how far you can launch the toys. But figuring out how to make the catapult launch farther takes a little bit of trial and error. That makes this craft a fun science experiment, too!
If your kids are wondering how to make their toys launch farther with their DIY catapult, try these tips:
- Move the base further in. One of the simplest ways to launch your toys farther is to push the base further in toward the center of the catapult. Moving the base in will allow you to apply more pressure to the spoon, creating more momentum behind the toy.
- Make sure you have the best angle. The best angle for shooting your catapult is a 45-degree angle. Moving the base in and out until the two popsicle sticks reach a 45-degree angle will provide you with the ideal angle for shooting your toys.
- Anchor your catapult. If you’re having issues with your toy catapult moving too much while shooting, try using tape to anchor the catapult to the table. Use masking tape to hold the base of the catapult in place as you’re shooting to keep it from moving around too much as you put pressure on the spoon.
- Secure the parts with glue. Another simple way to ensure your catapult is as sturdy as possible is to use glue to strengthen each section of the device. Start by adding a line of glue between each popsicle stick in the base, then use glue to hold the spoon on top of the other two popsicle sticks. You could also add a small amount of glue under each rubber band to make the catapult even stronger.
Want more crafts for kids?
- Have your kids create their own fairy garden to celebrate spring and have a little creative fun. Building a fairy garden is another cool educational activity.
- Is your kid fascinated with space? These out-of-this-world space activities will keep them entertained for hours.
I hope you enjoy your DIY Toy Catapult STEM Activity. If so, please leave a star ★★★★★ rating and a comment below! Follow along on Pinterest, Facebook, or Twitter for more fun crafts!
DIY Toy Catapult STEM Activity
Supplies
- 6 popsicle sticks
- 3 rubber bands
- 1 plastic spoon
- Small toys
Instructions
- Stack four popsicle sticks on top of each other and wrap a rubber band around each end.
- Stack the remaining two popsicle sticks on top of each other and put the spoon on top of the stack. Wrap a rubber band around the end of the spoon and sticks to hold them together.
- Open the two popsicle sticks and hold them apart while you place the stack of four popsicle sticks between them.