Celebrate back to school with this easy craft stick pencil craft. Kids will have lots of fun creating these as they head back to the classroom this school year.

Craft Stick Pencil Craft
If you are looking for a fun and simple craft that is not only simple to do but perfect for heading back to school, then this craft stick pencil craft is one for you to try.
Often the simplest of crafts turn out to be the best, and this craft stick pencil craft is exactly that. Using simple craft materials, a bit of paint, and some card, you can create a realistic-looking pencil that can be used for decoration or DIY gifts or even as a funky label for a desk area.
A great craft for your little ones, and even younger children can do much of this task by themselves. There will be times when you might need to supervise or help, but it is minimal.
Making this a great craft when you want a little bit of peace and quiet. We have made a yellow craft stick pencil, but this method can be used to make different colored pencils.
Why You’ll Love This Craft
A craft is always a perfect opportunity to spend some time with your children or even to occupy them so that they aren’t always reaching for those screens or tech to keep them amused.
It’s a fun way to practice fine motor skills like cutting, gluing, and painting, and with just a little bit of help, kids of all ages can make this craft!
Craft sticks are inexpensive, versatile, and can be turned into about a million different things.
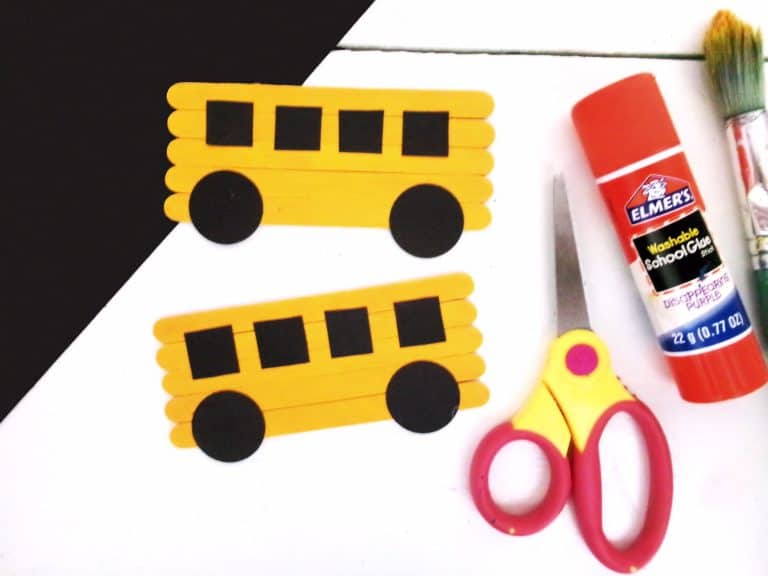
Craft Supplies for Your Craft Stick Pencil
First of all, to make things easy, gather everything you need together and set it out on a flat work surface. A table is ideal for this.

- Pencil Template
- Craft sticks
- Golden yellow acrylic paint
- Cardstock – brown, pink
- Black marker
- Scissors
- Glue stick
How to Make The Craft Stick Pencil Craft
This easy pencil craft is a fun way to kick off the school year, and kids of all ages will love doing it. Here’s what you need to do:
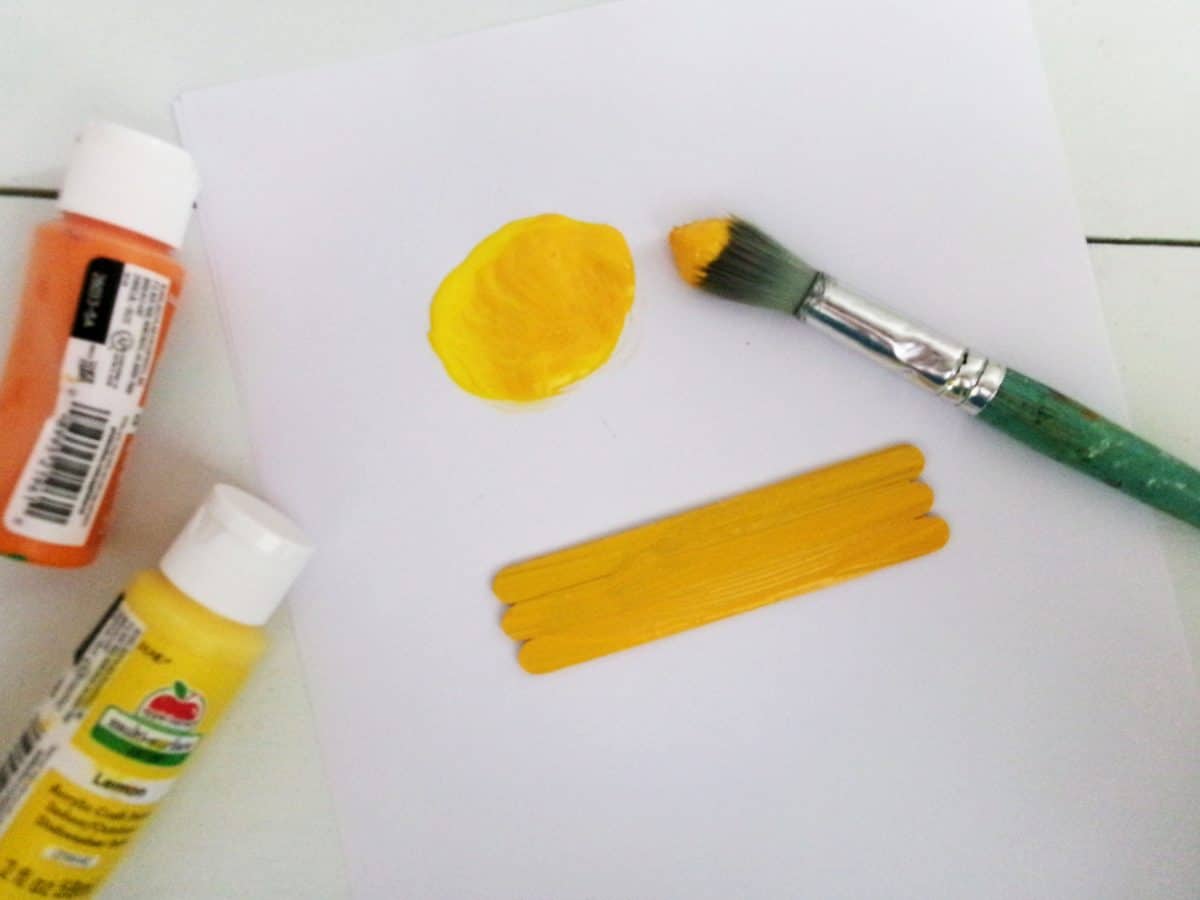
Begin by gathering three regular-sized craft sticks for each pencil you plan on making. Use a scrap piece of cardstock to glue all the craft sticks together.

Now, paint the craft sticks a golden yellow color. We only had bright yellow, so we blended it with a small amount of orange to get the right color. You can use whatever color you like if you don’t have yellow. Let the paint dry completely.
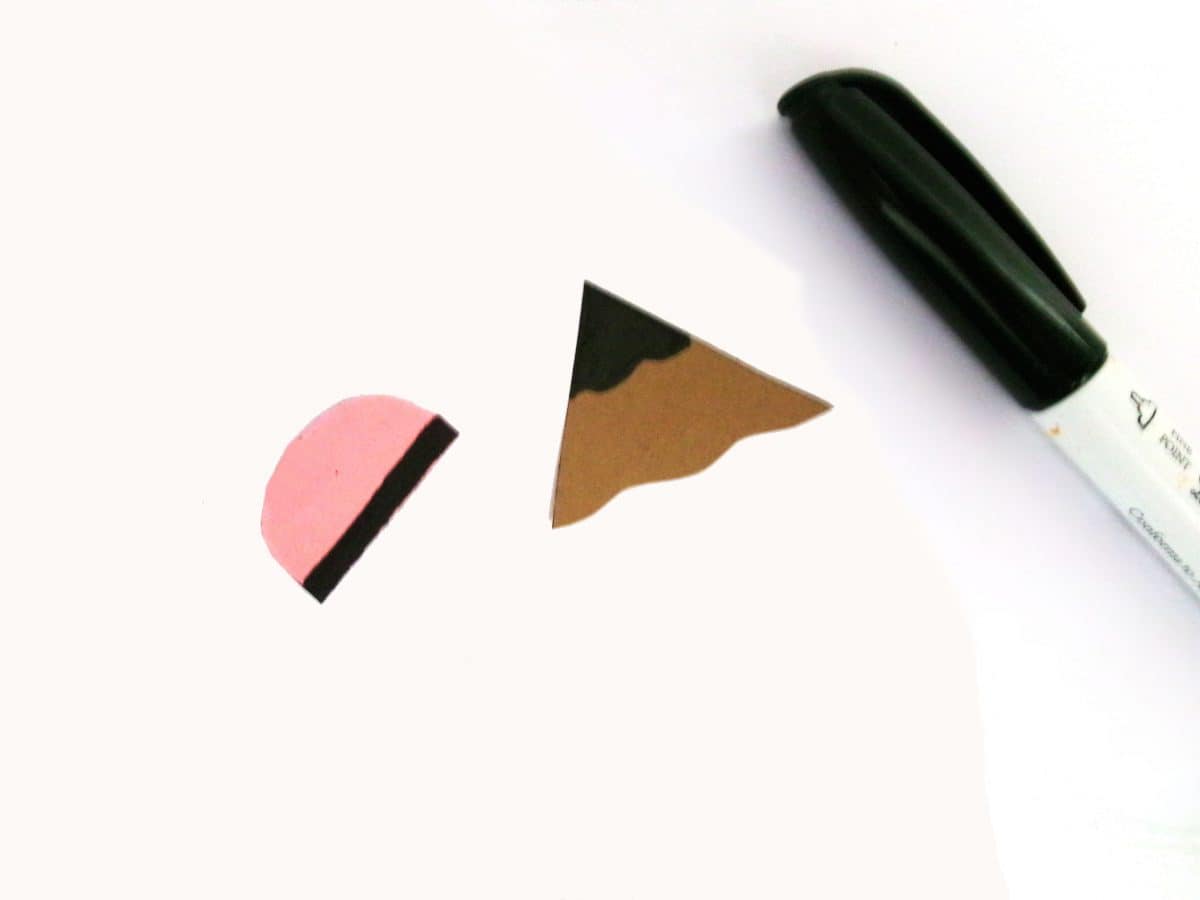
While the paint is drying, print the template for the tip and eraser piece and cut it out. Trace the triangle tip on brown cardstock and the eraser on pink. Cut them out and set them aside.

Cut a wavy-ish line at the bottom of the triangle piece.
Next, use the black marker to draw the lead at the tip of the triangle. Also, draw a band at the flat end of the eraser.

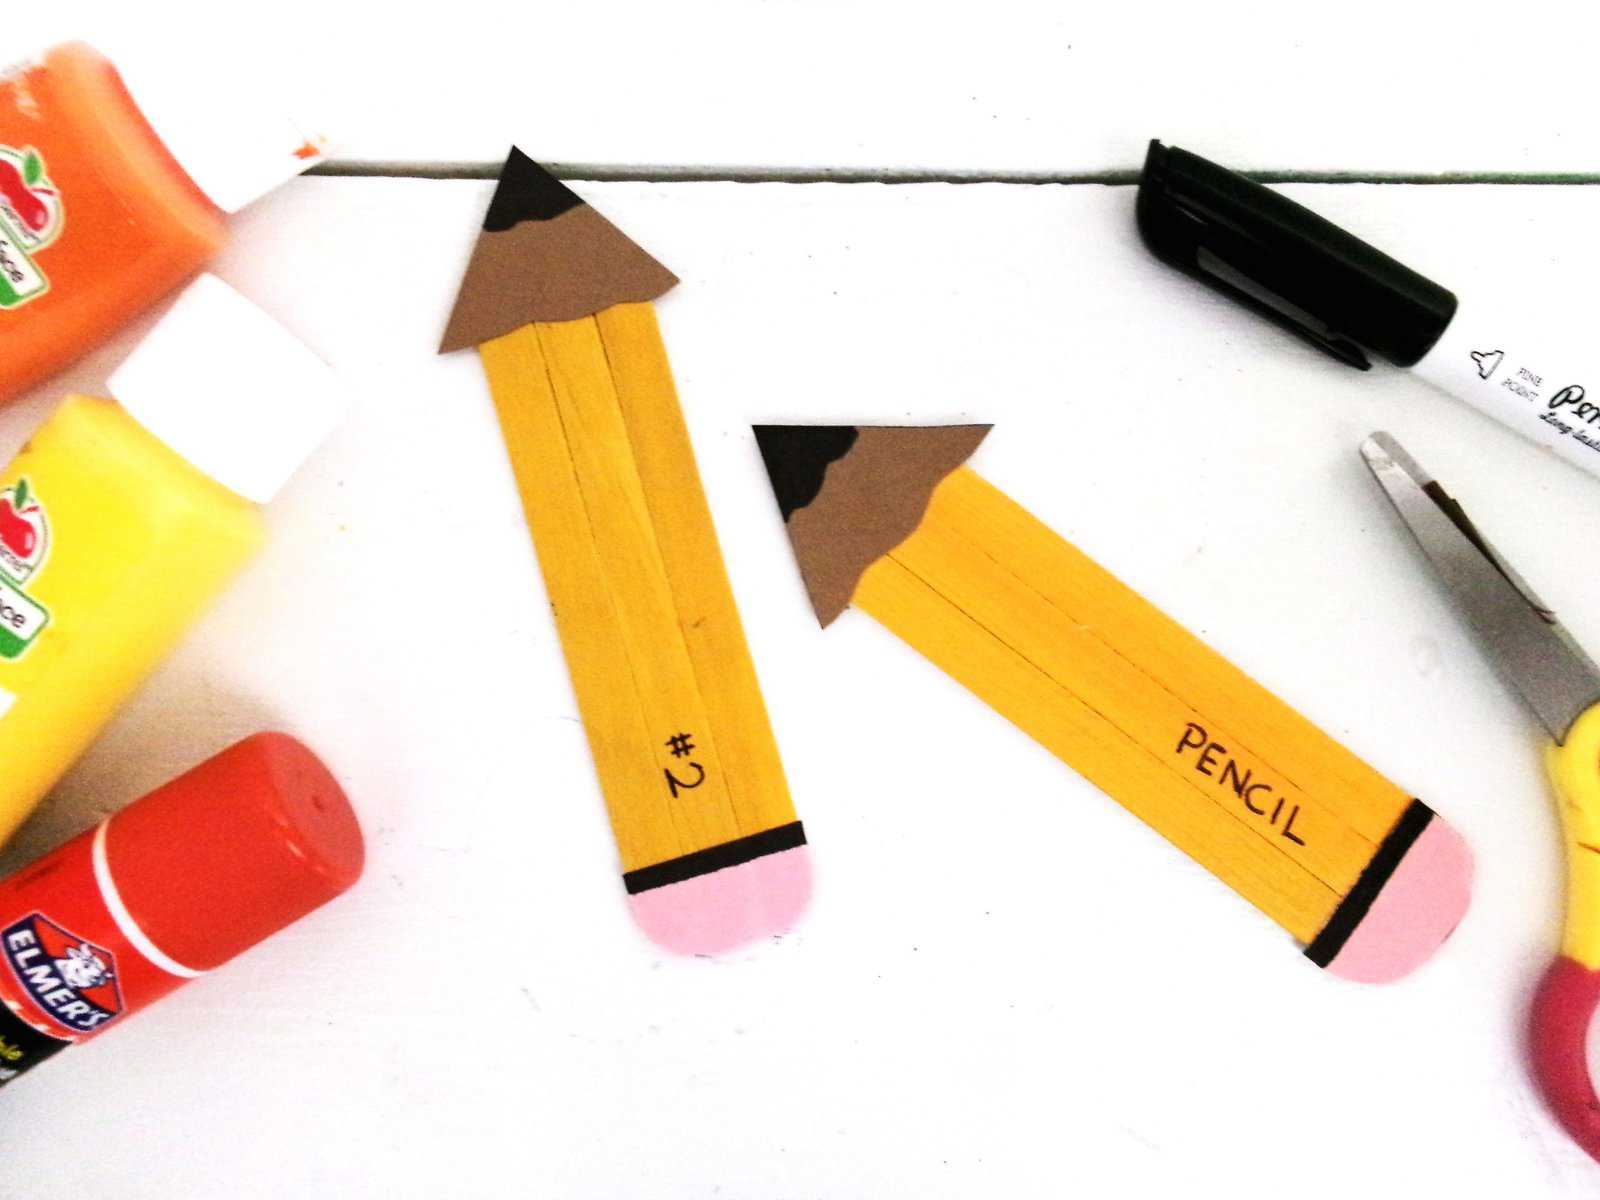
Once the paint has dried, glue the tip to one end of the craft sticks. Then you can glue the eraser at the other end.
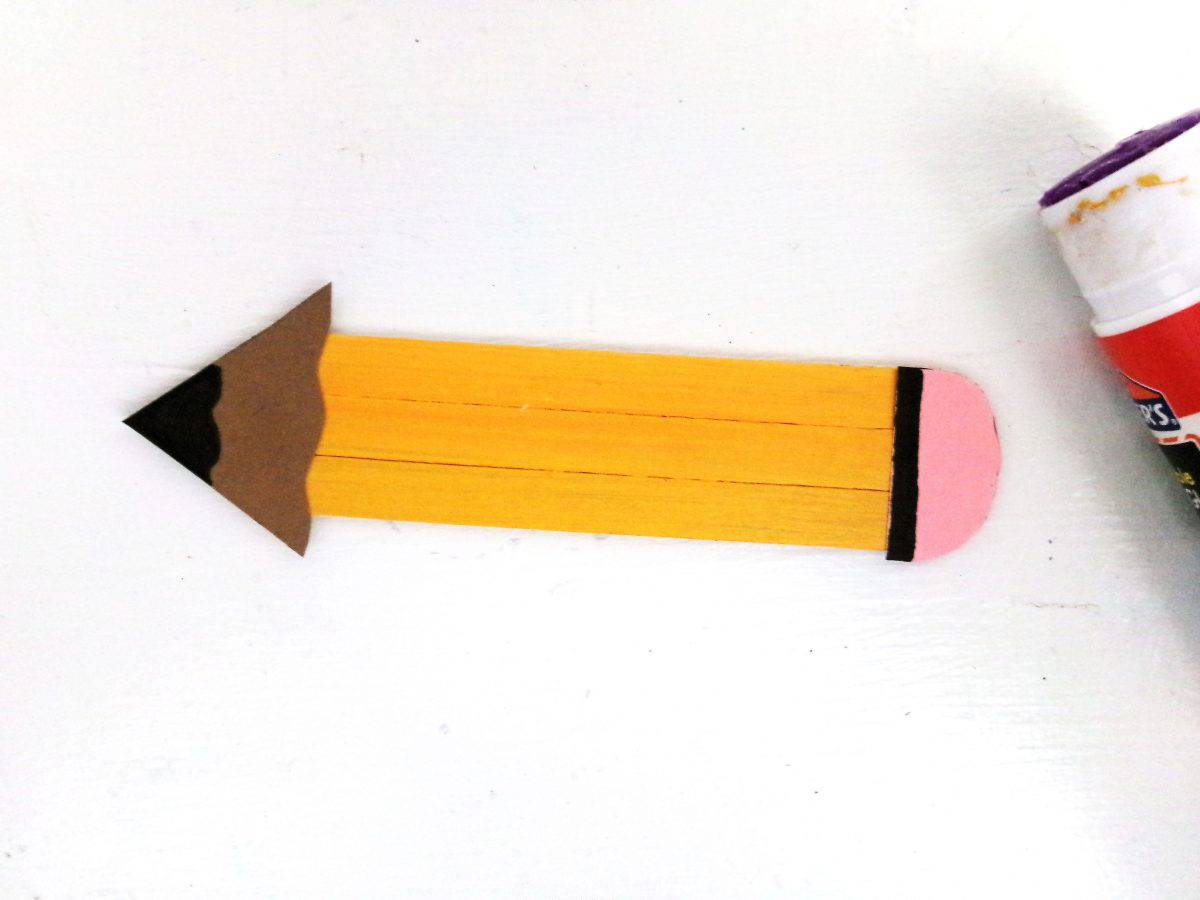
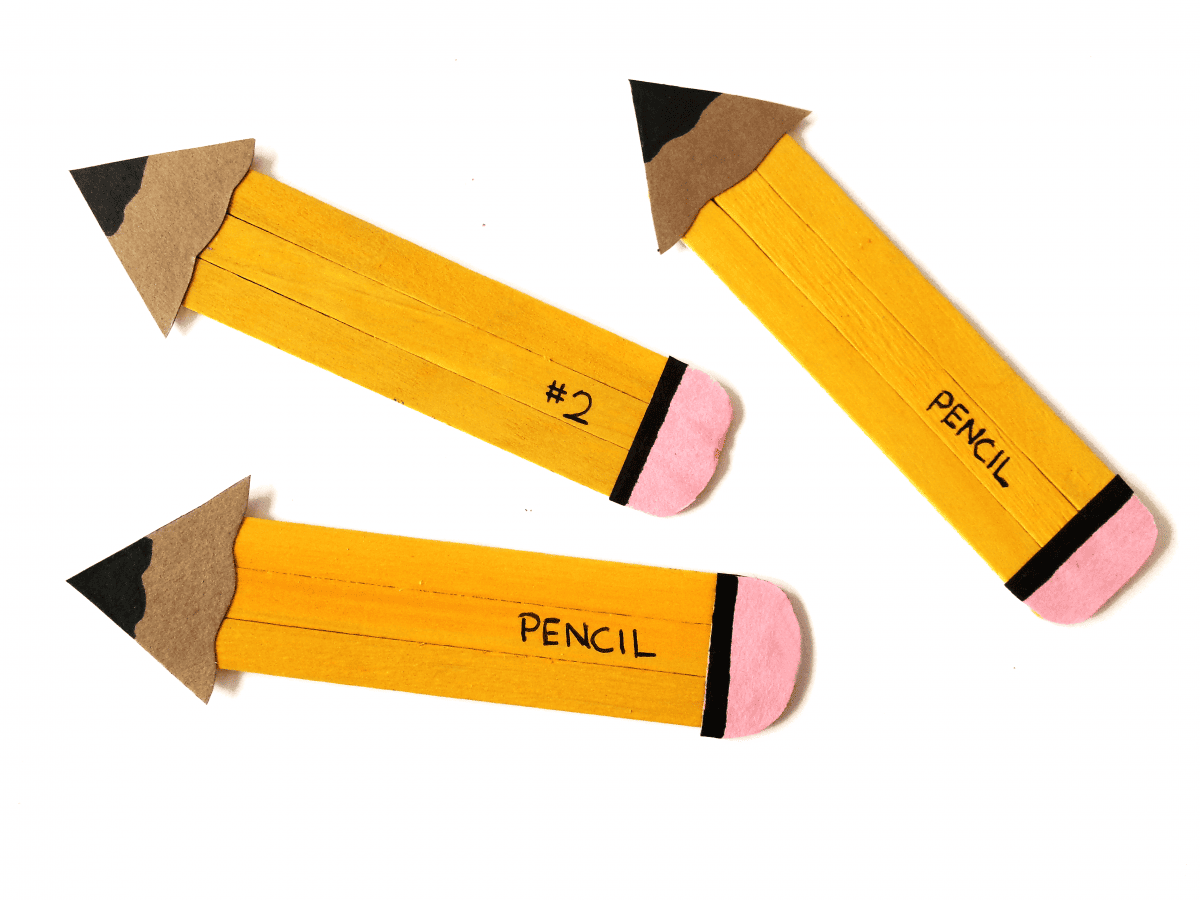
Finally, write “PENCIL” or “#2” with a black pen. You can add any message, either specific to school or otherwise.

Variations
- You could stick them on a card as a fun DIY card for teachers at the end of the school year.
- Use these craft stick pencils as fun labels for drawers or a desk area. You can write on what is being stored instead of the word pencil.
- You could use a different color if you don’t have yellow paint. You could also do stripes or patterns for a different effect. Get creative.
- If you don’t have the supplies to hand, then get creative. Save up your ice lolly sticks, use cards from cardboard boxes and cut them into strips, or even toilet rolls to make a 3D version. You could stick craft sticks around the toilet roll to add to the effect.
Notes and tips
- Some elements might be tricky for younger children, so you may need to be close by to help out.
- When cutting up the traced templates, you might want to help little ones using the scissors.
- The paint does need to dry, so you may want to factor in other things your children can do in the meantime. If the paint doesn’t have time to dry, it can be messy, and you won’t be able to stick the pencil parts to the craft sticks or write on them.
Frequently Asked Questions
This is a fun craft for children of all ages. Younger children may need a little help with some of the steps, whereas older children should happily be able to enjoy this craft with little involvement from adults.
Your little ones will have fun creating big realistic versions of pencils, whereas your older kids might want to use this craft as an extension for making DIY gifts or homemade cards.
This is ideal for homemade cards or to stick on as labels in a bedroom. You could also make 3D versions or even create a pencil case with some card. Amazon boxes and envelopes are perfect to be turned into something different. You could cut a window on one side of the card envelope and decorate it.
Don’t worry! You can easily replace some of the things in the supplies list with things you already have. There are some suggestions in the variations section that could help.

More Fun Back-to-School Crafts
If you like these cute pencil crafts, make sure to check out these other great ideas for the back-to-school season!
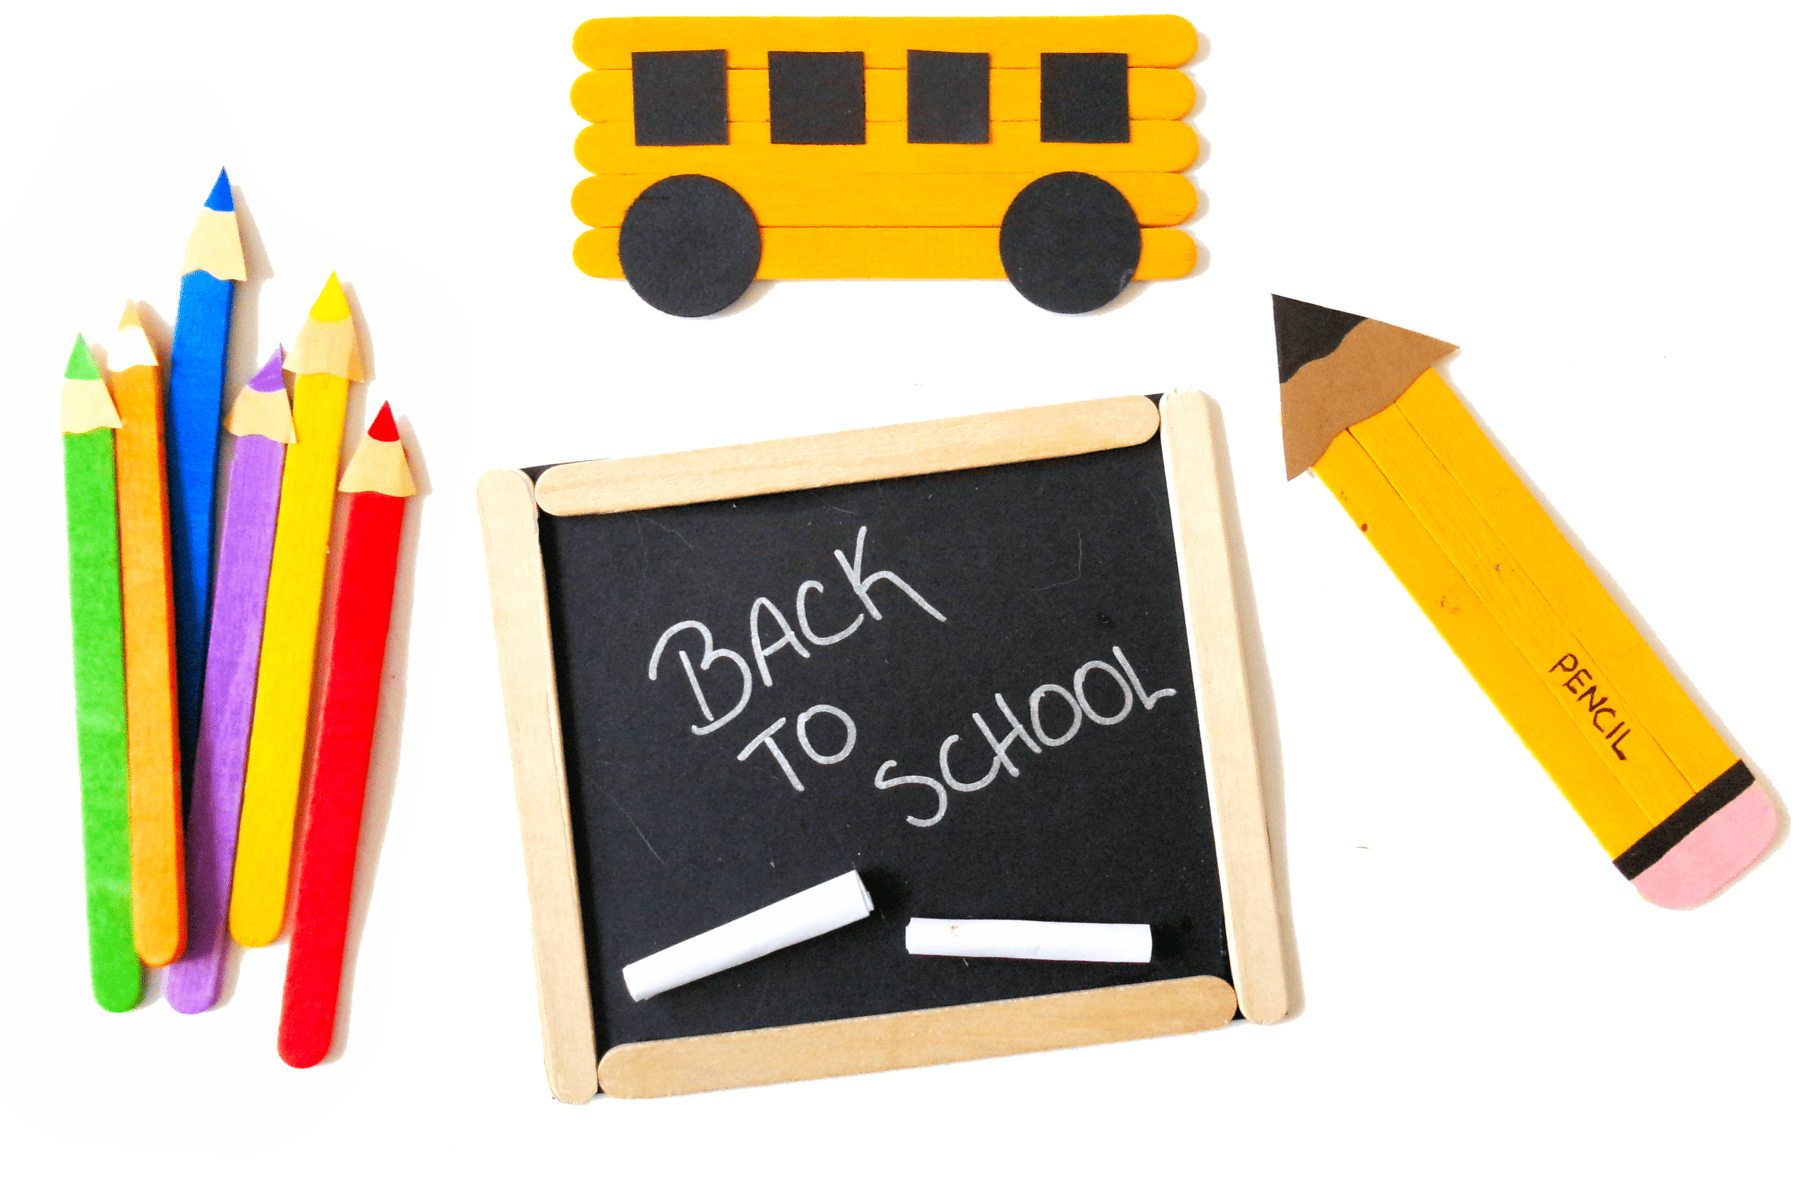
- School Bus Craft – use up more of those craft sticks and make this bus craft!
- Chalkboard Craft – perfect for a cute little note or a first-day back photo prop!
- Colored Pencils Craft – make a whole set of craft stick colored pencils!
Hopefully, this will have encouraged you to give the craft stick pencil craft a try. If so, please leave a star ★★★★★ rating and a comment below! Follow along on Pinterest, Facebook, or Twitter for more fun crafts!

Pencil Craft
Supplies
- Pencil Template
- Craft sticks
- Golden yellow acrylic paint
- Cardstock brown and pink
- Black marker
- Scissors
- Glue stick
Instructions
- Begin by gathering 3 regular sized craft sticks for each pencil. Use a scrap piece of cardstock to glue all the craft sticks together.
- Now, paint the craft sticks a golden yellow color. We only had bright yellow, so we blended it with a small amount of orange to get the right color. Let the paint dry completely.
- While the paint is drying, print the template for the tip and eraser piece and cut out. Trace the triangle tip on brown cardstock and the eraser on pink. Cut out.
- Cut a wavy-ish line at the bottom of the triangle piece.
- Next, use the black marker to draw the lead at the tip of the triangle. Also draw a band at the flat end of the eraser.
- When the paint is completely dry, glue the tip to one end of the craft sticks.
- Glue the eraser at the other end.
- Finally, use a black pen to write “PENCIL” or “#2”, anything pencil or school related you’d like really, on the pencil.