School Bus Craft
This post may contain affiliate links. Please read our disclosure policy.
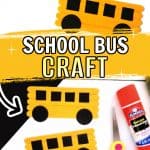
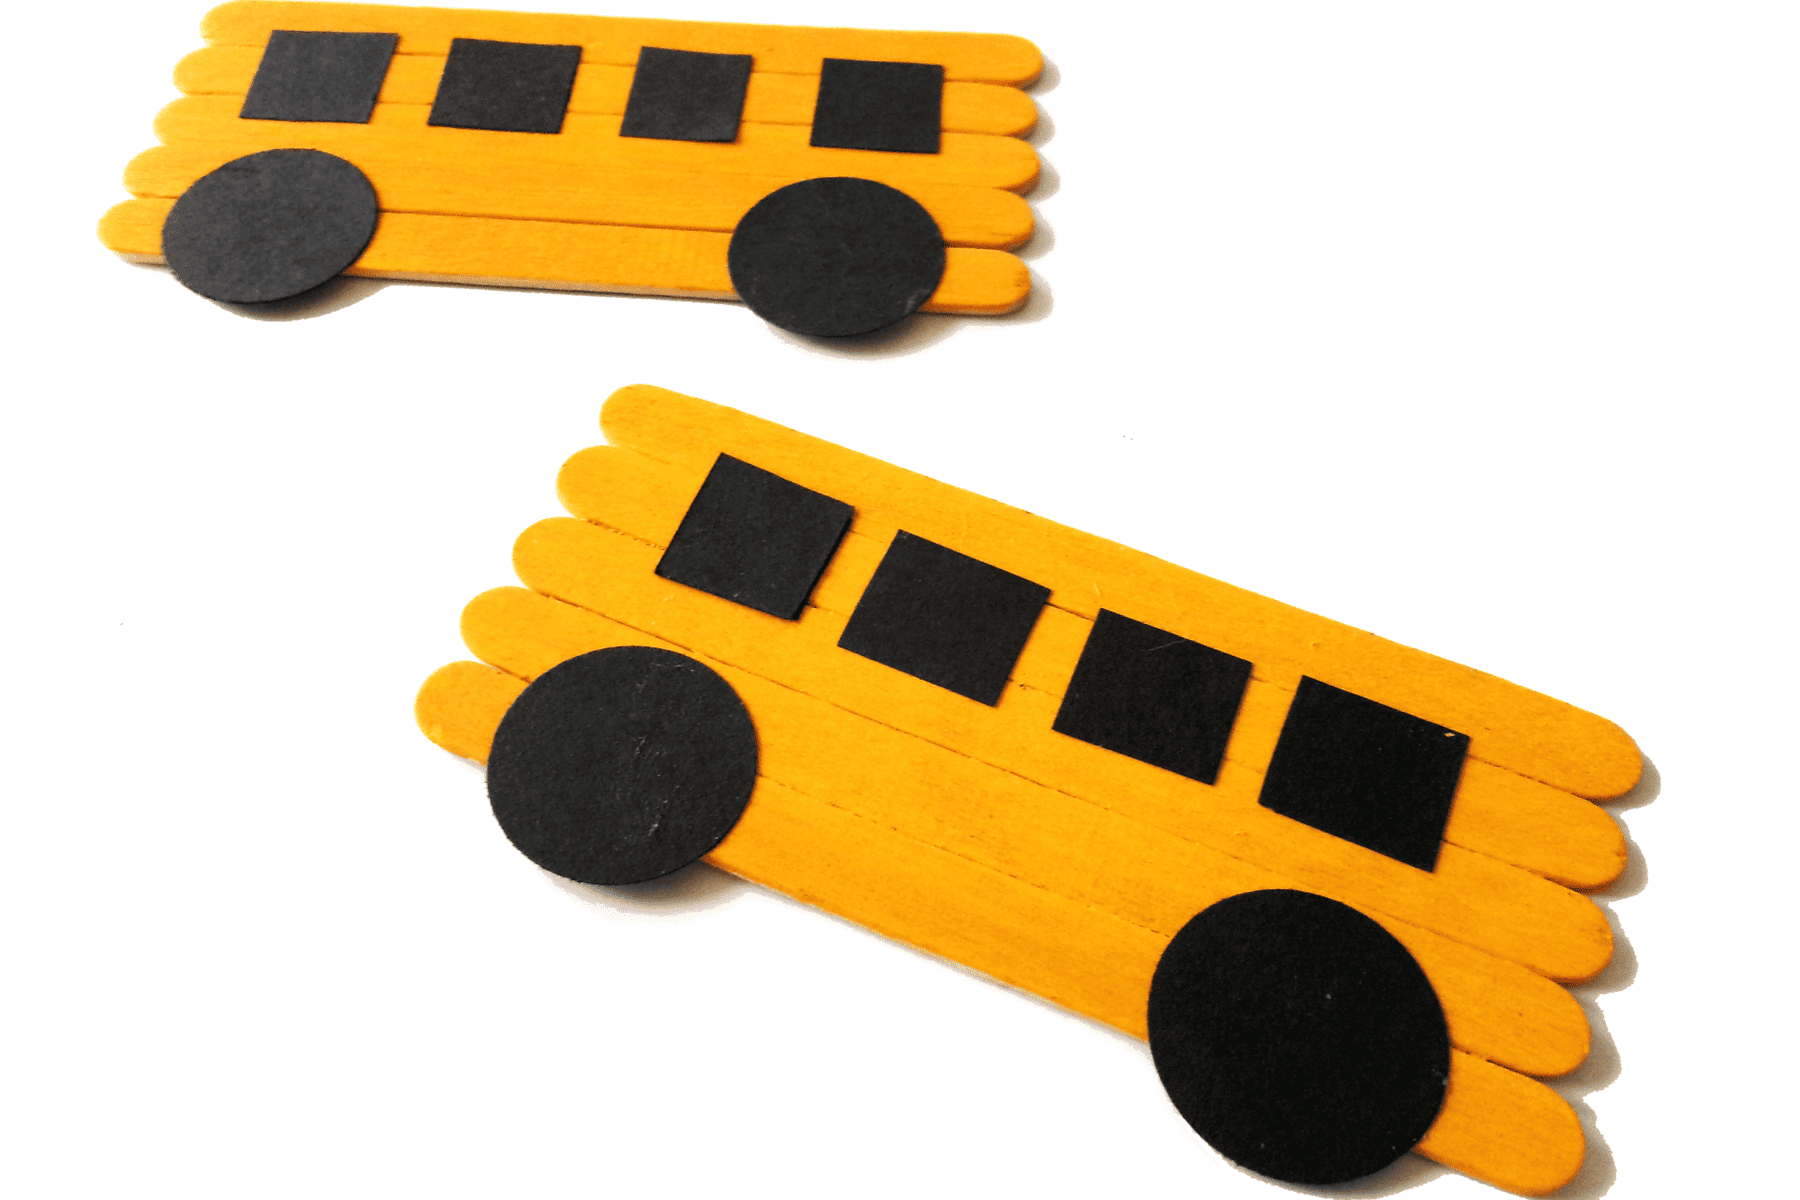
Celebrate back to school with this easy school bus craft. Kids will have lots of fun creating this as they head back to the classroom this school year.
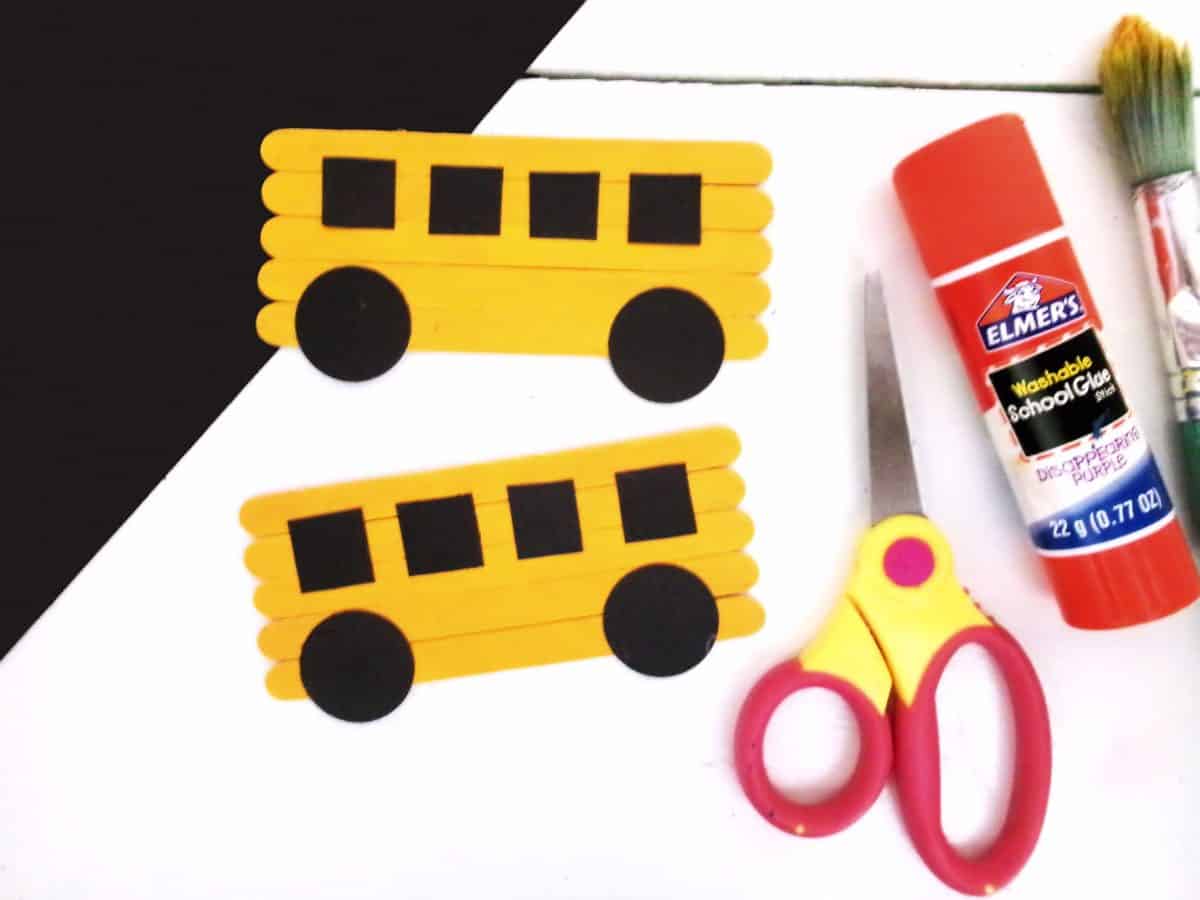
Craft Stick School Bus
Do you have any little ones obsessed with all things transport? How about singing the wheels on the bus go round and round? Then this craft stick bus craft is perfect for you.
When it comes to crafts, many of us love to stick with things that we know our children are interested in. When they are younger, they often love learning about cars and buses and singing nursery rhymes like the wheels on the Bus.
If that sounds similar to your little ones, then this craft stick bus craft is one that you have to try. Simple to make with everything you need, likely already at home, it is perfect when you need something to occupy your little ones.
This craft is ideal for younger and older children. There isn’t too much cutting out and you can have fun decorating and sticking everything together. And don’t worry if you don’t have everything you need, as I share some great substitutes as well as ways to enhance this craft even further.
You could make a whole fleet of buses in different colors and even create a road for them to drive along. The options are endless. So if you like the idea of this craft stick bus craft, here is everything you need to know to make it.
Why You’ll Love This Craft
A craft is always a perfect opportunity to spend some time with your children or even to occupy them so that they aren’t always reaching for those screens or tech to keep them amused.
It’s a fun way to practice fine motor skills like cutting, gluing, and painting, and with just a little bit of help, kids of all ages can make this craft!
Popsicle sticks are inexpensive, versatile, and can be turned into about a million different things.
And we’ve even provided you with a free template to cut out the windows and wheels of the bus.
Craft Supplies for Your School Bus Craft
First of all, to make things easy, gather everything you need together and set it out on a flat work surface. A table is ideal for this.
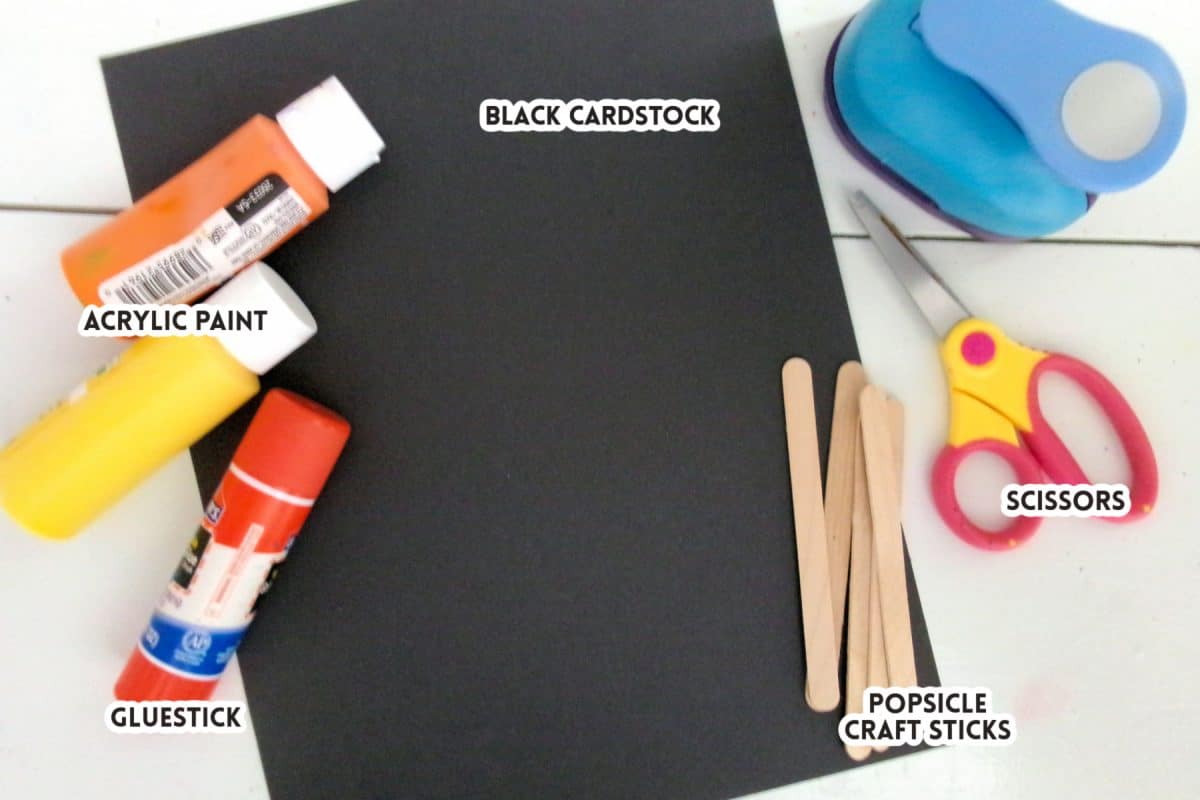
- Bus Template
- Craft sticks
- Black cardstock
- Golden yellow acrylic paint
- Glue stick
- Scissors
How to Make The Craft Stick School Bus
This easy school bus craft is a fun way to kick off the school year, and kids of all ages will love doing it. Here’s what you need to do:
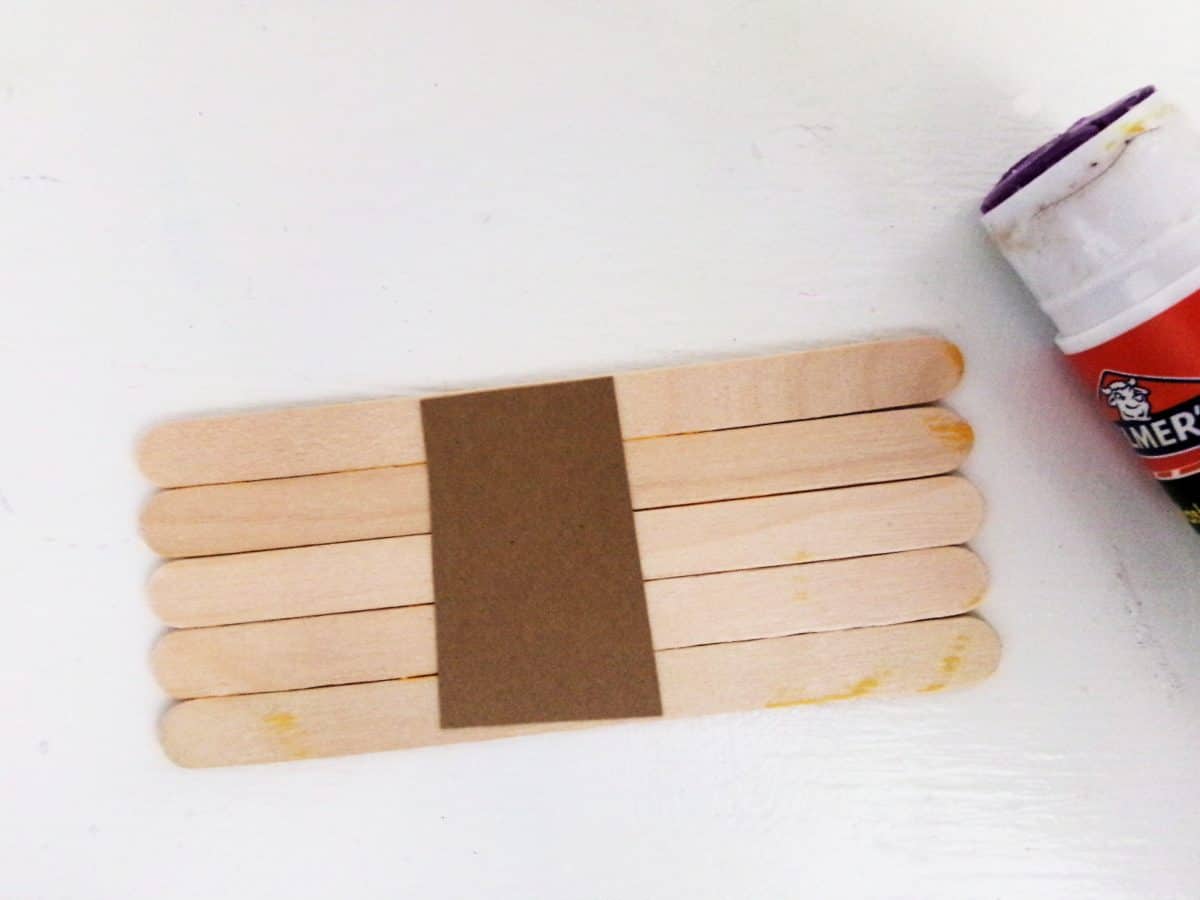
1. Start by gathering 5 craft sticks for every bus you’re creating. Glue the sticks to a scrap piece of cardstock to secure the sticks together.
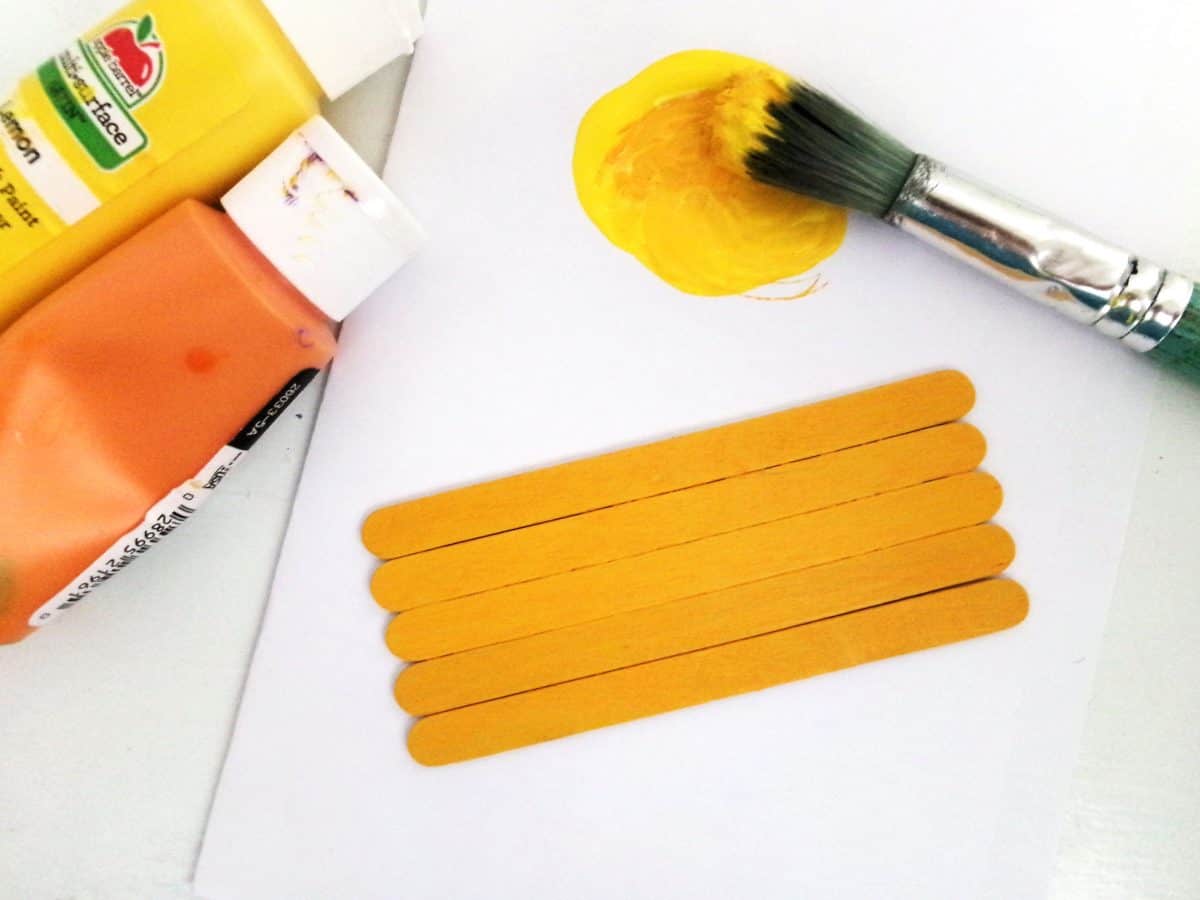
2. Paint the craft sticks a golden yellow color. To get this golden color, we combined some bright yellow with a bit of orange. However, you can use any color if you don’t have any yellow on hand. Let the paint dry completely.
3. While the paint is drying, print the bus template and cut it out. This will help with the sizes needed for the wheels and windows. Trace and cut 2 wheels and 4 windows from black cardstock. You could use a 1” circle paper punch for the wheels instead.
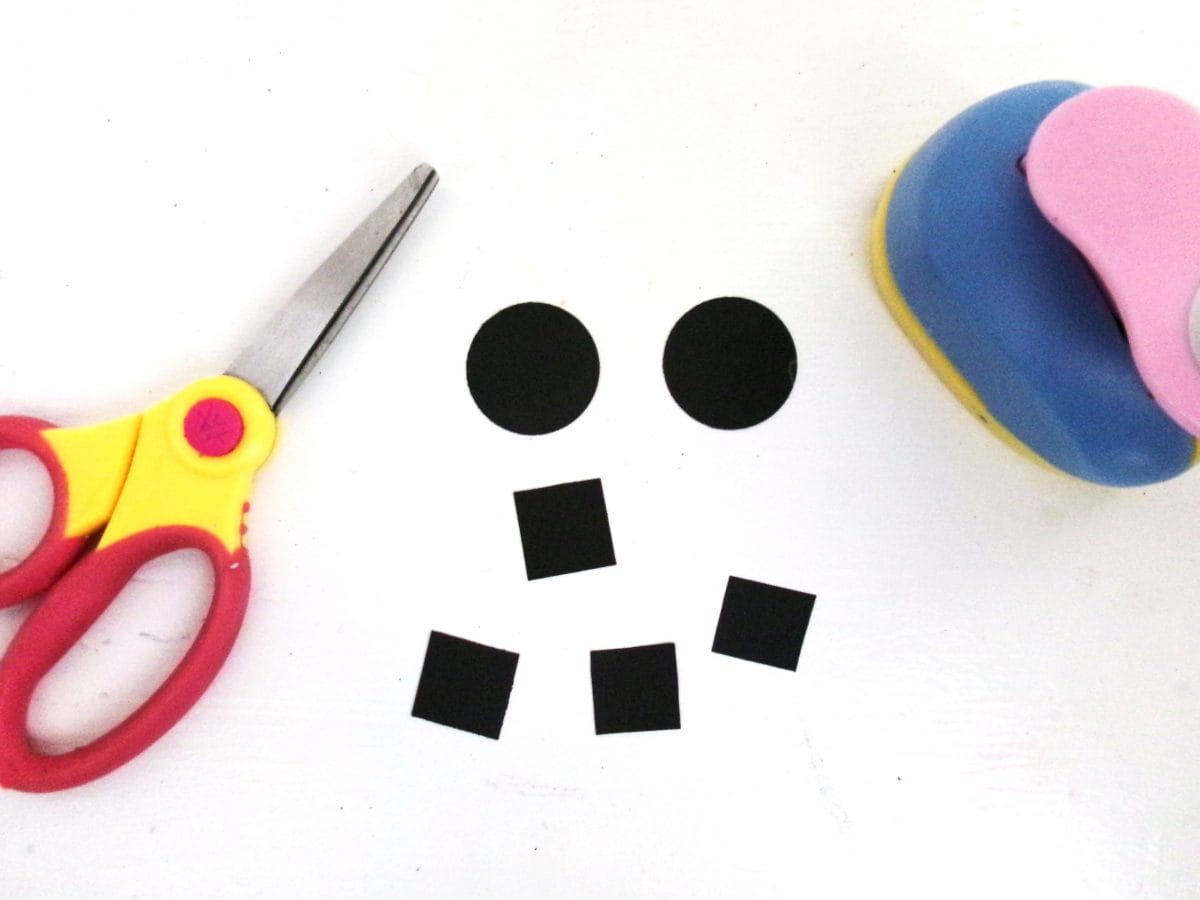
4. When the paint is completely dry, glue the wheels to the bottom of the bus.
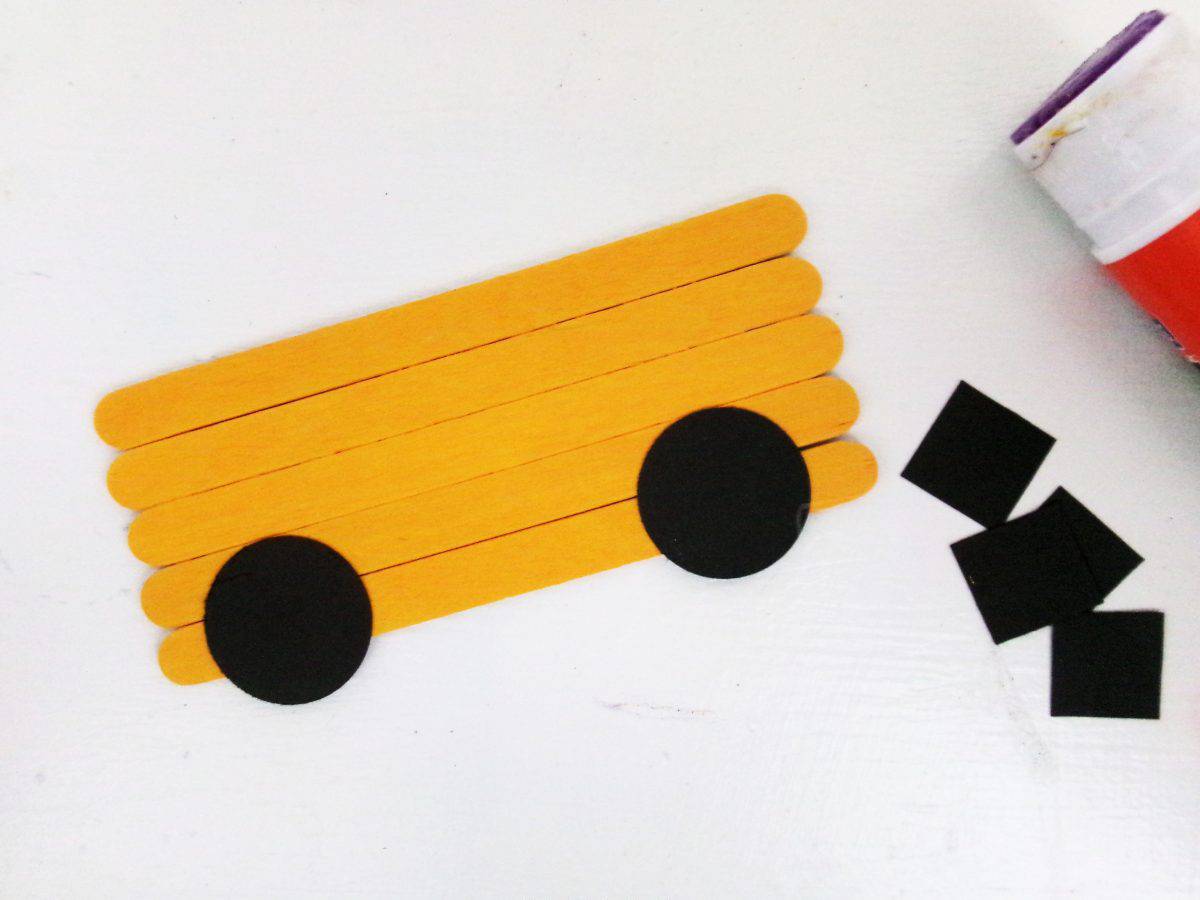
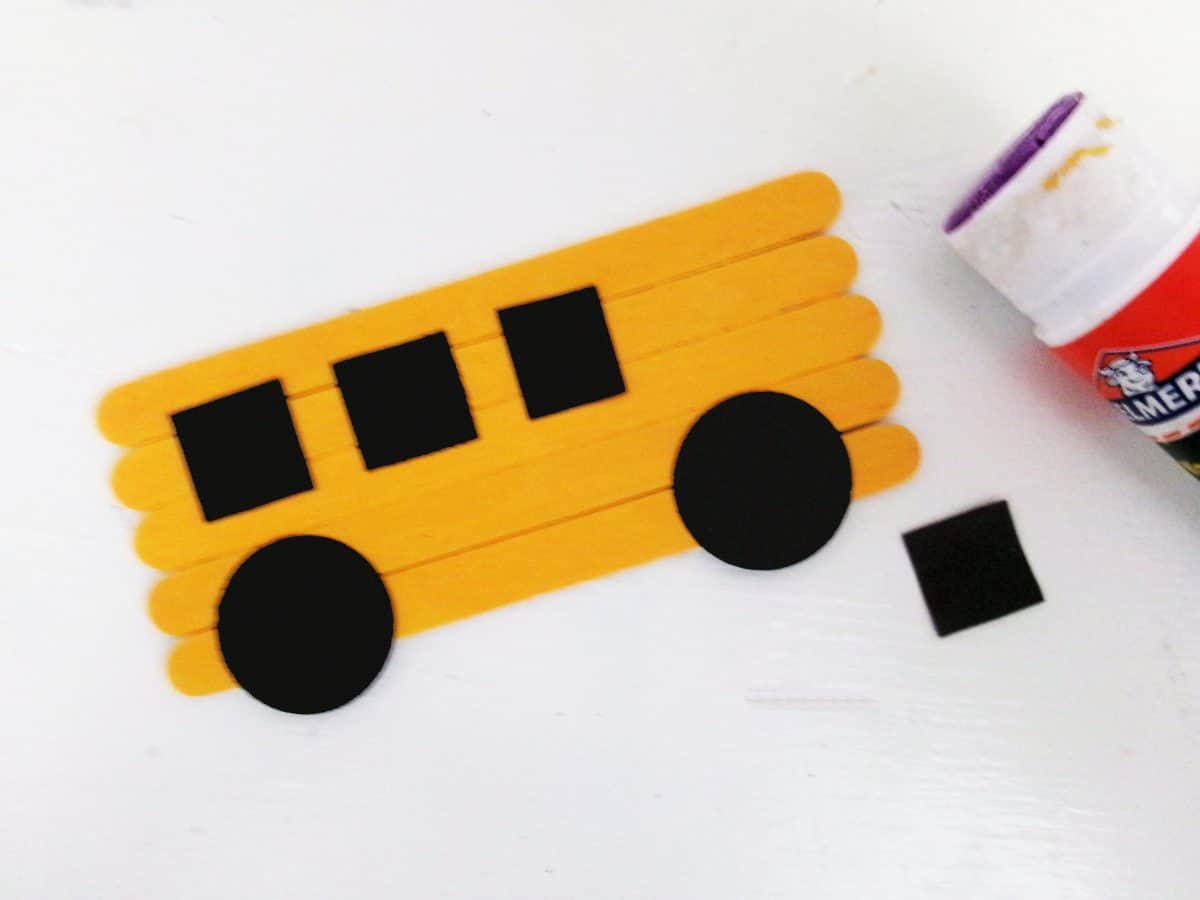
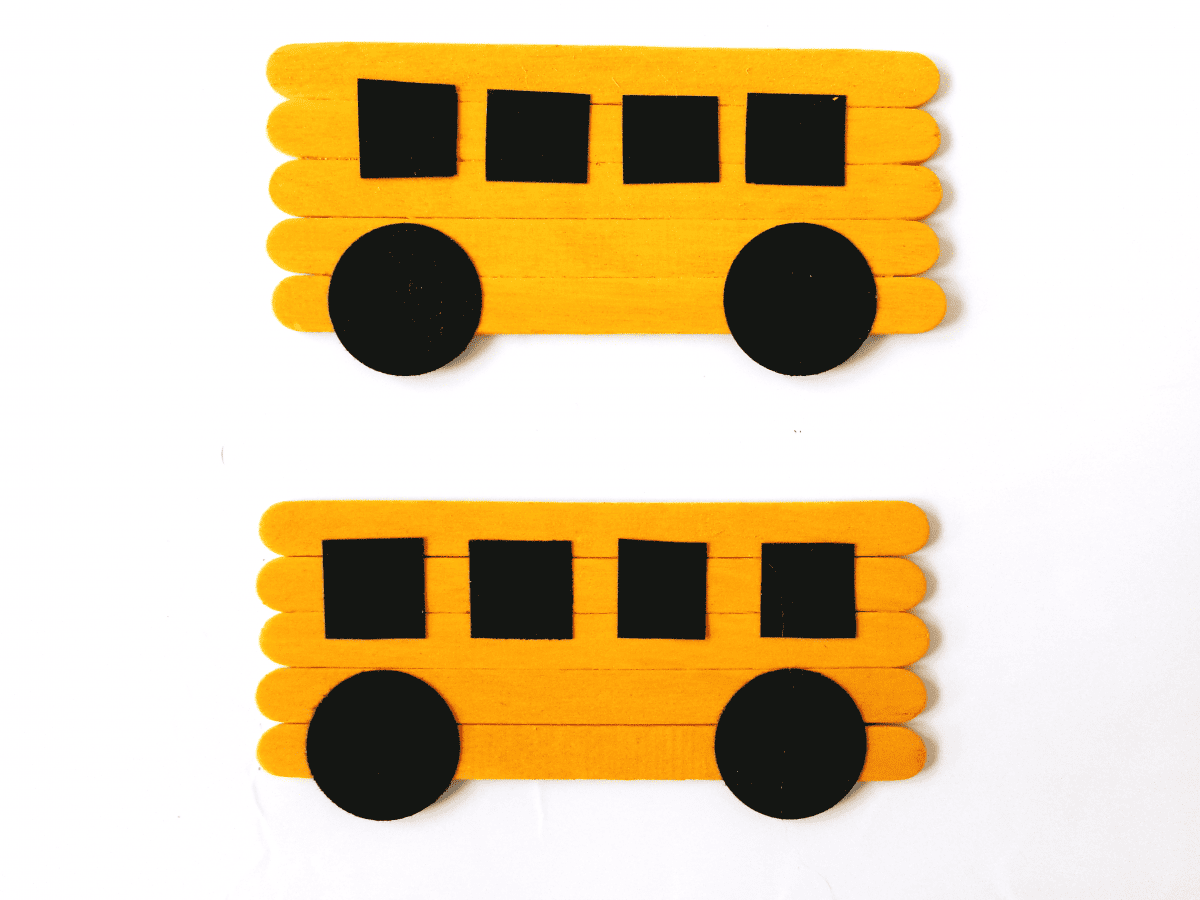
5. Finally, glue the windows in place along the middle of the bus. There you have it; your craft stick bus is ready to play with or display.
Variations
- You can color the buses however you like. We have used a golden yellow color to mirror a traditional school bus, but the bus could be red, green, blue, or whatever color you have to hand. You could also have a go at making different colors and using this craft as an exercise and experimentation with different colors.
- If you don’t have any black cardstock, paint some white paper black and wait for it to dry.
- Cut out some people from a magazine and stick them in the windows of your bus.
- Use magazines to cut out wheels from car or van advertisements to make the bus appear realistic.
- Instead of paint, why not make a collage of colors? Grab a stack of magazines, rip small chunks of different colors, and stick them together to create the overall color. This, again, is perfect for fine motor skills and will prolong this craft.
Notes and tips
- If younger children are creating this craft, they may need help sticking the craft sticks to the card. It may take them a little time to stick them together. However, this is an ideal exercise to help with their finer motor skills.
- There is a little bit of cutting required for this craft, so younger children may need help or to be supervised when getting to this step of the craft.
- A glue stick is ideal for younger children, but PVA glue will also work. You might want to put a bit of glue into a pot and use an applicator to make it easier if needing to use PVA glue.
Frequently Asked Questions
This craft is perfect for all ages. Younger ones may need help with cutting and gluing. Older children may want to try different methods of decorating the bus or make a whole fleet of them in different colors.
You could make a road using cardstock. Use the right colors or paint a road and let your little one’s imaginations run wild. You can also draw, cut out, or use pictures of people from magazines to create passengers in the bus windows.
Don’t worry if you haven’t got everything you need. You can have fun making this with some of the variations suggested above.
More Fun Crafts
Hopefully, this will have encouraged you to give the craft stick bus craft a try. If so, please leave a star ★★★★★ rating and a comment below! Follow along on Pinterest, Facebook, or Twitter for more fun crafts!
School Bus Craft
Supplies
- Bus Template
- Craft sticks
- Black cardstock
- Golden yellow acrylic paint
- Glue stick
- Scissors
Instructions
- Start by gathering 5 craft sticks for every bus you’re creating. Glue the sticks to a scrap piece of cardstock to secure the sticks together.
- Paint the craft sticks a golden yellow color. We only had bright yellow, so we added a small amount of orange paint for the perfect color. Let the paint dry completely.
- While the paint is drying, print the bus template and cut out. This will help for the sizes needed for the wheels and windows. Trace and cut 2 wheels and 4 windows from black cardstock. You could use a 1” circle paper punch for the wheels, instead.
- Now, when the paint is completely dry, glue the wheels to the bottom of the bus.
- Finally, glue the windows in place along the middle of the bus.

