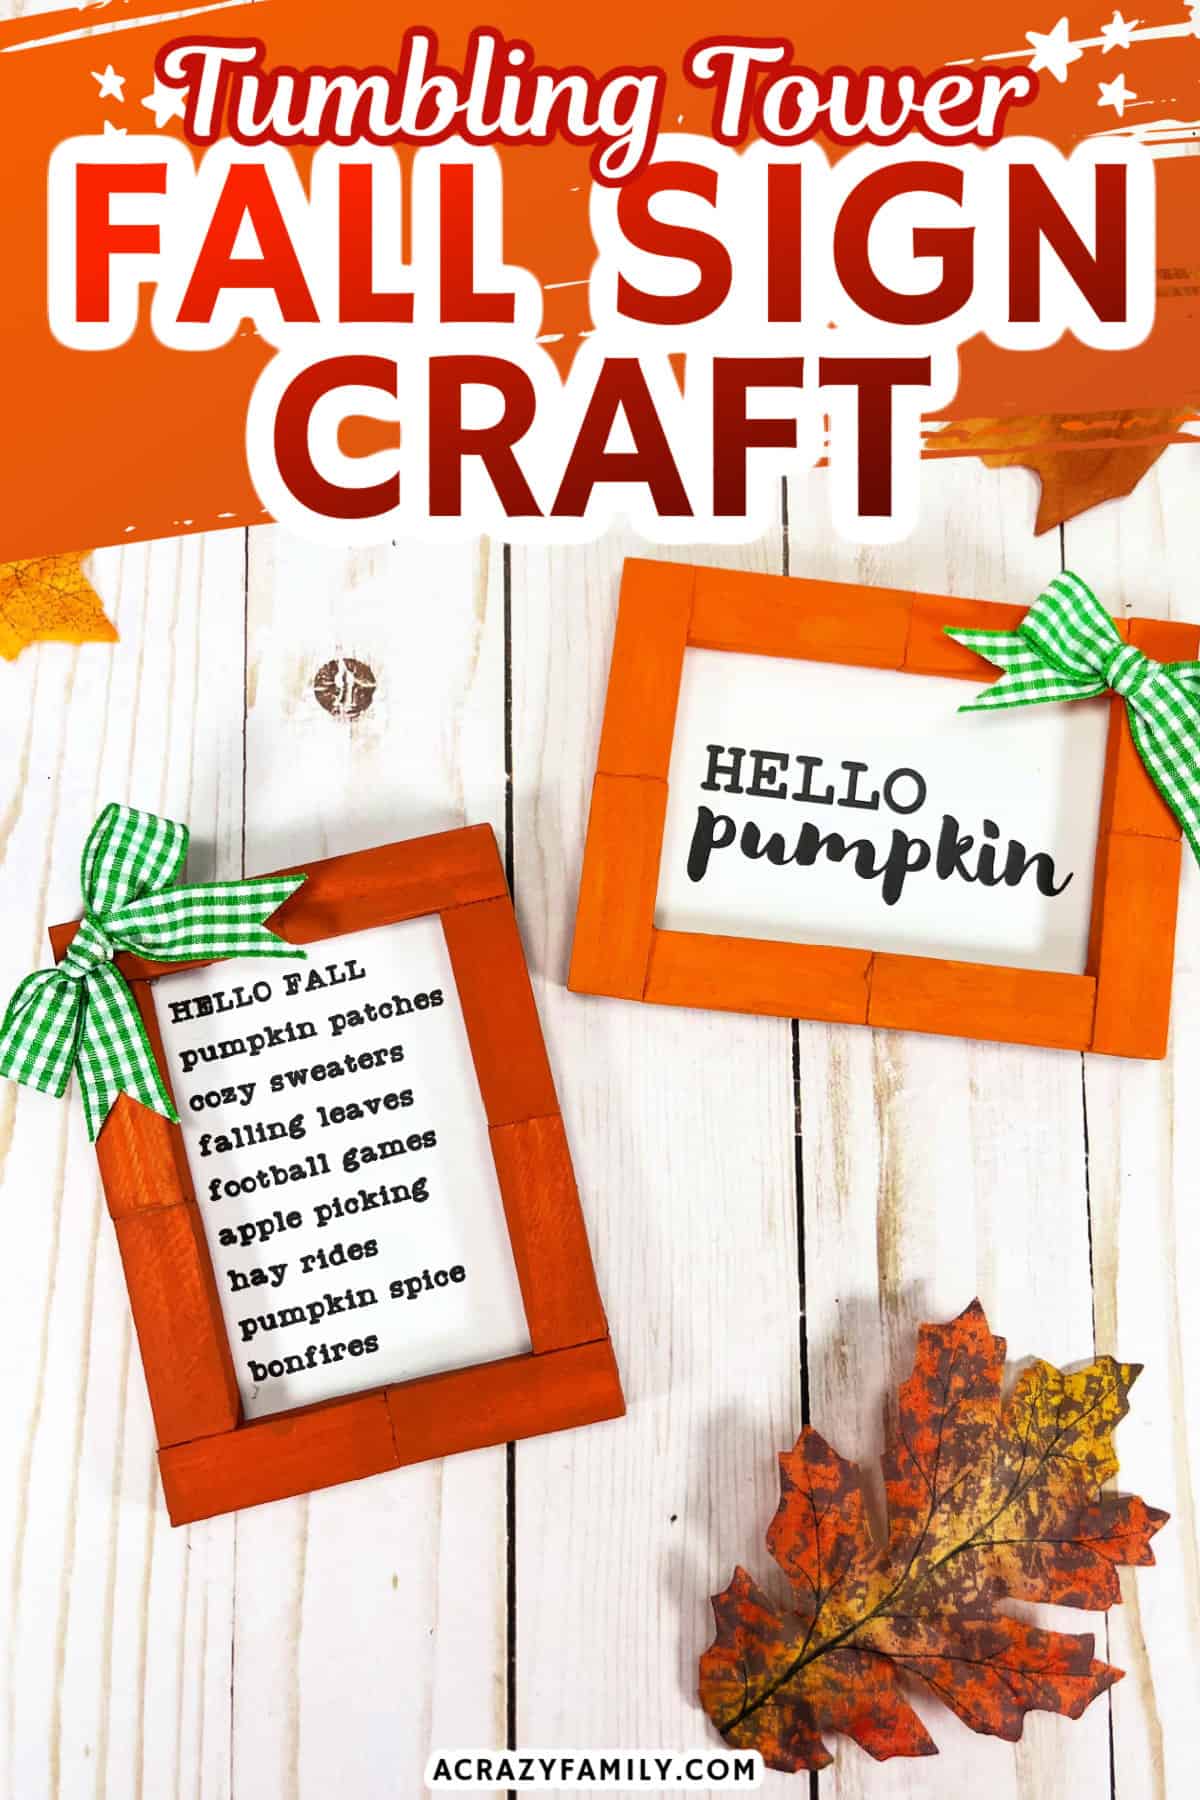
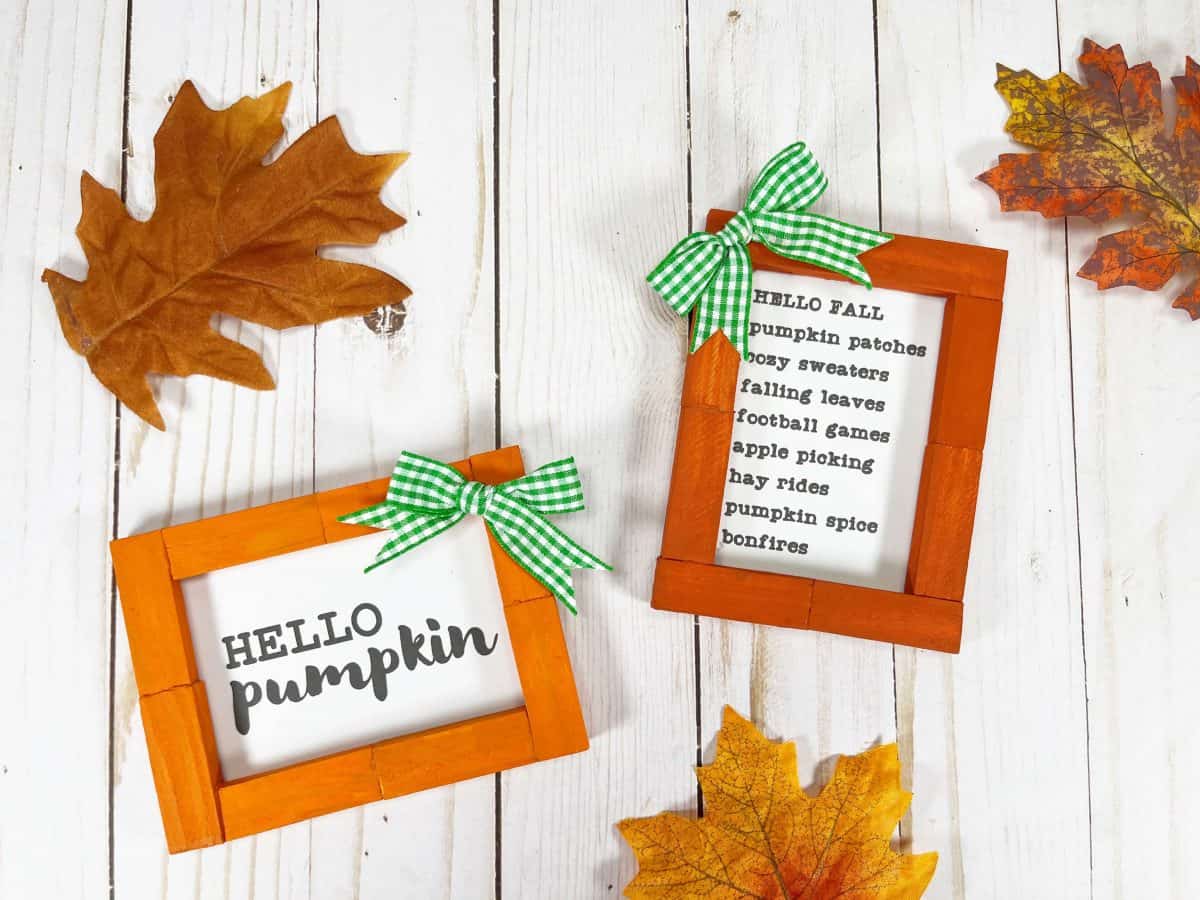
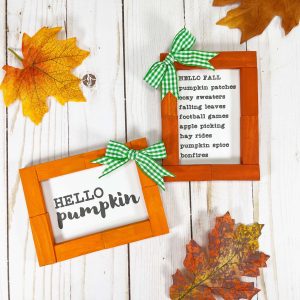
Celebrate the beauty of Fall and add some cozy charm to your home with this simple Dollar Store craft. Create your own Tumbling Tower Fall Signs with materials from the dollar store, the perfect craft for adults and kids!
This Tumbling Tower Fall Sign craft is a great activity for both adults and kids, making it a fun project to do together as a family or with friends.
With endless possibilities for customization, you can truly make these signs your own and add some personalized touches to your home decor this Fall season.
Fall Signs Using Wooden Tumbling Tower Game
Are you looking for a creative and fun way to add some fall vibes to your home decor? Look no further! With just a few simple materials, you can transform a wooden tumbling tower game from the toy section of the dollar store into beautiful fall signs.
These signs are perfect for adding a touch of autumn to any room in your home or even for decorating a fall-themed tiered tray. Let’s dive into the easy steps to create these charming fall signs.
Supplies
Here’s what you’ll need to get started:
- Wooden Tumbling Tower Game – Dollar Store
- Craft Paint – Light Orange, Dark Orange, Light Brown, Medium Brown
- Glue Gun and Glue Sticks – Dollar Store
- Ribbon – Dollar Store
- Natural Jute Twine – Dollar Store
- Adhesive Runner or Glue Stick
- Recycled Cardboard Box
- Cardstock, White
- Paintbrush
- Scissors
- Ruler
- Pencil
- FALL SIGNS FREE PRINTABLE

Additional Ideas:
- Instead of using our printable, try creating your own unique sayings or designs on the cardstock using markers, paint, or stickers.
- Use different colored ribbons and twine to match your home decor, or add some extra pops of color.
- Add some glitter or metallic accents to the frames for a touch of sparkle and shine.
Step-By-Step Pictures
The entire tutorial is in the printable craft card at the bottom of this post. For visual learners, here’s a step-by-step picture guide to help you create your own Tumbling Tower Fall Signs:
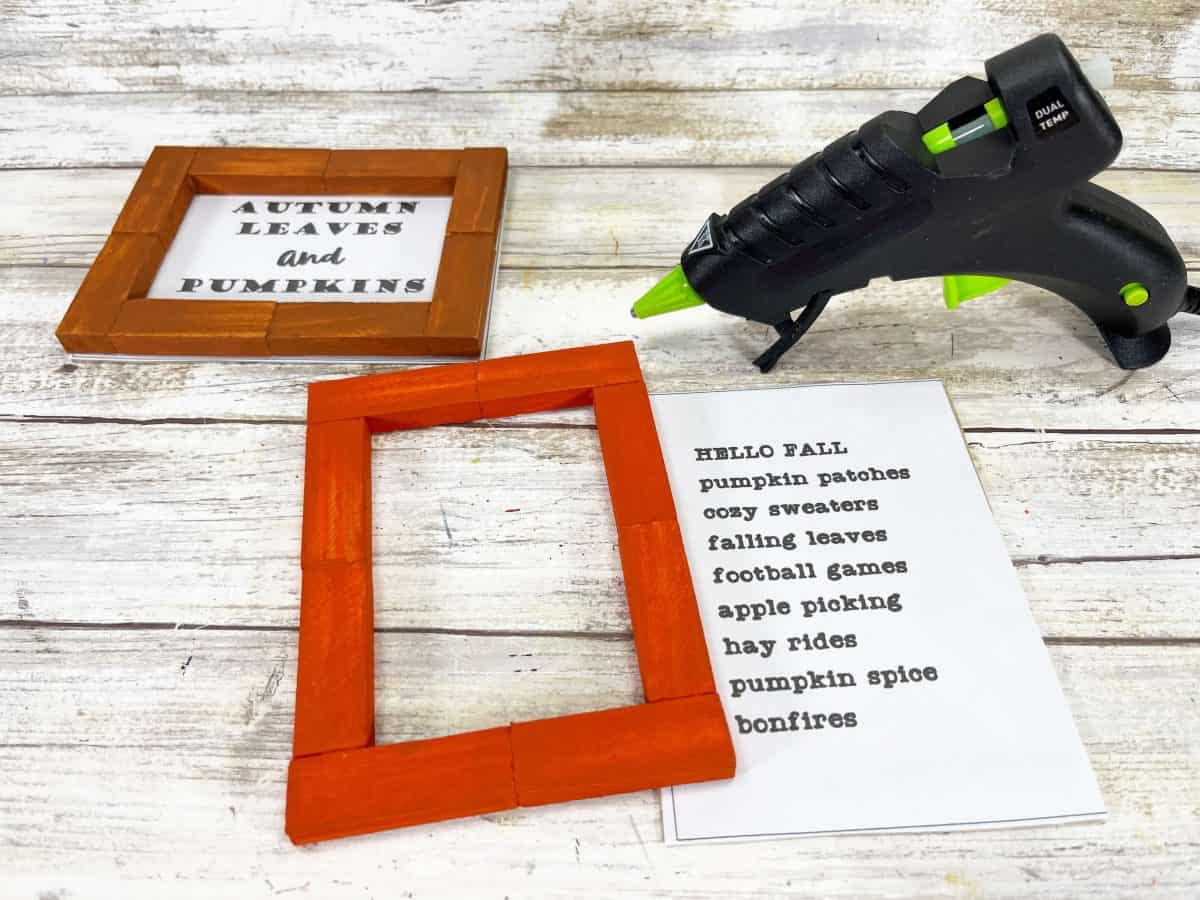
STEP ONE. Gather all supplies. Count out 8 of the rectangular wooden pieces from the tumbling tower game for each sign frame. Attach four sets of two pieces together at the ends with a glue gun and glue sticks.
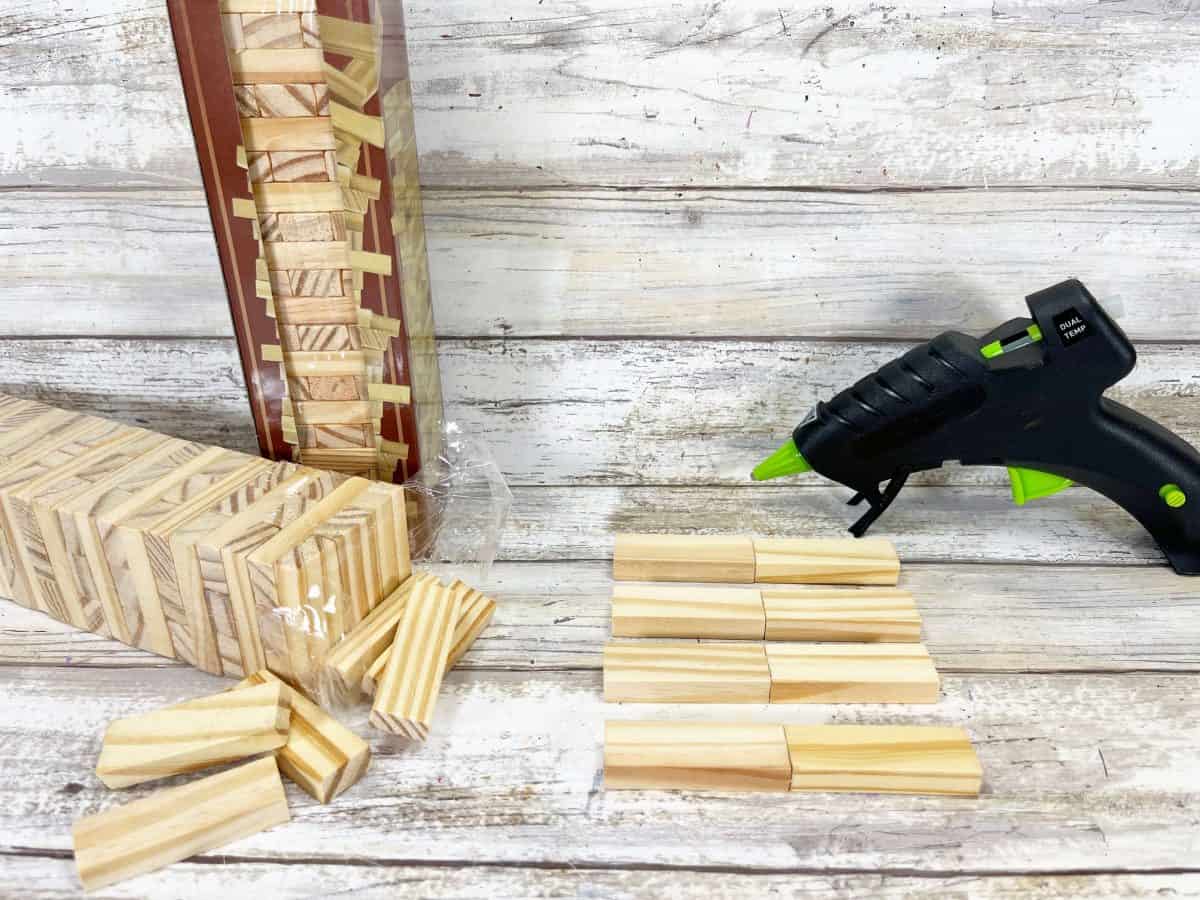
STEP TWO. Create a rectangle with the four sets of tumbling tower game pieces. Attach the game pieces together where they intersect using a glue gun and glue sticks. Repeat to make as many frames as you want.

Download and print the FALL SIGNS FREE PRINTABLE onto white cardstock and dry-fit the wooden frames over the vertical and horizontal sayings.
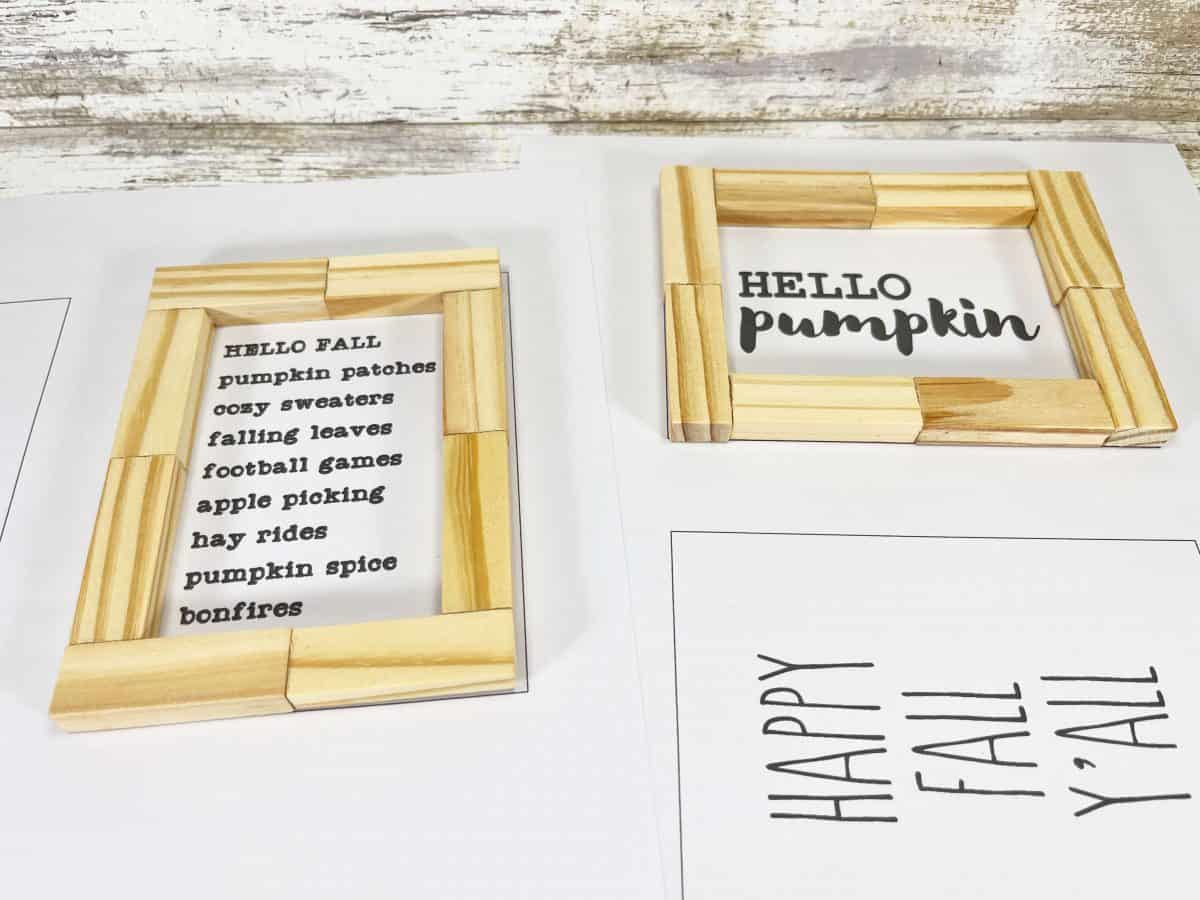
If using liquid craft glue, allow for additional drying time.
STEP THREE. Basecoat the tumbling tower frames with light orange, dark orange, light brown, and medium brown acrylic craft paints. Set aside to dry and apply a second coat, if necessary. Use a paper dessert plate from the dollar store as a paint palette.

STEP FOUR. Using a ruler and pencil, measure out 5” by 3.75” rectangles onto a cardboard box. One for each sign.

Cut out the rectangles with scissors. These cardboard backers will give the cardstock signs extra durability.

STEP FIVE. Cut out the Fall signs with scissors.
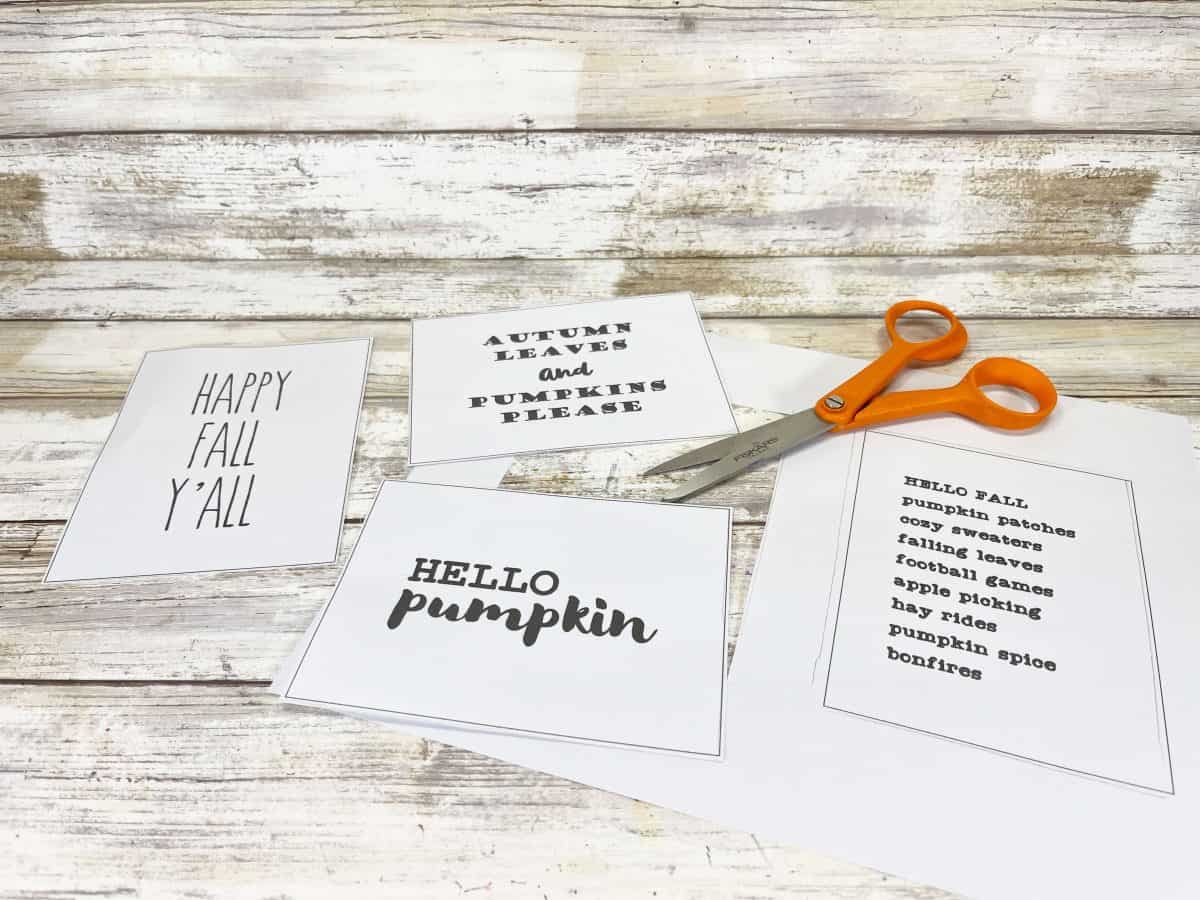
Attach the signs to the blank side of the cardboard with an adhesive runner or glue stick. Trim any edges that don’t line up with scissors.

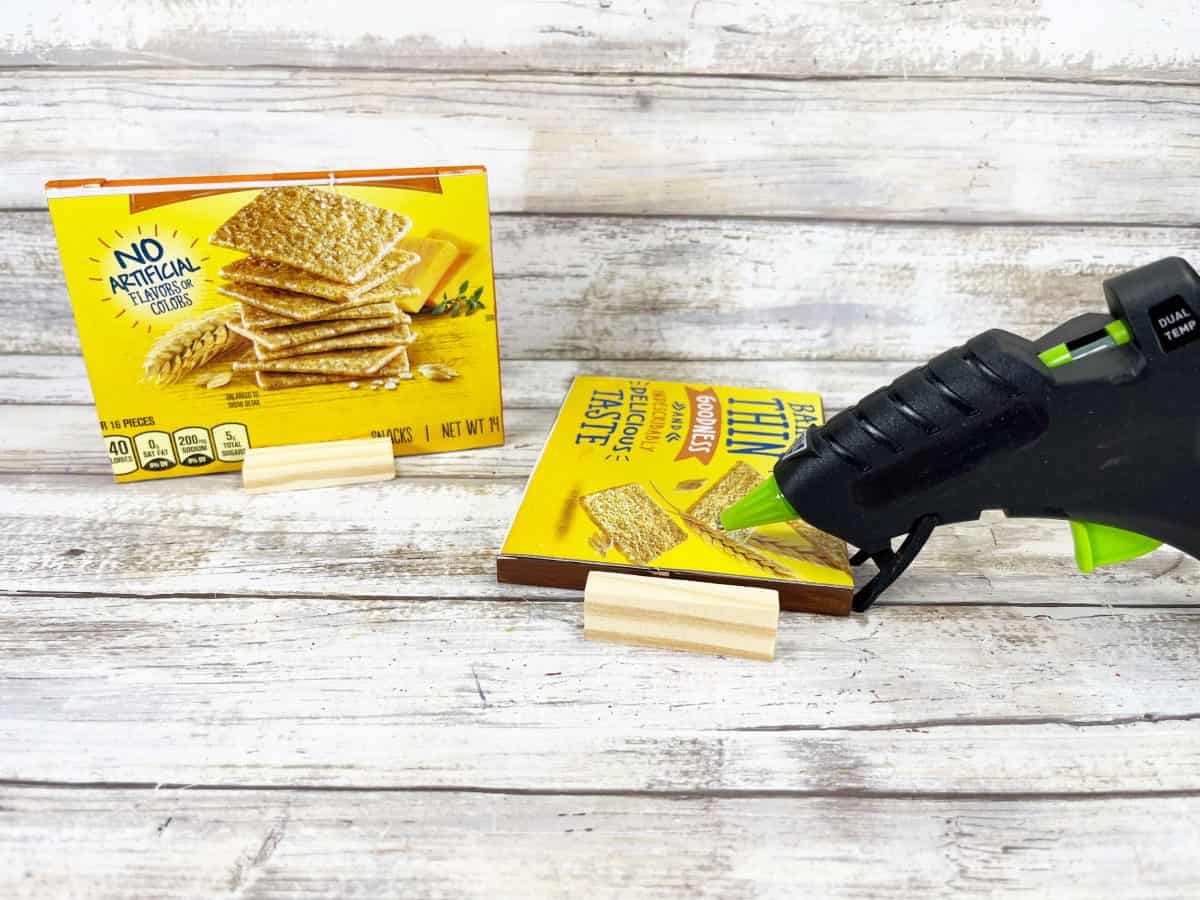
STEP SIX. Attach the Fall signs to the tumbling tower frames with a glue gun and glue sticks.
STEP SEVEN. To hang the tumbling tower Fall signs, measure and cut 8” lengths of natural jute twine. Attach to the back of the signs with a glue gun and glue sticks.

To display the Fall signs, glue additional tumbling tower game pieces to the bottom of the back of the sign to create a stand.
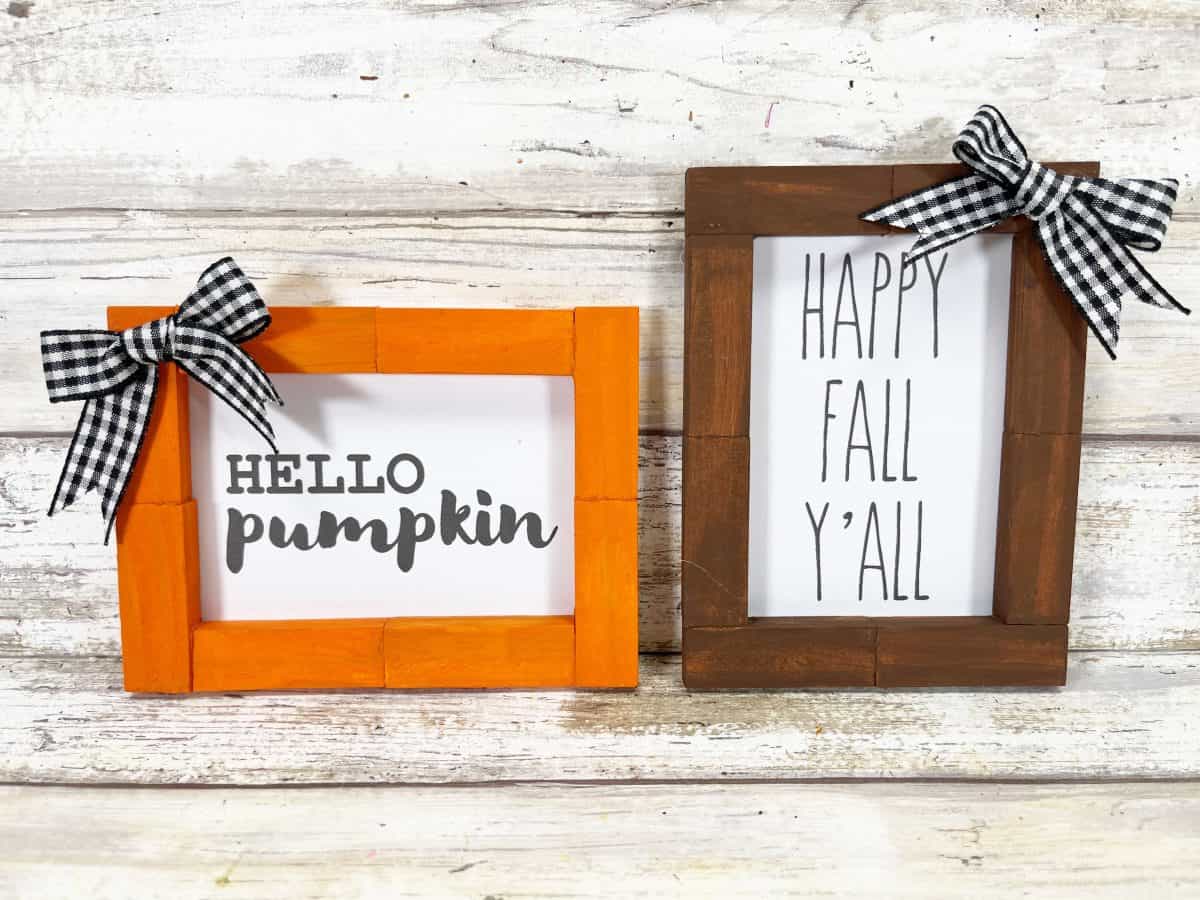
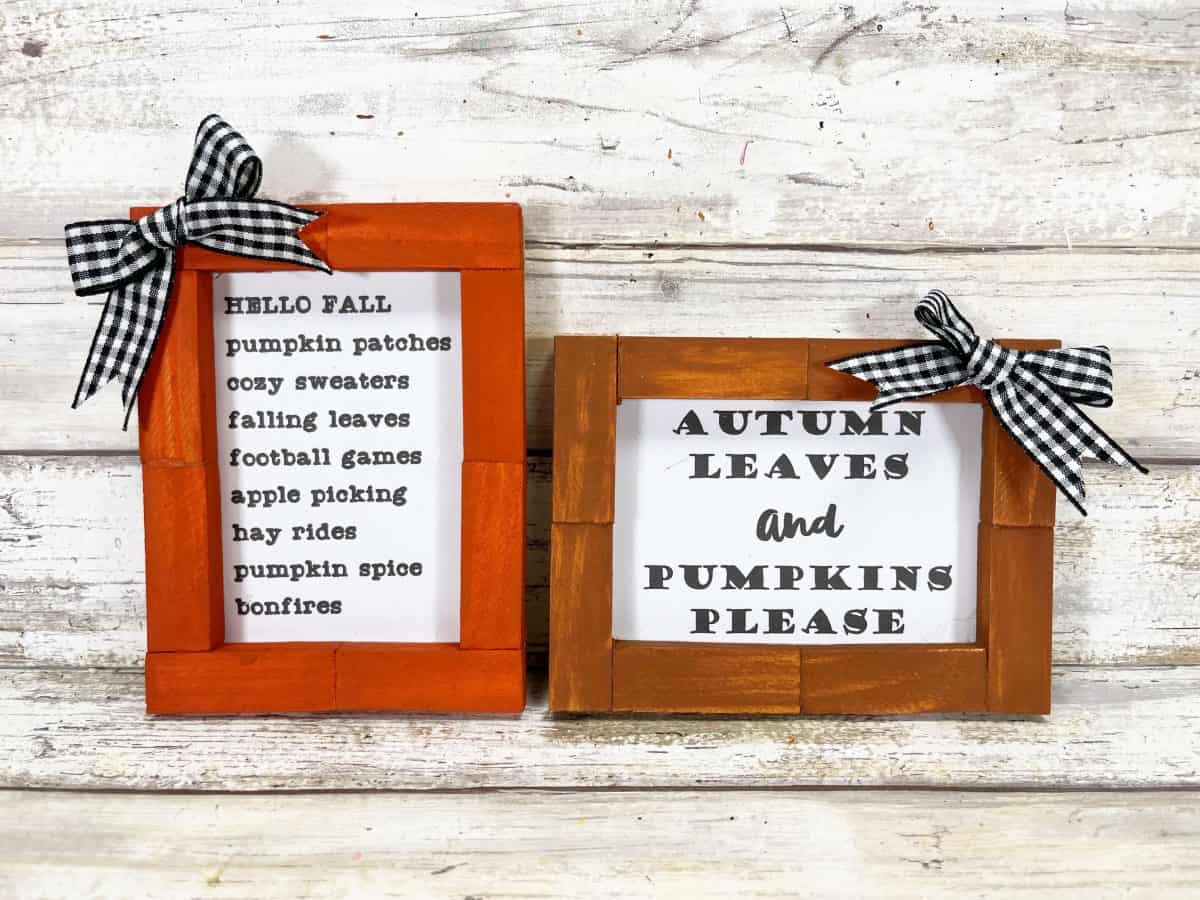
STEP EIGHT. To finish the tumbling tower Fall signs, tie the ribbon in a bow and secure it to the Fall signs with a glue gun and glue sticks.
Show Off Your Crafts!
That’s it! Once you’ve created your beautiful Tumbling Tower Fall Signs, it’s time to display them. Here are some of my favorite ideas!
- Hang them on a wall using command strips or nails.
- Prop them up on a mantel or shelf.
- Gift them to friends and family.
More Fall DIY Ideas
If you enjoyed this, here are some more fun fall crafts and recipes you should make next!
I hope you enjoy your Tumbling Tower Fall Sign Craft. If so, please leave a star ★★★★★ rating and a comment below! Follow along on Pinterest, Facebook, or Twitter for more fun crafts!
Tumbling Tower Fall Signs
Supplies
- Wooden Tumbling Tower Game Dollar Store
- Craft Paint Light Orange, Dark Orange, Light Brown, Medium Brown
- Glue Gun and Glue Sticks Dollar Store
- Ribbon Dollar Store
- Natural Jute Twine Dollar Store
- Adhesive Runner or Glue Stick
- Recycled Cardboard Box
- Cardstock White
- Paintbrush
- Scissors
- Ruler
- Pencil
- FALL SIGNS FREE PRINTABLE
Instructions
- Gather all supplies. Count out 8 of the rectangular wooden pieces from the tumbling tower game for each sign frame. Attach four sets of two pieces together at the ends with a glue gun and glue sticks.
- Create a rectangle with the four sets of tumbling tower game pieces. Attach the game pieces together where they intersect using a glue gun and glue sticks. Repeat to make as many frames as you want.
- Download and print the free printable onto white cardstock and dry-fit the wooden frames over the vertical and horizontal sayings.
- Basecoat the tumbling tower frames with light orange, dark orange, light brown, and medium brown acrylic craft paints. Set aside to dry and apply a second coat, if necessary. Use a paper dessert plate from the dollar store as a paint palette.
- Using a ruler and pencil, measure out rectangles that are 5” by 3.75” onto a cardboard box. One for each sign. Cut out the rectangles with scissors. These cardboard backers will give the cardstock signs extra durability.
- Cut out the Fall signs with scissors. Attach the signs to the blank side of the cardboard with an adhesive runner or glue stick. Trim any edges that don’t line up with scissors.
- Attach the Fall signs to the tumbling tower frames with a glue gun and glue sticks.
- To hang the tumbling tower Fall signs, measure and cut 8” lengths of natural jute twine. Attach to the back of the signs with a glue gun and glue sticks. To display the Fall signs, glue additional tumbling tower game pieces to the bottom of the back of the sign to create a stand.
- To finish the tumbling tower Fall signs, tie ribbon in a bow and secure to the Fall signs with a glue gun and glue sticks.
- Change things up by creating a variety of colors of Tumbling Tower Fall Signs. Your family and friends will never know how quick and easy this trendy Autumn decor was to create!