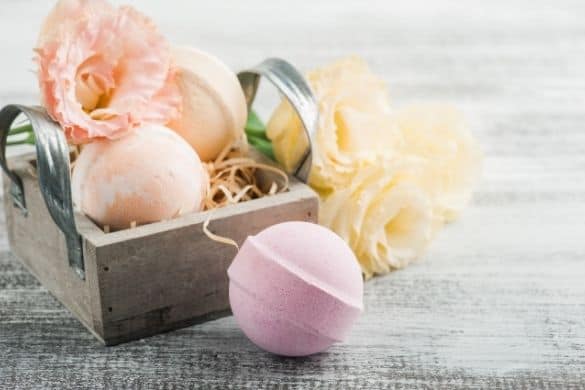
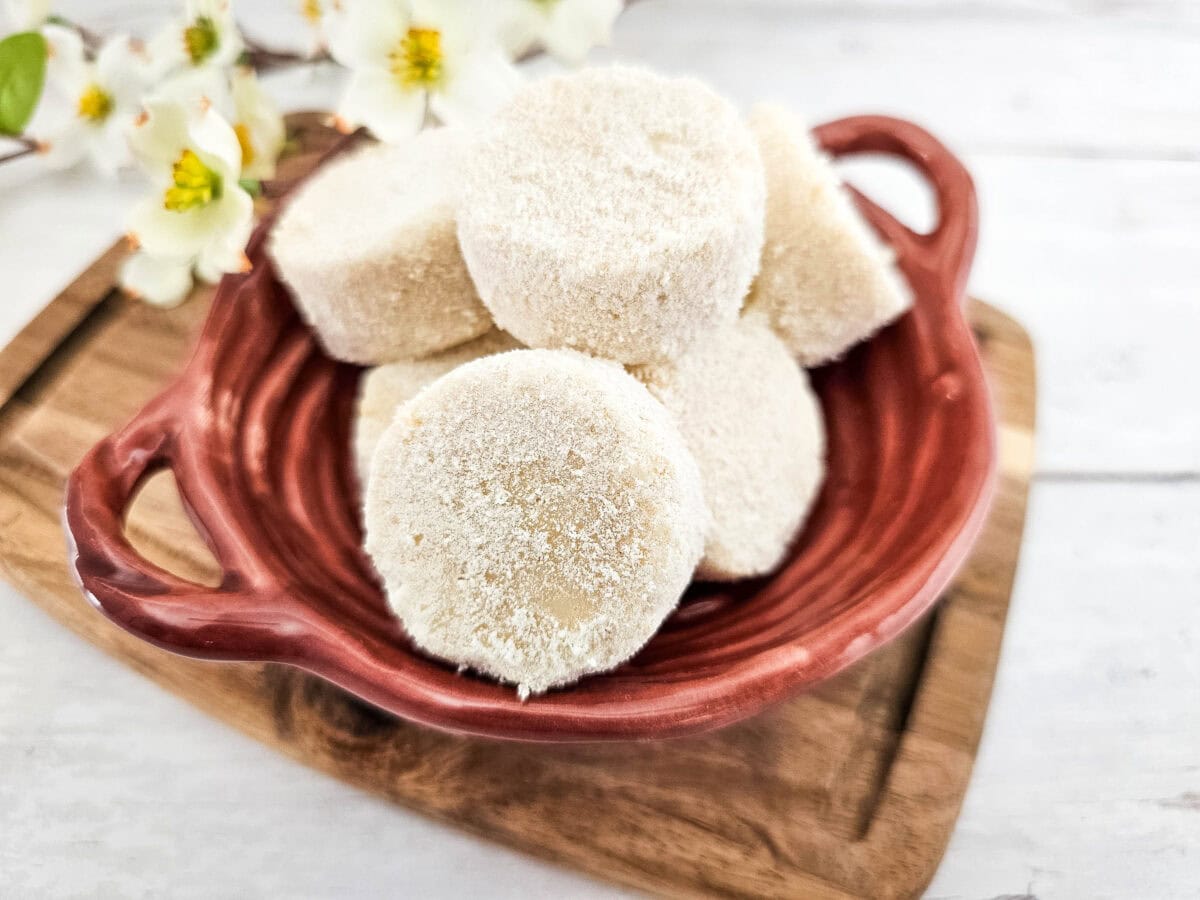
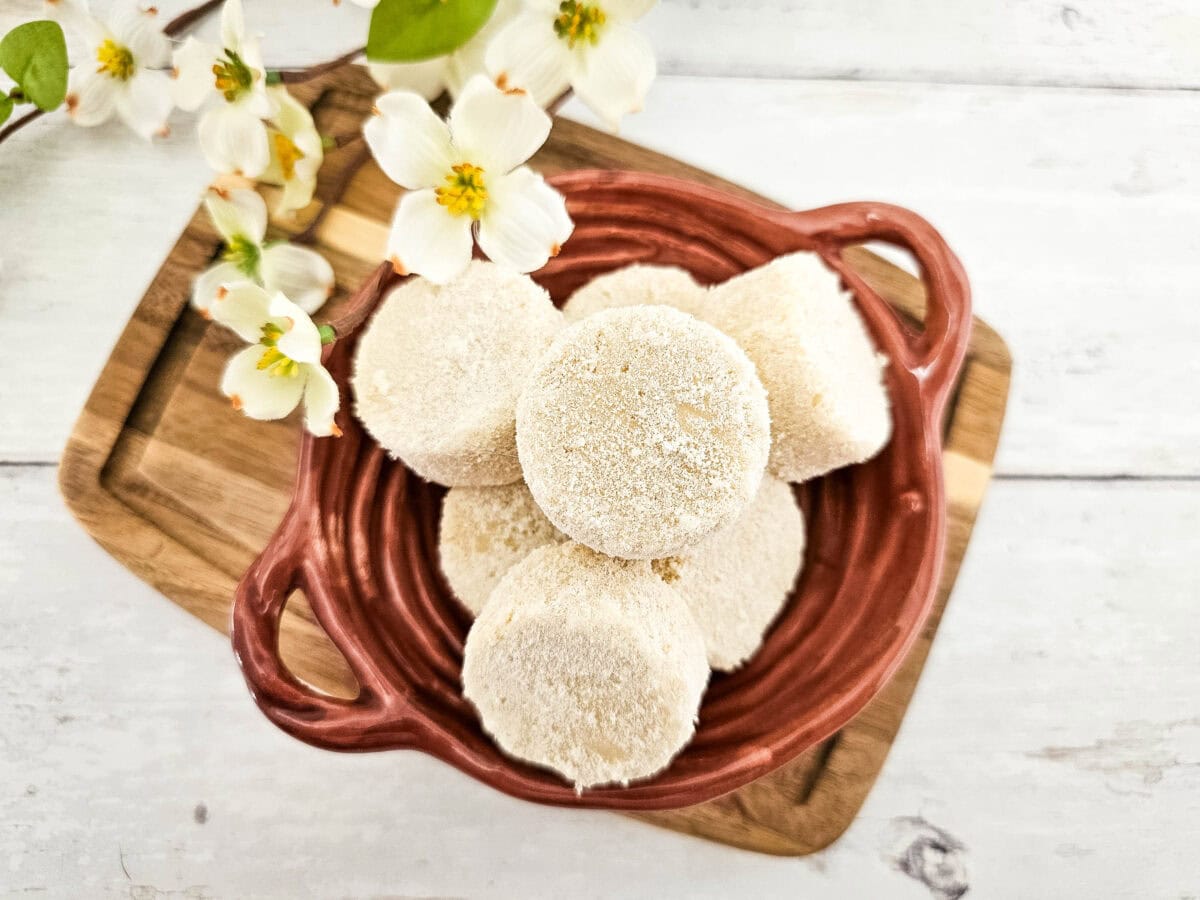
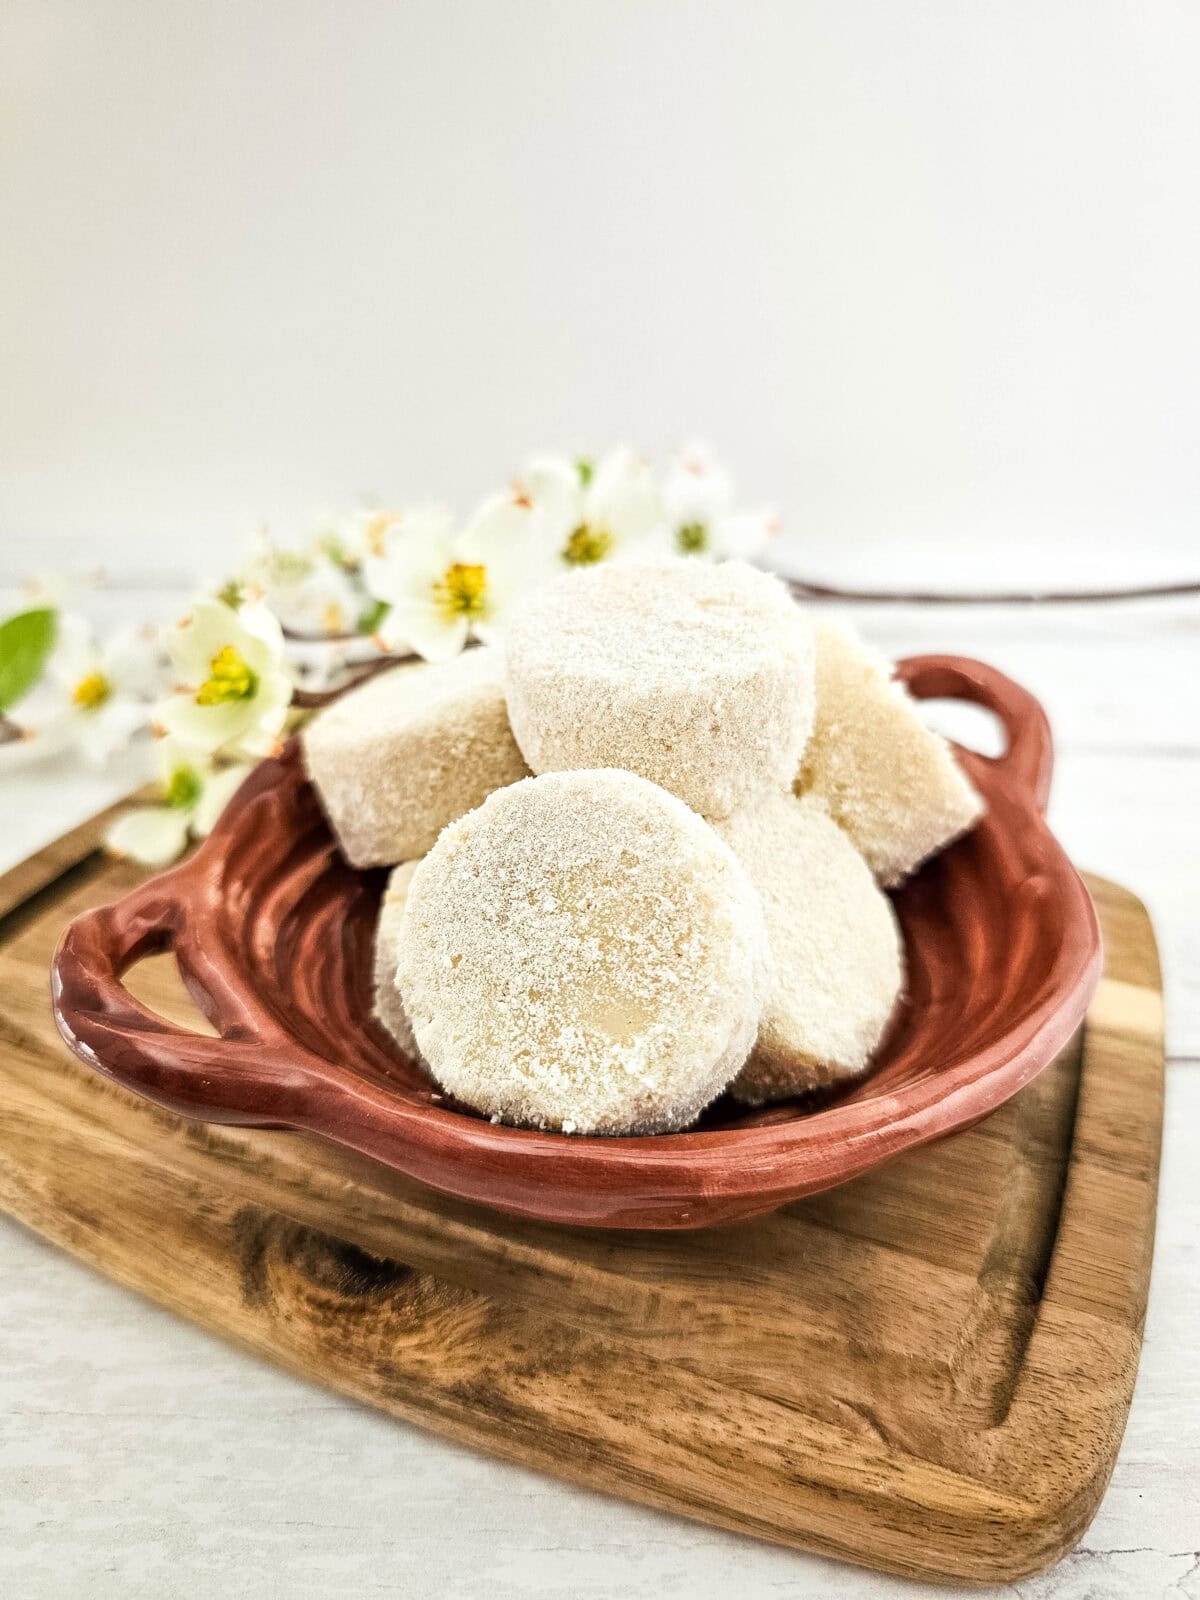
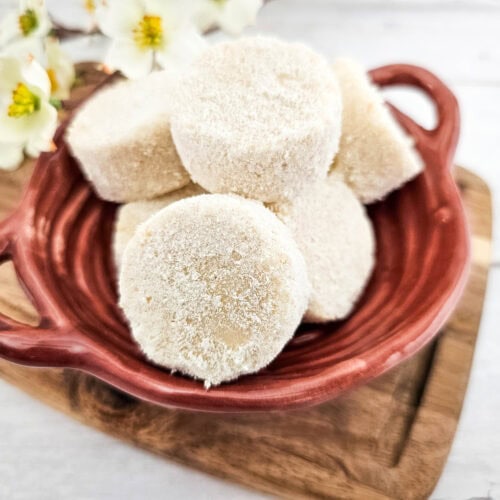
These nourishing bath melts are a simple homemade recipe. Make these DIY milk and honey bath melts for gifting, or for yourself, and enjoy the moisturizing skin benefits. This simple bath DIY takes just a few minutes to make.
Simple Milk and Honey Bath Melts
Need a fun activity for any time of year? Try these Milk and Honey Bath Melts! It’s one of the best self-care DIY ideas that anyone can enjoy making! All you need are a few simple supplies to put this relaxing project together. Trust me—this one’s a winner!
These homemade bath melts use nourishing ingredients like shea butter and honey powder to create a moisturizing, skin-softening treat you’ll love.
The best part? This DIY doesn’t take long to make but packs in a lot of nourishing skin benefits.
Make sure to give the melts plenty of time to air dry so they’re nice and solid before storing them. This is such a fun activity to have ready for a self-care night, a gift basket, or even a rainy day project—and it’s a great way to create thoughtful homemade gifts!
Depending on the age of your kids or teens, they may even be able to help make these milk and honey bath melts all on their own! Once you’ve made a batch, you’ll be so excited to gift them or enjoy a relaxing soak yourself! Be sure to follow the simple step-by-step instructions below to get started.
Jump to…
Why You’ll Love This Craft
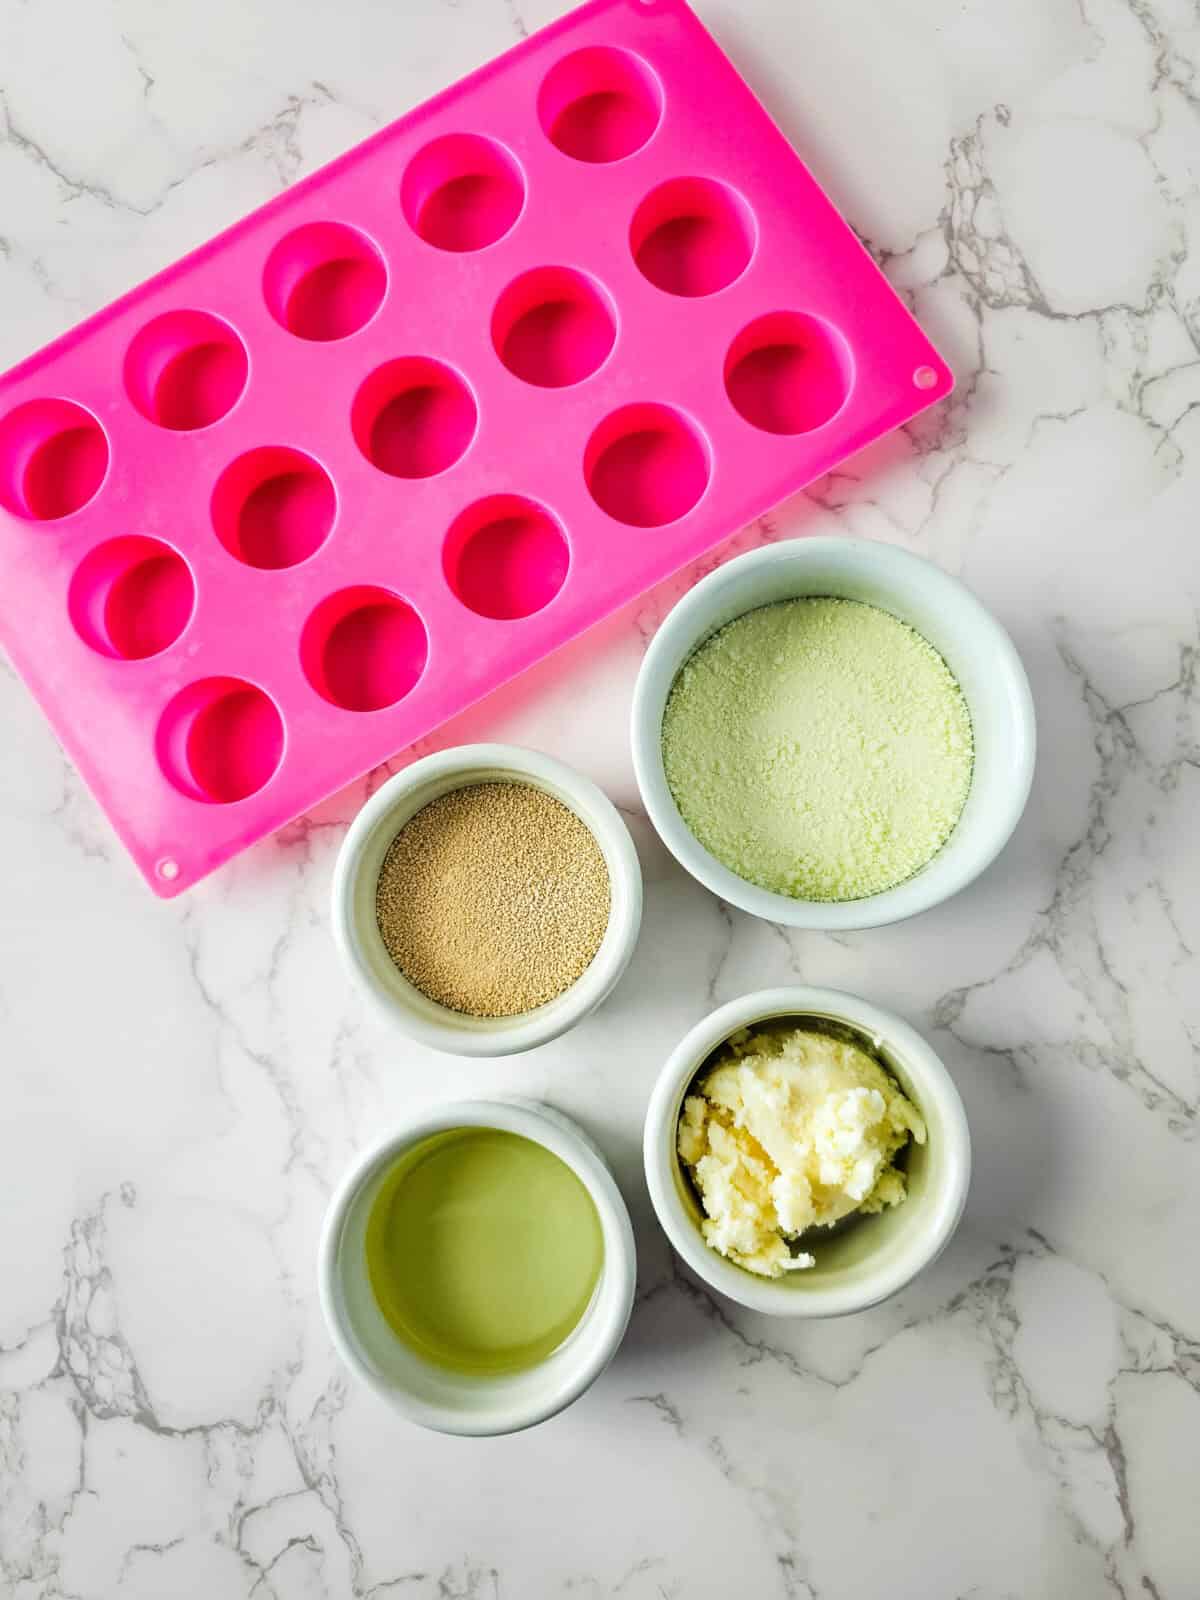
Supplies Needed
Tip: Feel free to personalize your melts with essential oils if you’d like an extra boost of fragrance!
For the full list of supplies and their measurements, please view the printable recipe card at the bottom of the post.
Step by Step Guide
Be sure to check out the full recipe and ingredient list below
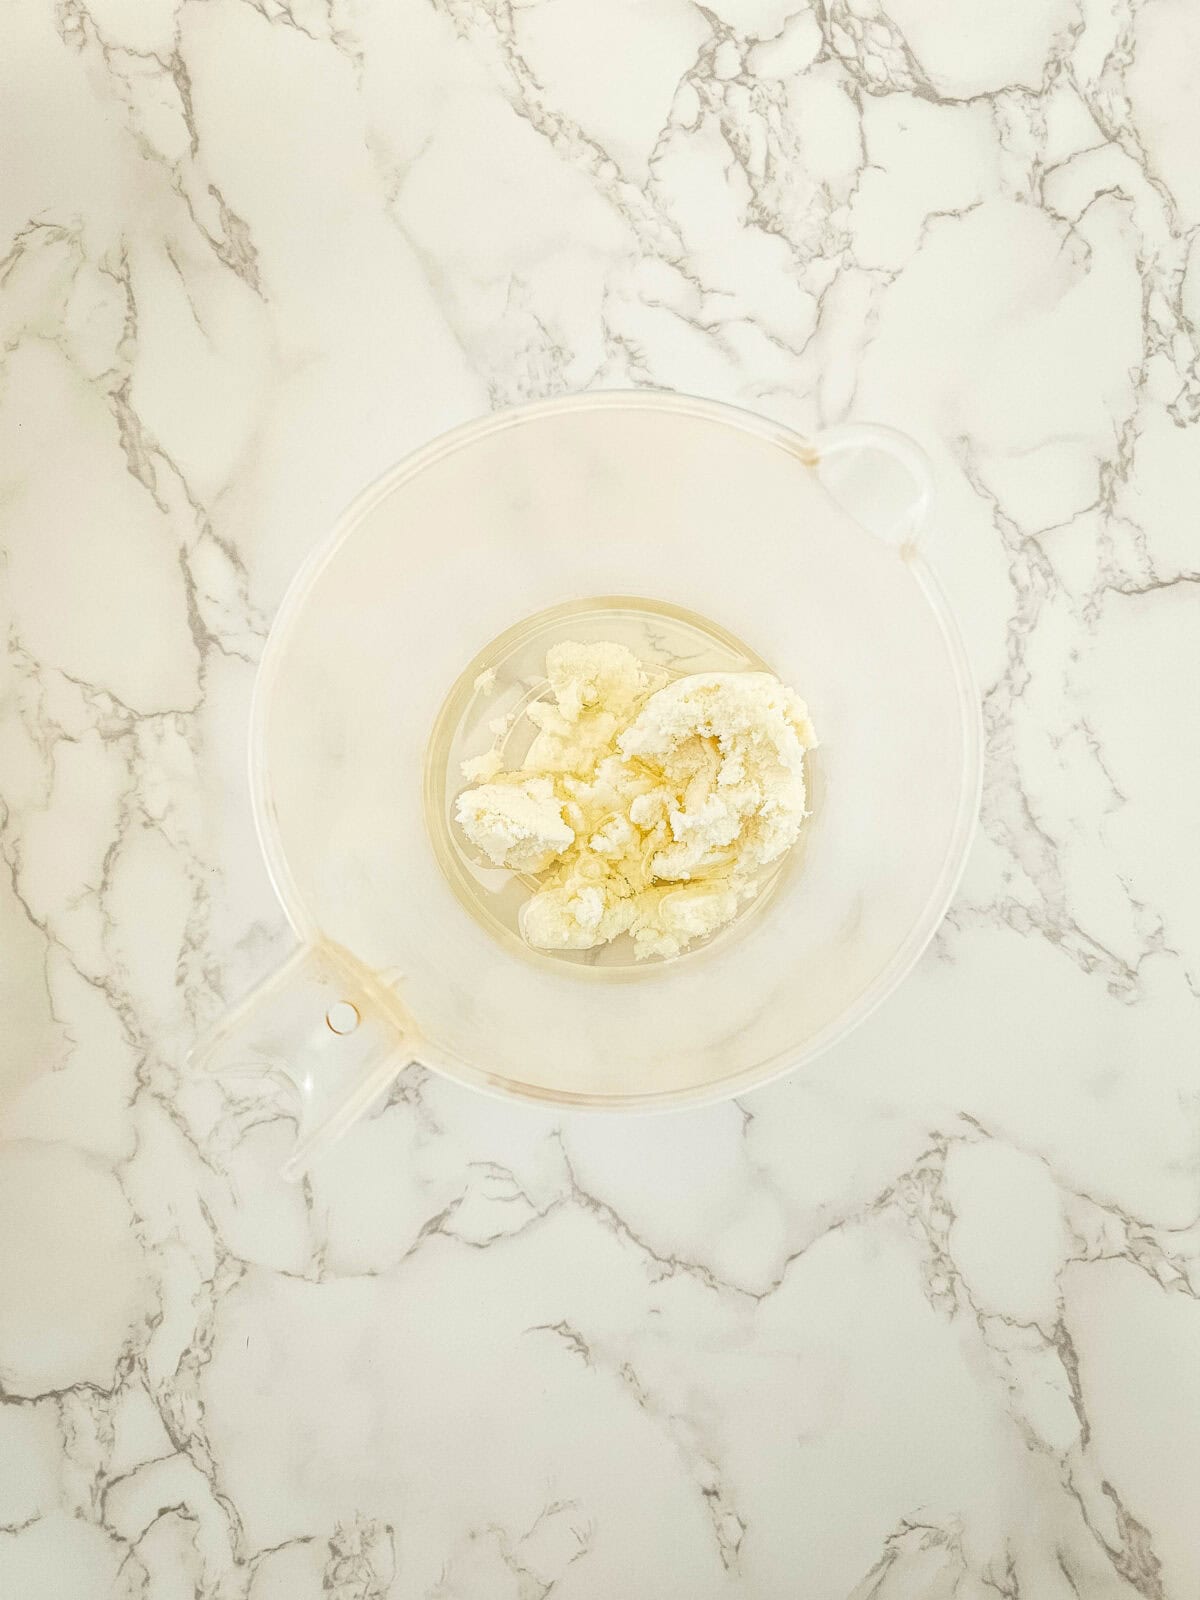
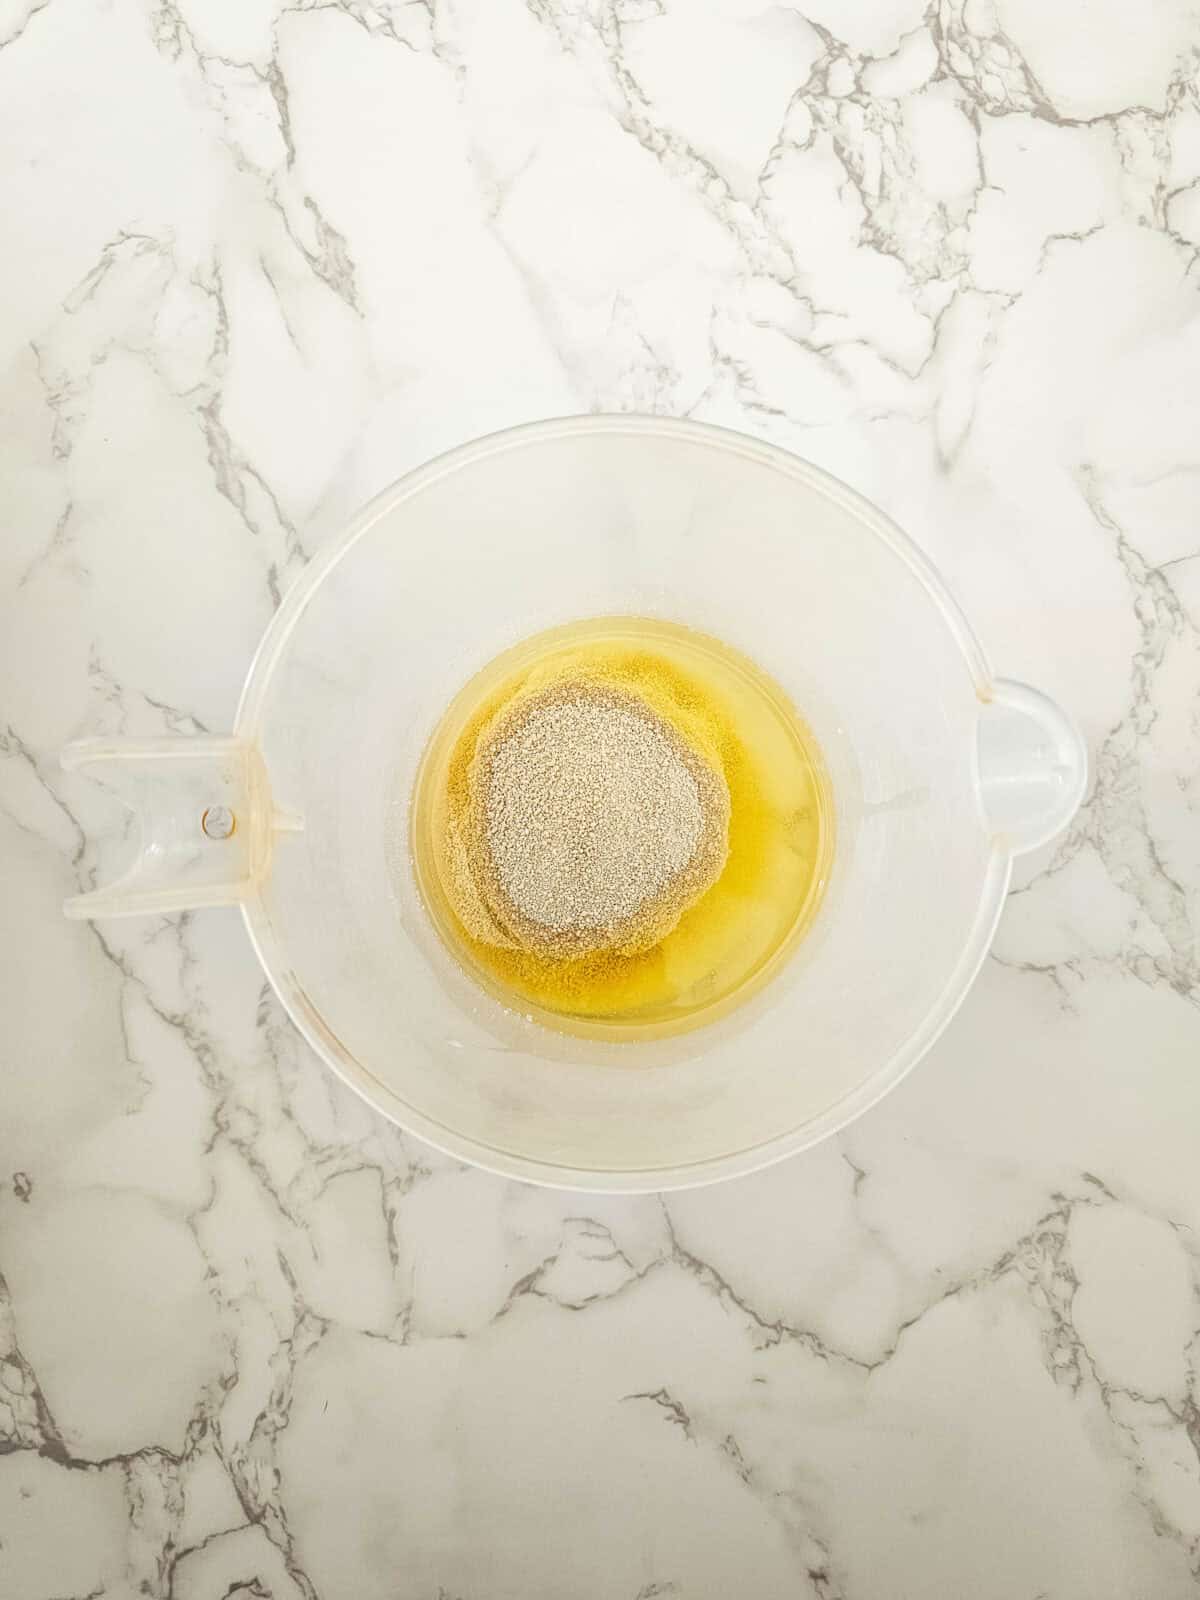
Step 1: Add the shea butter and sweet almond oil to a heat-safe bowl or measuring cup. Microwave on high for 1 minute. Remove and stir well to finish melting the shea butter. If needed, heat for an additional 30 seconds.
Step 2: Add the powdered milk and honey powder to the melted oils, stirring to fully combine.
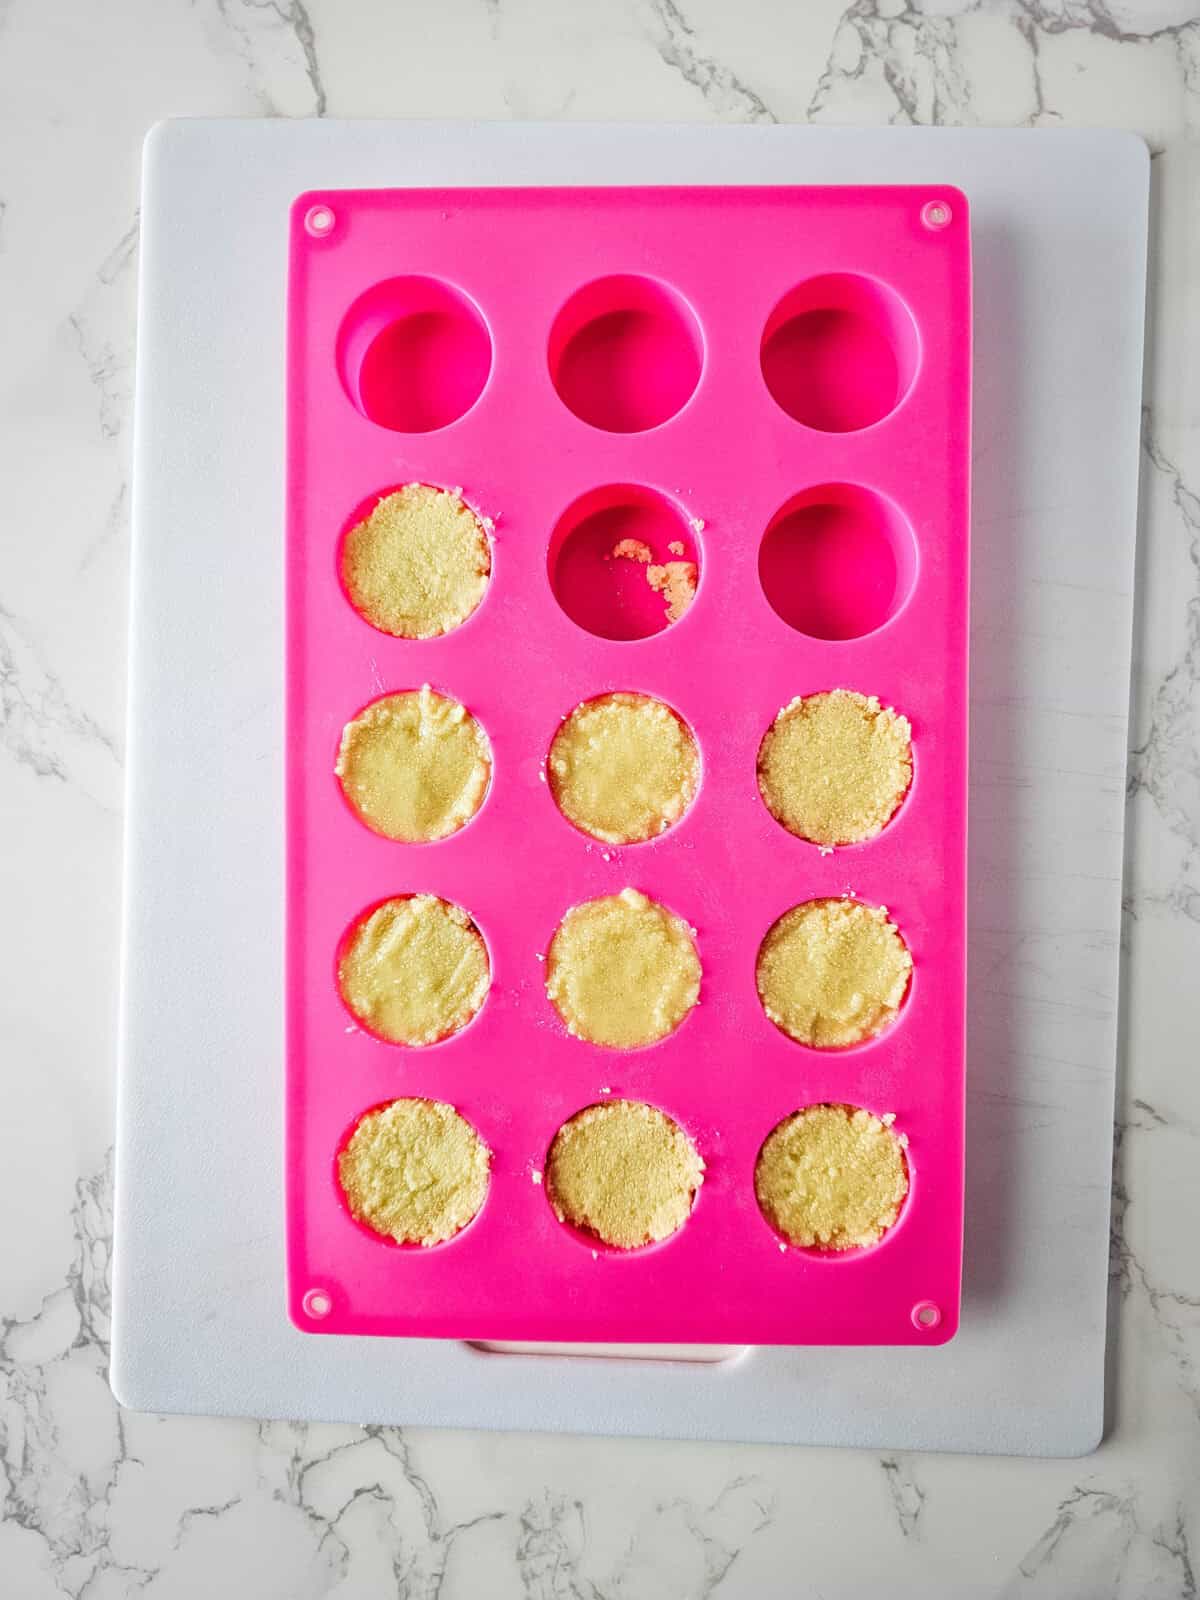
Step 3: Spoon the mixture into the cavities of your silicone mold. You should fill about 10 molds.
Step 4: Allow the melts to air dry for 24 hours to solidify.
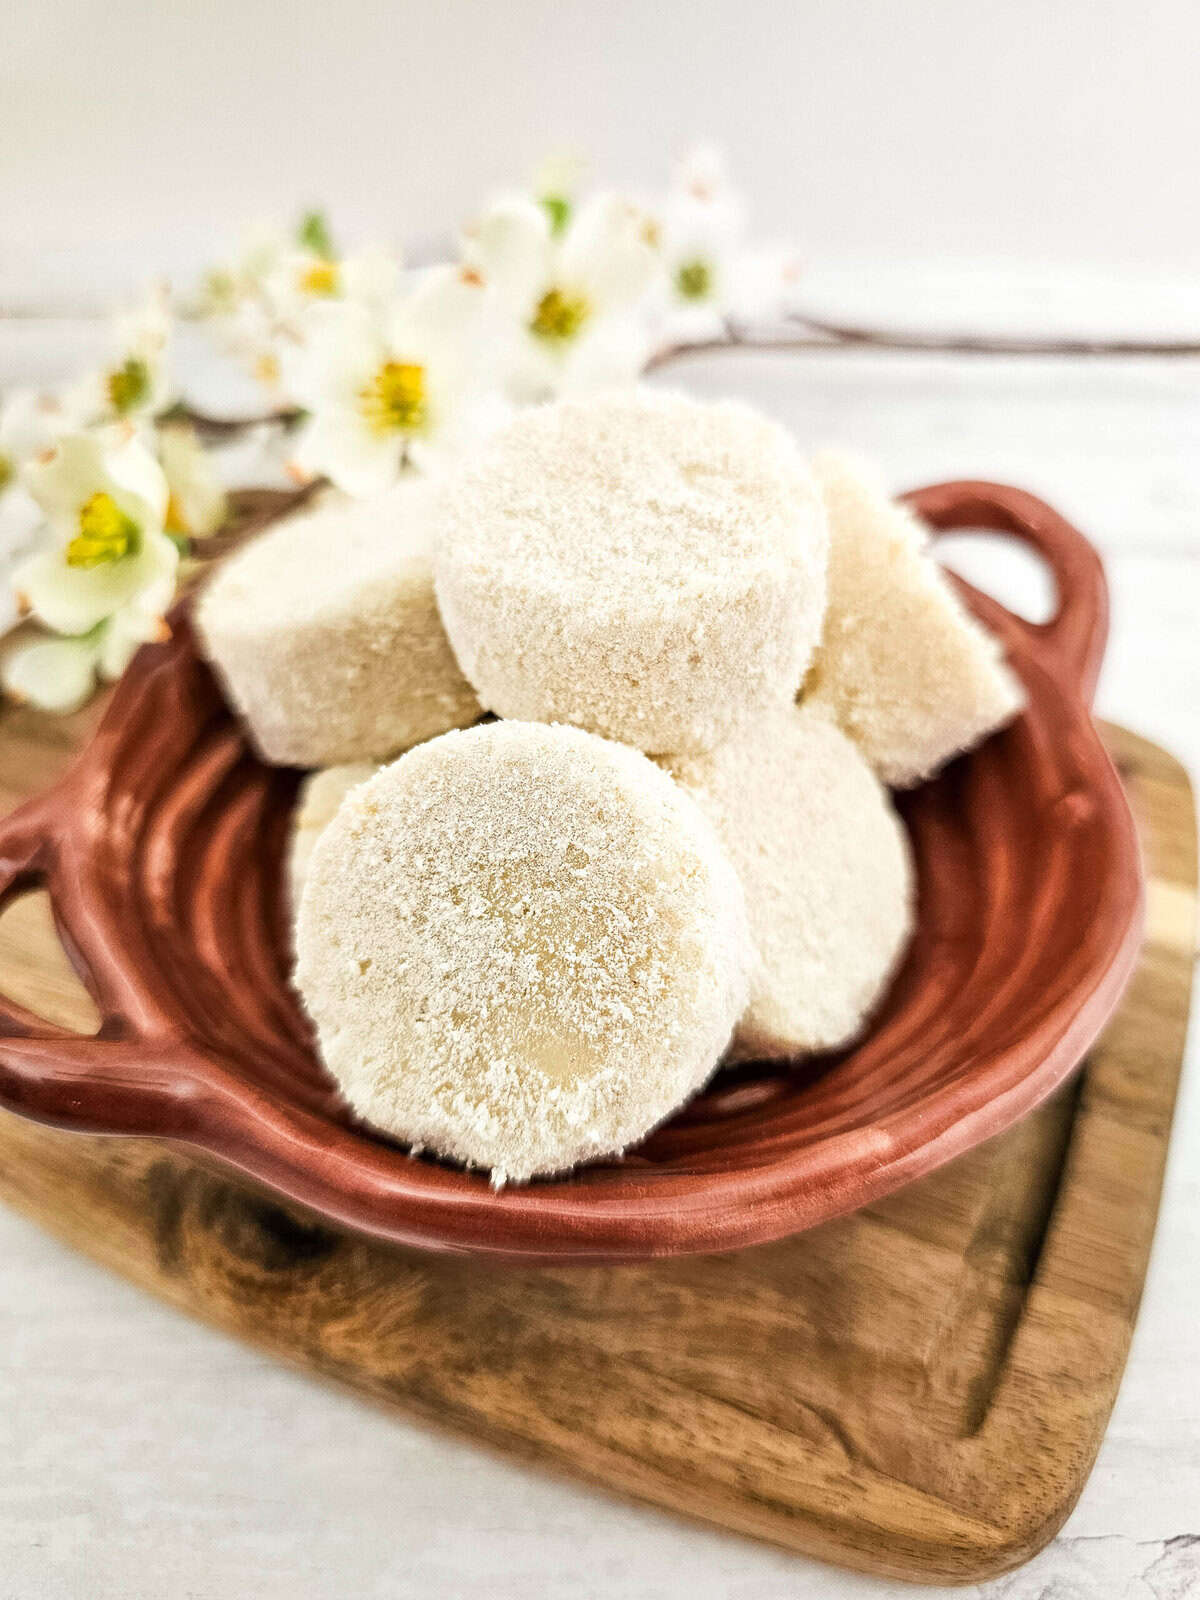
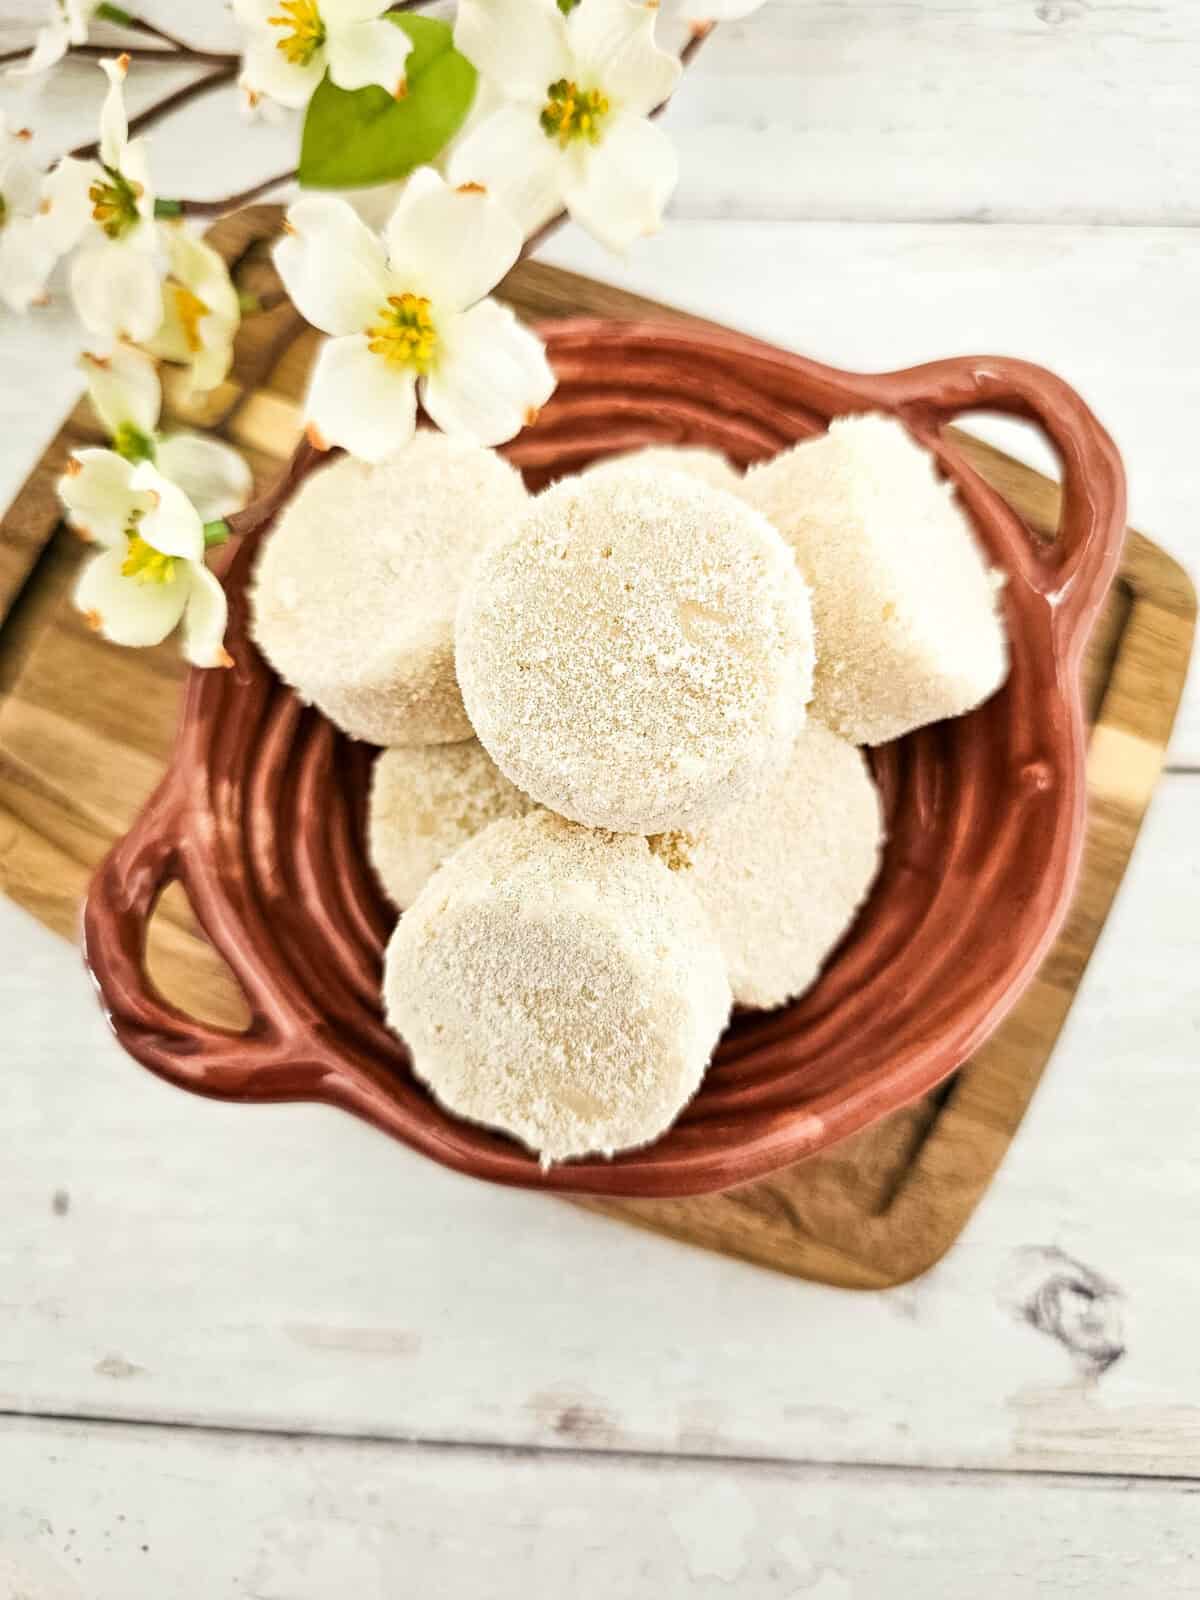
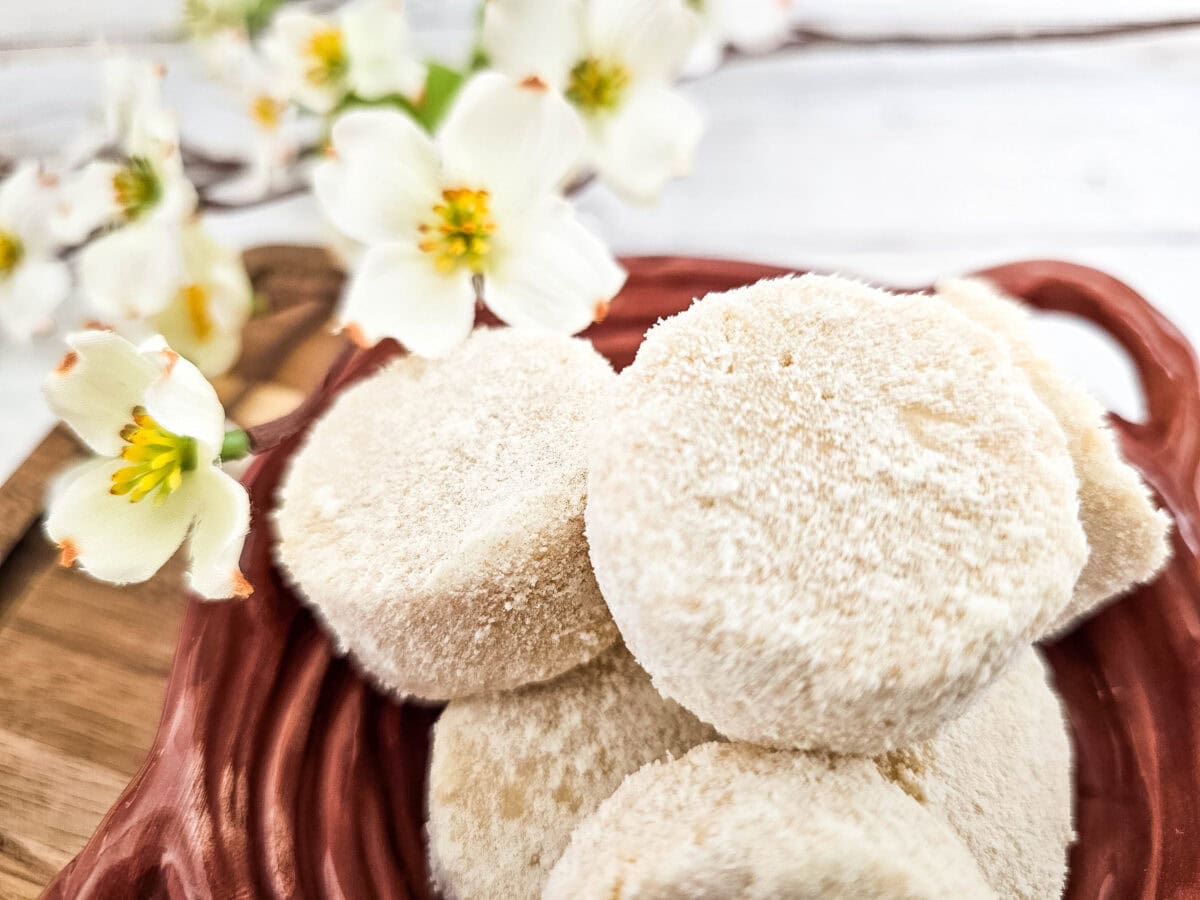
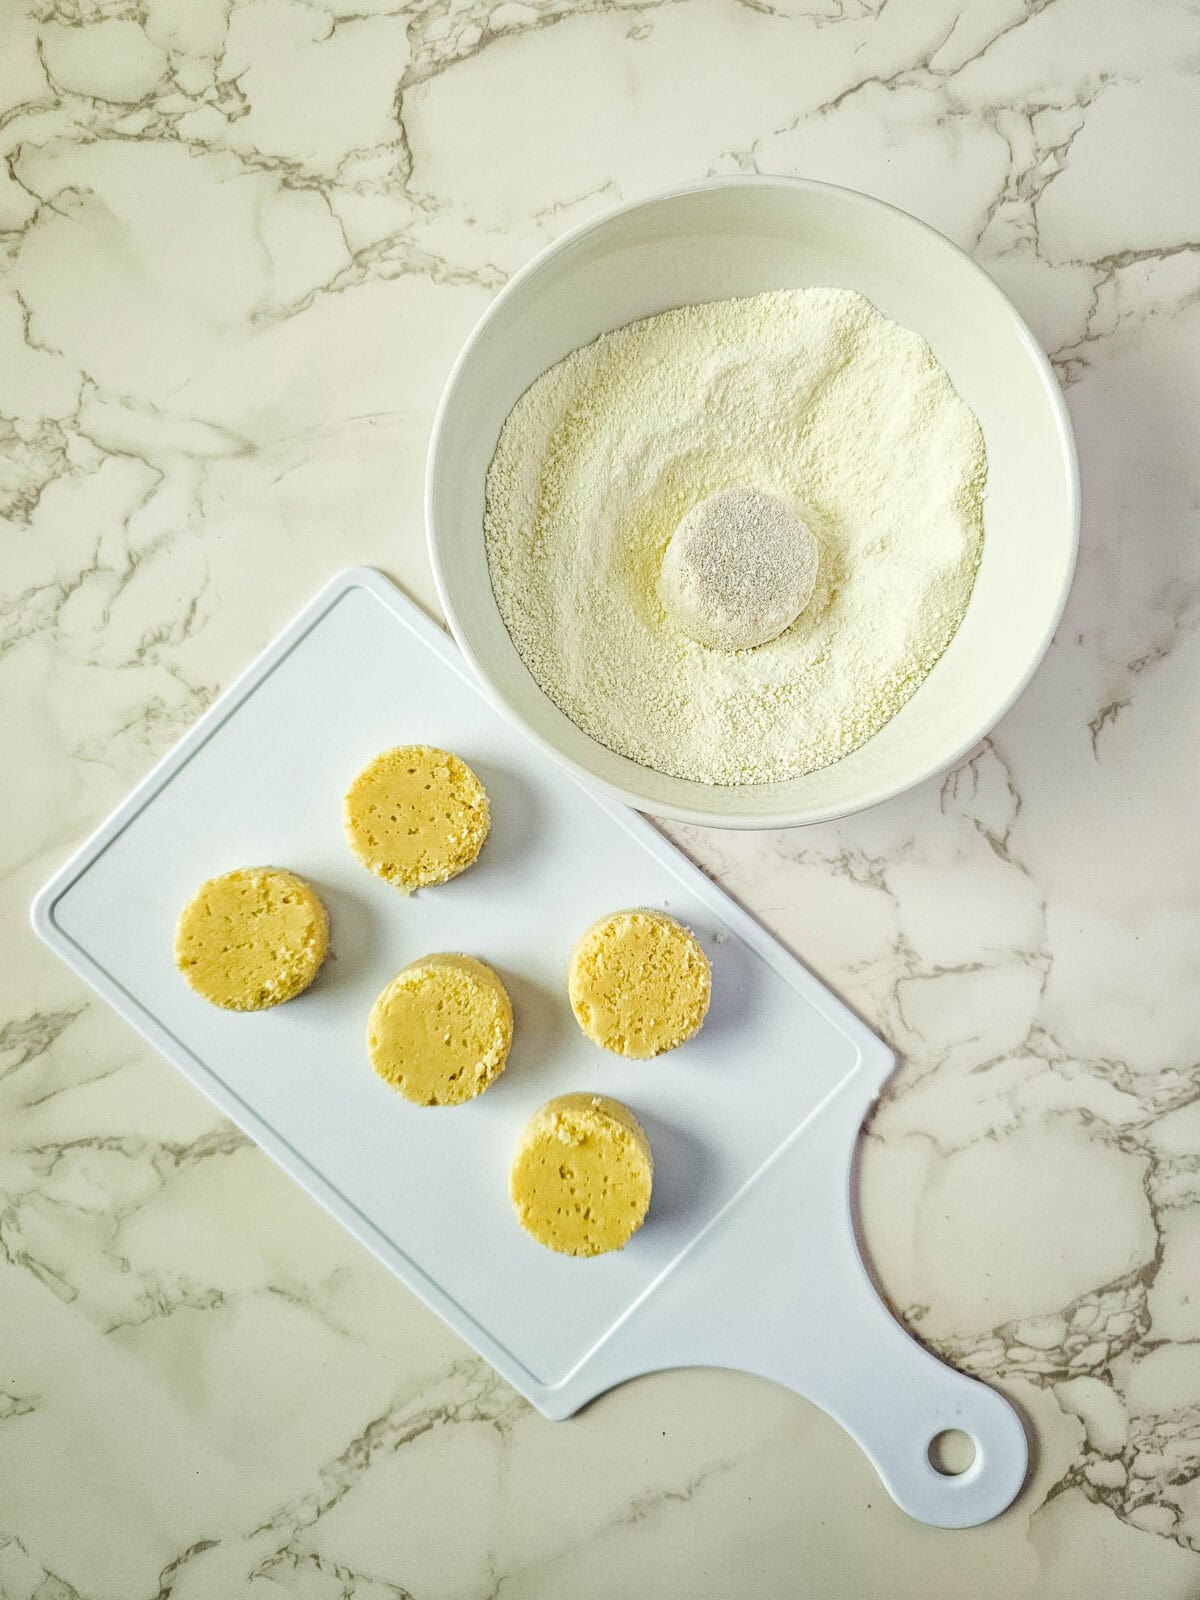
Step 5: Once solidified, remove the bath melts from the mold and roll them in the extra powdered milk.
Step 6: Store your finished bath melts in an airtight container to keep them fresh until you’re ready to use them.
How to Use Milk and Honey Bath Melts
Using your milk and honey bath melts is simple and so luxurious! Here’s how to enjoy them:
- Fill your bathtub with warm water.
- Drop one bath melt into the tub as it’s filling or once you’re ready to soak.
- Watch as it slowly dissolves, releasing nourishing oils and natural moisturizers into the water.
- Step in, relax, and let the rich blend of shea butter, almond oil, milk, and honey soften and soothe your skin.
Tip: Be careful when getting out of the tub, as the oils can make the surface a little slippery.
Tips for Success
- Use high-quality ingredients. Since these bath melts are all about nourishing your skin, using a good quality shea butter, almond oil, and powdered milk will make a big difference in how moisturizing and luxurious they feel.
- Melt gently. Heat the shea butter and almond oil slowly in short bursts to avoid overheating. Overheating can cause the ingredients to lose some of their skin-loving properties.
- Mix thoroughly. Be sure to stir the mixture thoroughly after adding the powdered milk and honey powder. This ensures every bath melt is packed with even, smooth goodness.
- Let them dry thoroughly. Patience is key! Allow the melts to air dry for at least 24 hours before removing them from the mold, ensuring they set properly and don’t fall apart.
- Store them properly. Keep your bath melts in an airtight container in a cool, dry place. This keeps them fresh longer and prevents them from melting or clumping together.
FAQs
How long do milk and honey bath melts last? If stored properly in an airtight container in a cool, dry place, your bath melts can last up to 6 months. Just make sure to keep them away from moisture until you’re ready to use them!
Will the bath melts make my tub slippery? Yes, due to the nourishing oils like shea butter and almond oil, your tub may become slightly slippery. Always use caution when getting in and out of the bath, and give the tub a quick rinse afterward to remove any leftover oils.
Can I add essential oils to the recipe? Absolutely! Feel free to add a few drops of your favorite skin-safe essential oil when you mix in the powdered ingredients. Lavender, chamomile, or vanilla would pair beautifully with the milk and honey scent.
Can I substitute the sweet almond oil? Yes, you can swap sweet almond oil for other moisturizing oils, such as jojoba oil, fractionated coconut oil, or grapeseed oil, if needed.
Are these bath melts safe for sensitive skin? These melts use gentle, natural ingredients, making them generally safe for most skin types. However, if you have extremely sensitive skin or allergies, it’s always a good idea to do a small patch test first or consult with a healthcare provider.
Can kids use these bath melts? Definitely! These are safe for kids with normal skin types. Supervise younger children while they are in the bath, as the water can become slippery due to the oils.

Troubleshooting
My bath melts are too soft. What can I do? If your bath melts are a little too soft and not holding their shape, you can remelt the mixture and add a little extra powdered milk to help firm them up. You can also try chilling them in the fridge for about 30 minutes to help them set faster.
My bath melts are too crumbly. How can I fix them? If the bath melts are crumbling when you remove them from the mold, it usually means they need a bit more moisture. Remelt the mixture and stir in an extra teaspoon of sweet almond oil at a time until the texture is smoother and holds together better.
They aren’t dissolving fully in the bath. What should I do? Make sure the bath water is nice and warm, as cooler water can cause the melts to dissolve more slowly. You can also gently crumble the bath melt under running water to help it break down faster.
Gift Idea: Milk and Honey Bath Melts
Looking for a sweet homemade gift? These milk and honey bath melts make a thoughtful present for birthdays, holidays, Mother’s Day, or just because! Simply place a few melts into a pretty jar, tie it with a ribbon, and add a handwritten tag with the instructions. They’re a perfect way to share a little self-care and love with friends, family, teachers, or neighbors!
Make your homemade bath melts even more special with a cute printable gift tag! You can create simple tags that say things like “Just for You,” “Relax and Unwind,” or “Milk & Honey Self-Care Treat.” Print them out on cardstock, punch a hole at the top, and tie them to your jar with twine or ribbon.
It’s a quick, easy way to add a personalized touch—and it makes your gift look extra polished and thoughtful!
And that’s it! These Milk and Honey Bath Melts come together so easily. Whether you’re making them for birthday gift baskets, a relaxing spa day, or just as a weekend treat, they’re sure to be a hit!
More Fun Crafts to Try
The crafting fun doesn’t stop here! Once you make these milk and honey bath melts, you’ll want to keep the creativity going. Check out these other fun ideas:
Bonus: Check out even more self-care DIYs!
Did you make this? I’d be so grateful if you left a star ★★★★★ rating and a comment below to let me know what you thought! Then, the next time you need a cute craft idea, browse all my fun crafts!
Milk and Honey Bath Melts
Supplies
- ⅓ cup shea butter
- ⅓ cup sweet almond oil
- ½ cup powdered milk plus an additional ¼ cup for rolling
- ¼ cup honey powder
Equipment
- Cylinder silicone mold
Instructions
- Add the shea butter and sweet almond oil to a heat safe bowl or measuring cup, and heat on high for 1 minute. Remove and stir well to finish melting the shea butter. If needed, heat for an additional 30 seconds.
- Add the powdered milk and honey powder, and stir to combine.
- Spoon the mixture into the mold cavities. You will end up filling 10 of them.
- Allow to air dry for 24 hours to solidify.
- Remove from the mold, then roll in powdered milk.
- Store in an airtight container.