Do y’all decorate for Valentine’s Day? I don’t go all out like I do at Christmas, but I do like to throw in a few seasonal touches here and there. I also don’t like to spend too much money on decorations for this holiday since it is so short. I usually don’t start putting things up until the very end of January so it is pointless to me to spend a bunch of money on decorations that will only be out for a couple of weeks.
That’s why I try to do as many DIY projects and crafts as I can for this holiday. So today I am going to show you how to make easy and simple paper heart banners that you can hang anywhere your heart desires – no pun intended!
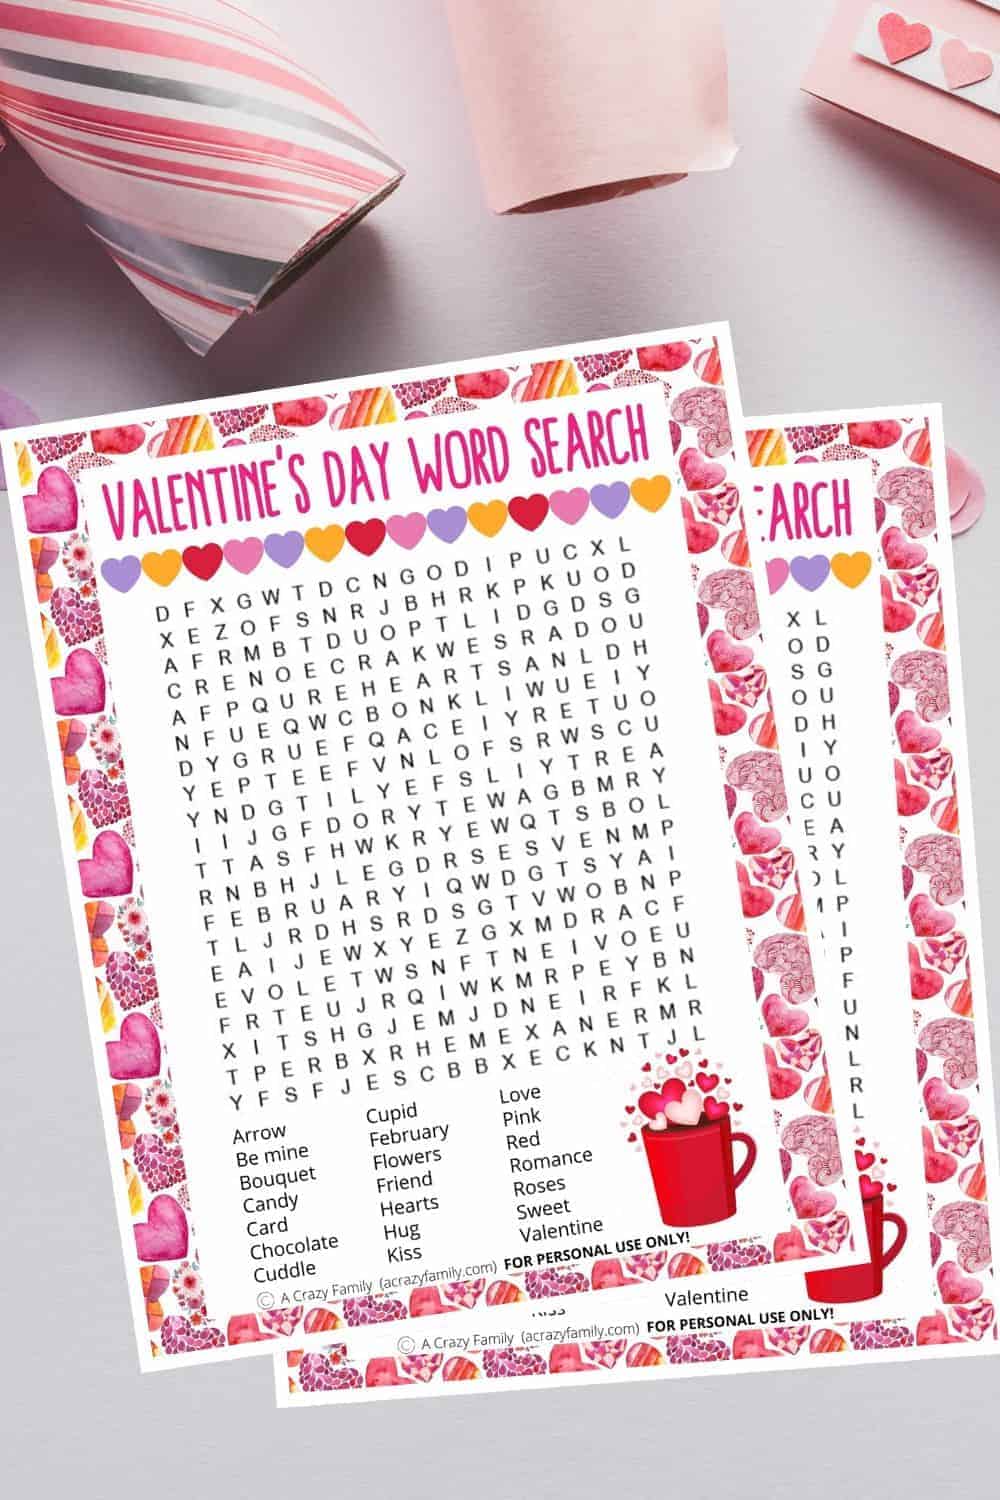
See Also: For even more Valentine’s Day Ideas check out our collection of romantic ideas by clicking here.
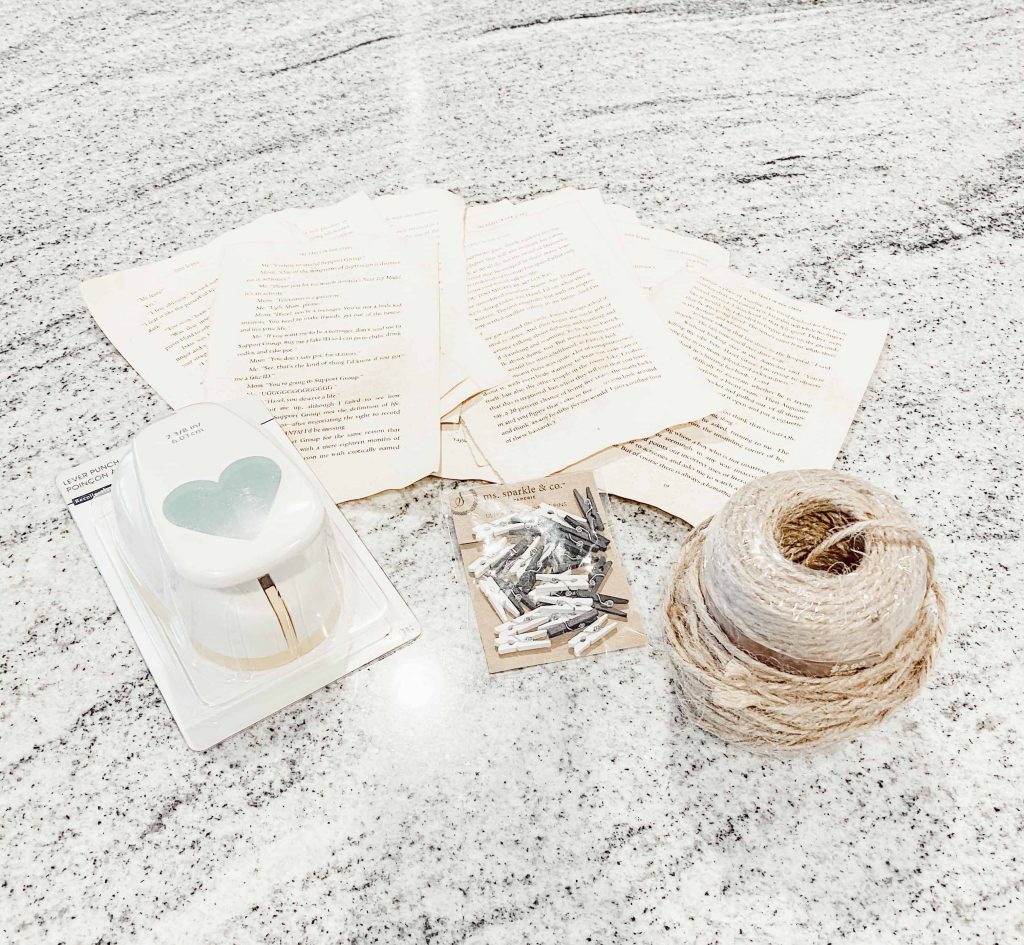
Supplies Needed:
- Antiqued, Stained Paper (Click here to read all about my technique for staining paper- which is also super easy to do as well!)
- Heart Lever Punch
- Twine/String
- Mini Clothespins
Make Your Paper Hearts
So the first thing you are going to do is make your paper hearts for this banner.
All you have to do is take your antiqued paper and punch hearts out using a heart lever punch. I got mine from Michael’s and you can see the different options they have here. I am sure you can find these at any of your local craft stores as well. I used the smaller one (2 ⅜ in by 6.03 cm), but if you want to use the bigger size, that would definitely turn out great too.
Depending on how long you want your banner to be will determine how many paper hearts you need to cut out. It also depends on how far you want them to be spaced apart too. I didn’t measure mine or anything like that, I just kind of eyeballed it. Like I said, I wanted this to be a quick and easy DIY so no need to be precise!
Construct Your Banner
Once you’ve cut out your hearts then you’re going to want to lay out your banner and place the hearts on the twine how you want them to hang. I attached the hearts with some cute mini clothespins I found at Joann’s. You can see all the different options they have here as well. I used a mixture of black and white clothespins for this project.
You could also punch holes through the hearts and string them along the banner if you wanted to do that instead of using clothespins. I just had some of those laying around from another project I did- my Vintage Valentine Banner that I hung on my hutch. You can go check out how I made that banner too if you’re interested. I used these same little paper hearts for that project as well.
Hang Up Your Banner
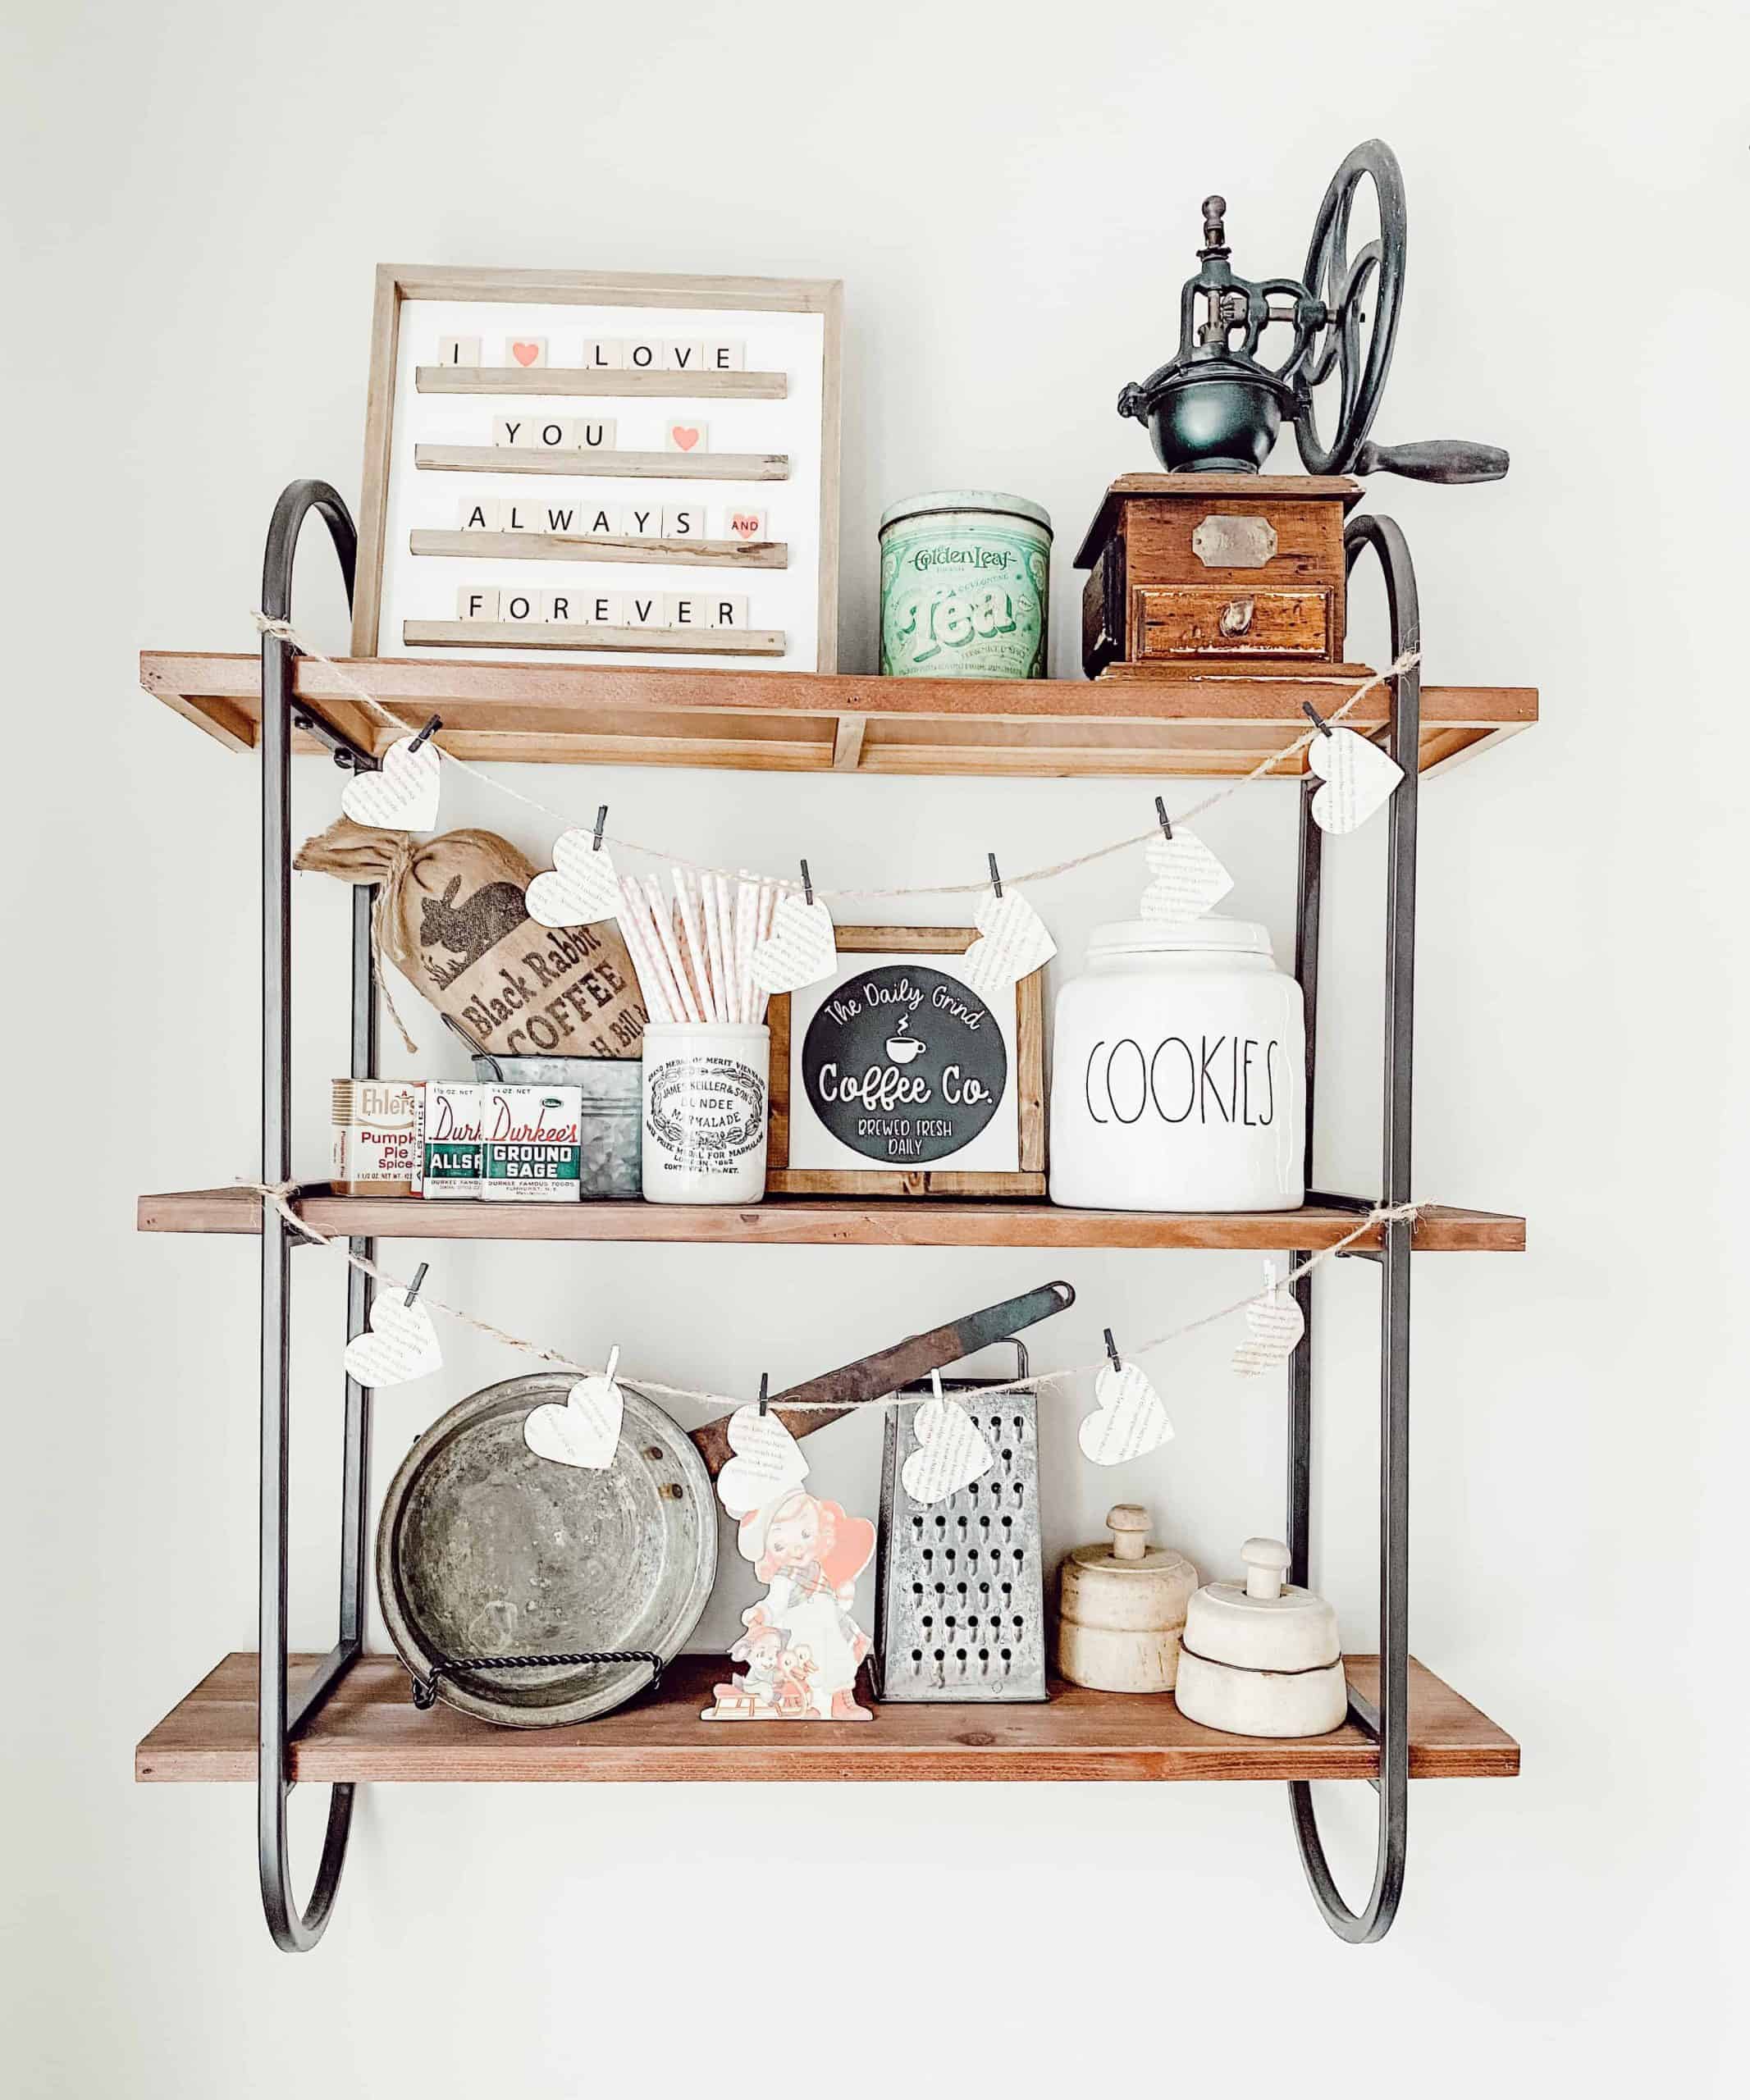
So the last step is pretty obvious, you gotta hang up your banner wherever you would like! I made two small banners and I hung them on our open shelves in our dining room. I love the way they turned out.
It added just enough Valentine’s flair without overdoing it. I like the neutral look to this banner as well. I know you can just buy a cheap banner and hang it up, but I didn’t want a bright red and pink one. I wanted something more vintage-inspired and neutral. My open shelves don’t have a lot of color to them either and I have a lot of vintage goodies styled on them so I wanted to keep that vibe going. I just added a few subtle touches of red and pink without overdoing it.
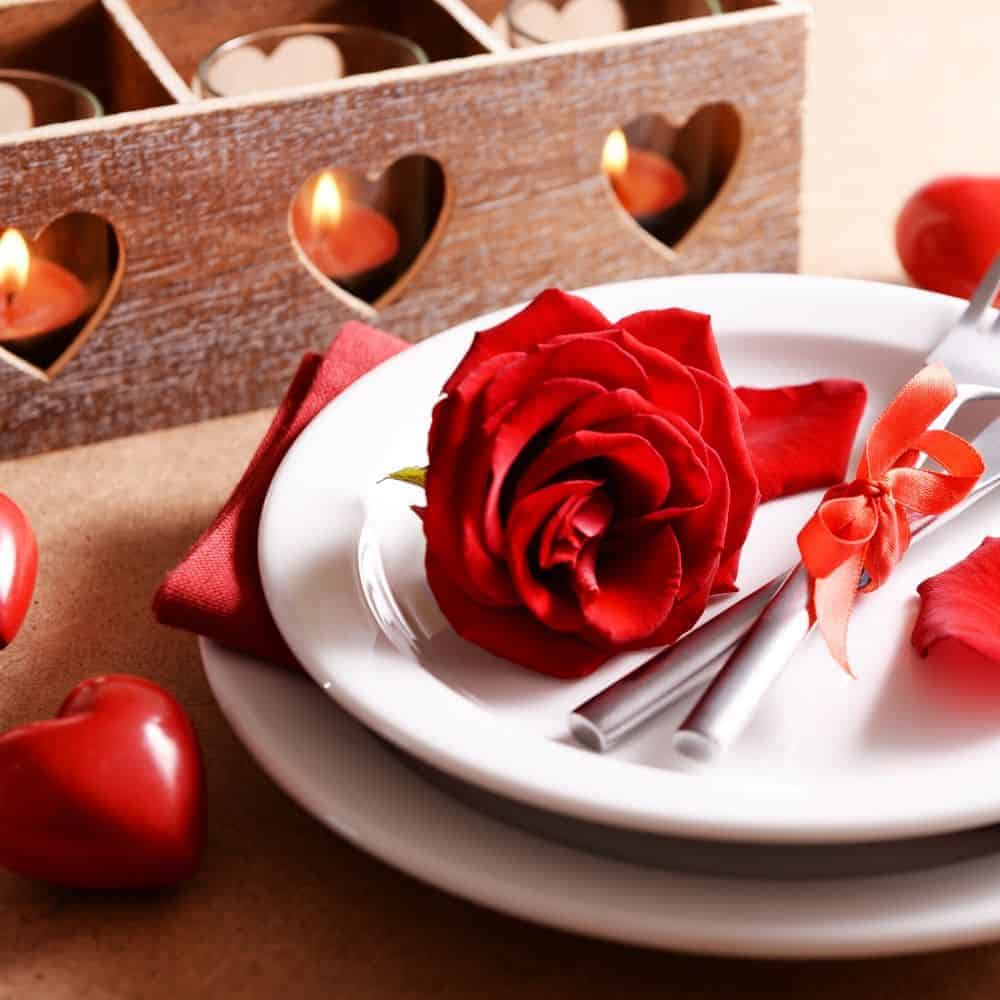
It’s funny how your style can change from year to year as well. Last year, I was all about the hot pinks for Valentine’s Day and this year all I want is more subtle and neutral tones for it, especially in my dining room area. I plan on incorporating these same paper hearts for my Valentine tablescape too this year!
I will try to share all about my Valentine tablescape with you all soon so you can get inspired as well.

I hope this simple DIY project is one that you will try out this holiday season. It would be the perfect project to make with your kids as well since it is very easy and quick.
Let me know if you make one too and where you decide to hang it. I would love to see it! Thanks so much for stopping by and I hope you all have a wonderful day!


Awww! These are super cute. Thanks for sharing that.
Of course! I am always happy to share easy and simple DIY projects!
This is so cute and such a good idea! I love this so much x
Thank you so much Sophie. I appreciate it!
Thank you so much Sophie. You are too kind!
Love this idea! I’m always looking for easy to do deco bits to do round my house and for events! Thanks x
Yes, no problem. This is definitely very easy and simple to do!
I absolutely love this idea! I’m going to make these for valentines!! Thank you.
Jazmin
No problem! You definitely should! It was so easy and fun to do!
This is such a cute idea and seems easy enough for me to do, I am so not the crafty type. I bet my kids would like to do these with me too!
Yes! I love doing easy and simple DIYs. I am not too crafty either so I try to keep it as easy as possible.
These are really cute! Will see if my boys want to help me make some for Valentines ?
Oh yes! That would be so much fun to do altogether!
Ooh this is such an amazing idea!
Love, Amie ❤
Thank you so much Amie! I appreciate it!
That’s very cute! It seems simple too. Inspiring me to see what Valentine’s decor I have in the basement to pull out and if I could make a garland like that!
Yes! You should definitely try it out! It was so simple and easy to do!
An incredibly simple and brilliant idea, thanks!
Mark/ Mark’s Travel Journal
No problem! Thank you for stopping by!
These are so cute! Great for a quick Valentine’s decoration. Cheers 🙂
Thank you! Yes, it is perfect for a quick and easy valentines day craft!
This is so genius!!! I like the idea of recycling paper instead of buying colored papers! Love this and thanks for sharing ?
– Hazel
Thank you so much Hazel! I appreciate it!
What a cute idea!
Thank you so much!
Oh I love how this has turned out and looks! Such a great, simple idea and decoration. It looks fab against the shelving unit too.
I think I will have to give something like this a go!
Aimsy xoxo
Thank you! You definitely should try it out. It was so easy and fun to do!