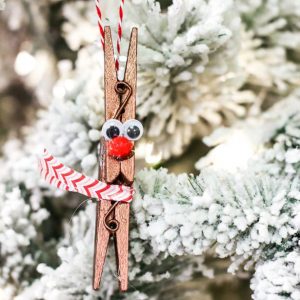
Wooden Clothespin Reindeer Ornament


This easy wooden clothespin reindeer ornament is perfect for Christmas. It’s a quick and easy project that you can make with your kids and it makes a cute ornament for your tree or as a gift. All you need are some basic supplies that you may already have on hand.
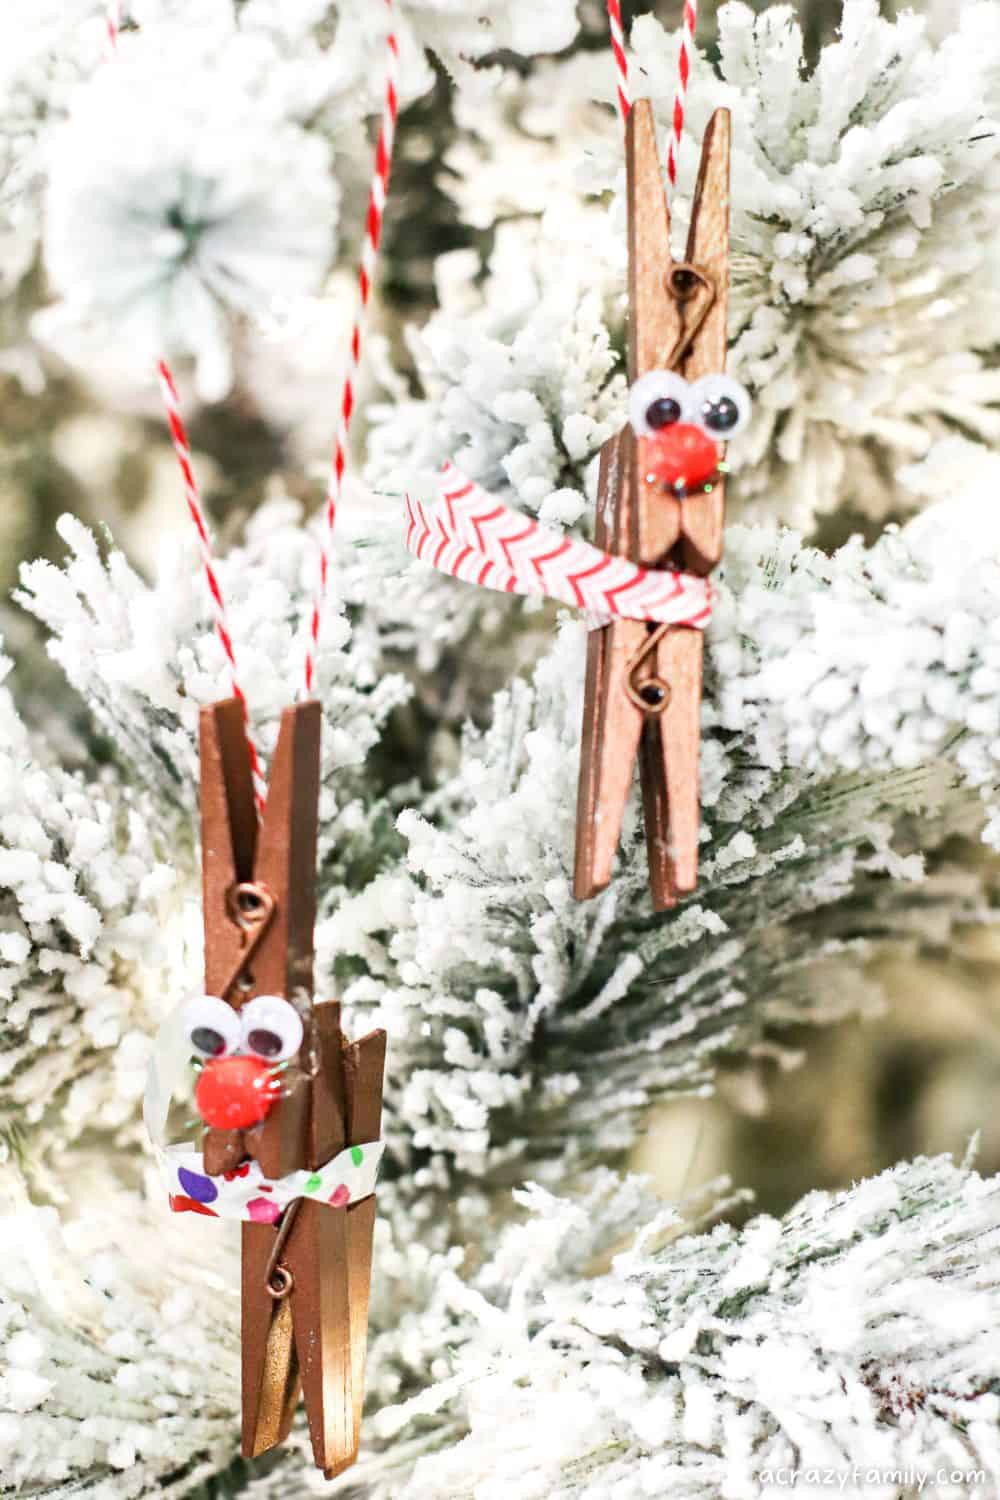
Want a fun craft to make with the kids this holiday season? This wooden clothespin reindeer ornament is the perfect way to add a homemade touch to your holiday decor. They are simple and quick, kids can make these clothespin reindeer ornaments in about 30 minutes. Plus, they are really cute!
If you’re looking for more easy ornament ideas, here are more of our favorites:
Now let’s make your own wooden clothespin reindeer ornament.
Disclaimer: Please note that some of the links below are affiliate links, and at no cost to you, I will earn a commission if you purchase through those links. Please see my Disclosure and Privacy Policy for more information.
Supplies
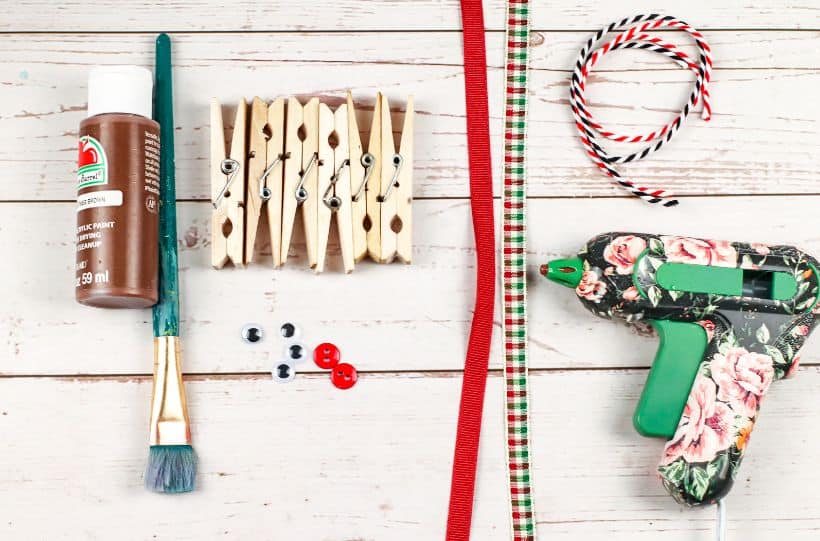
- Wooden clothespins
- Brown paint
- Small pre-made bows or Holiday Ribbon
- Small googly eyes
- Red button or pompom
- Ribbon or twine
Equipment & Tools
- Foam brush
- Ruler
- Scissors
- Craft glue or hot glue gun
SEE THE FULL INSTRUCTIONS BELOW
How to Make Your Clothespin Reindeer Ornament
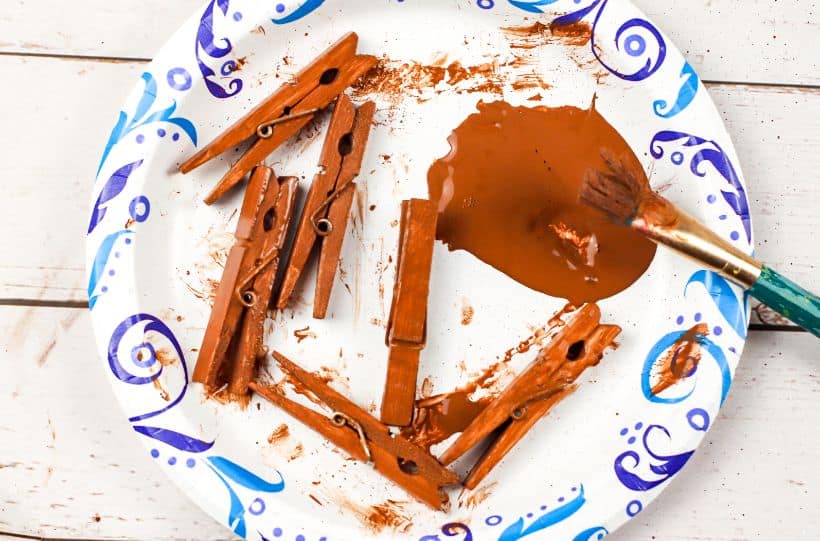
Step 1: Paint 3 clothespins with the brown paint. Allow to dry completely before applying a second coat. Allow that coat to dry completely before moving on to the next step.
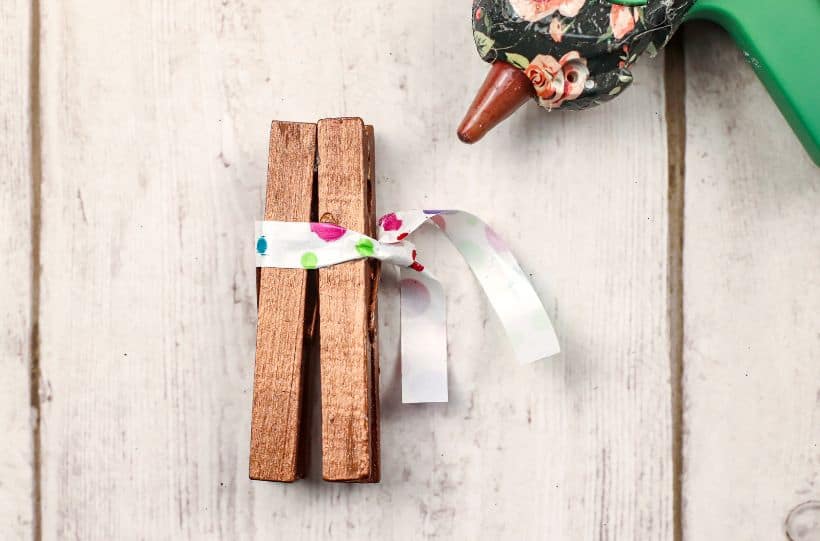
Step 2: Using the craft glue or glue gun, attach two of the clothespins front to back (refer to the photo). This is the body of the reindeer.
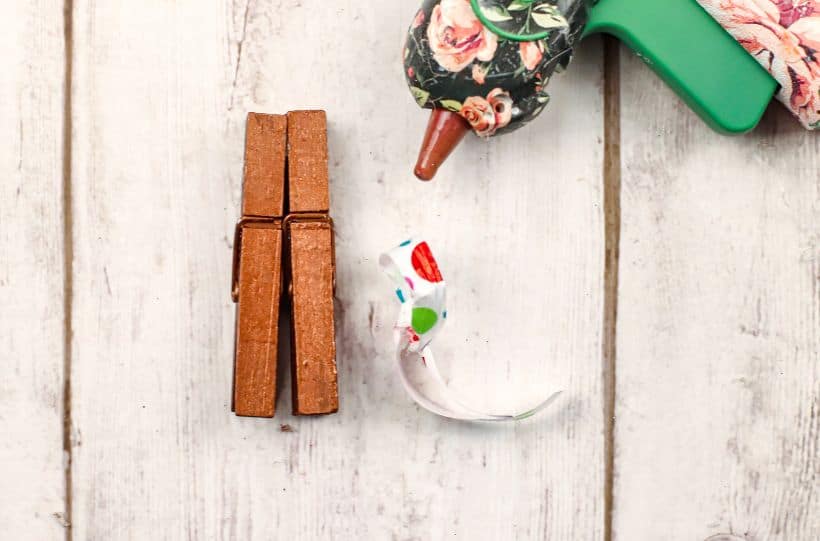
Step 3: Cut a 4” length of ribbon and fold it in half, making a crease (this is your middle point). At the crease, attach the ribbon to the back of the reindeer’s body, about 1” from the top, with a bit of glue and tie it into a double knot around the front. This is his scarf.
Step 4: Using the craft glue or glue gun, attach the final clothespin to the front of the body, just above the scarf. This is the reindeer’s head.
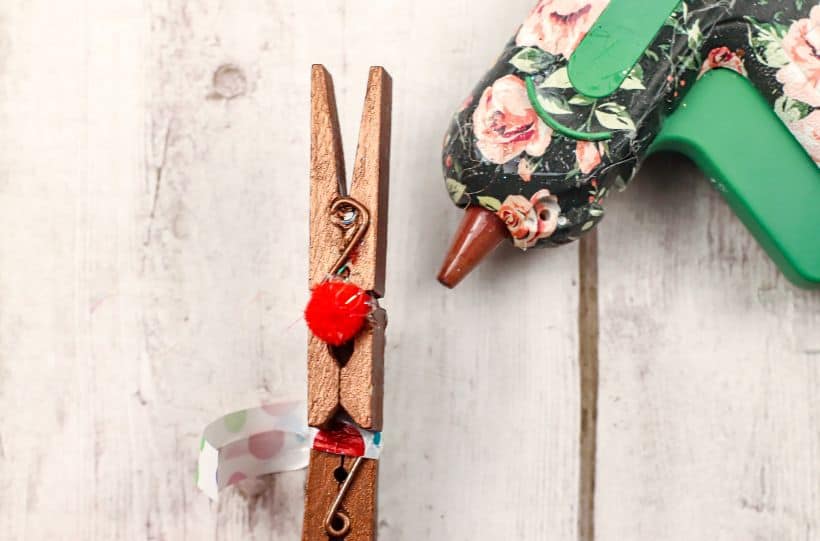
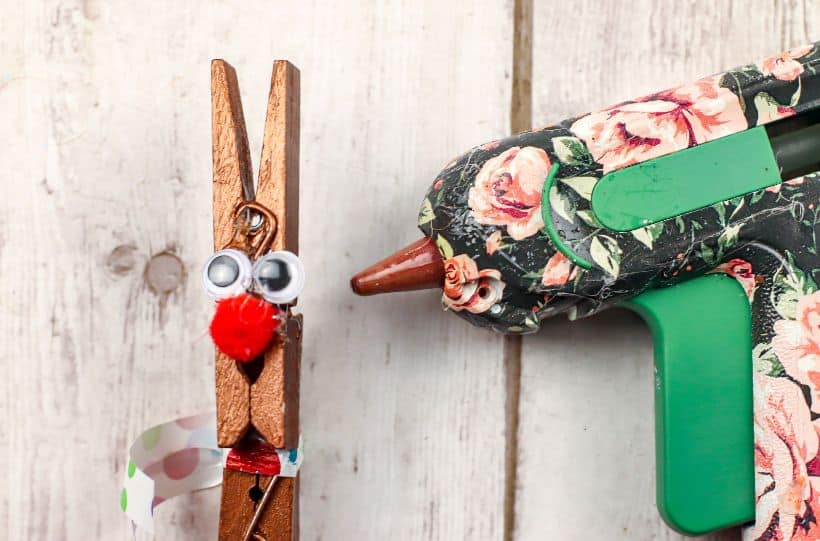
Steps 5-6: Using the craft glue or glue gun, attach the red button or pompom to the reindeer’s head, covering the hole of the clothespin. Attach the eyes above the nose.
Step 7: Cut a 6” length of ribbon or twine, form a loop, and using the craft glue or glue gun, attach it to the top of the back side of the ornament. Allow to dry completely before hanging.
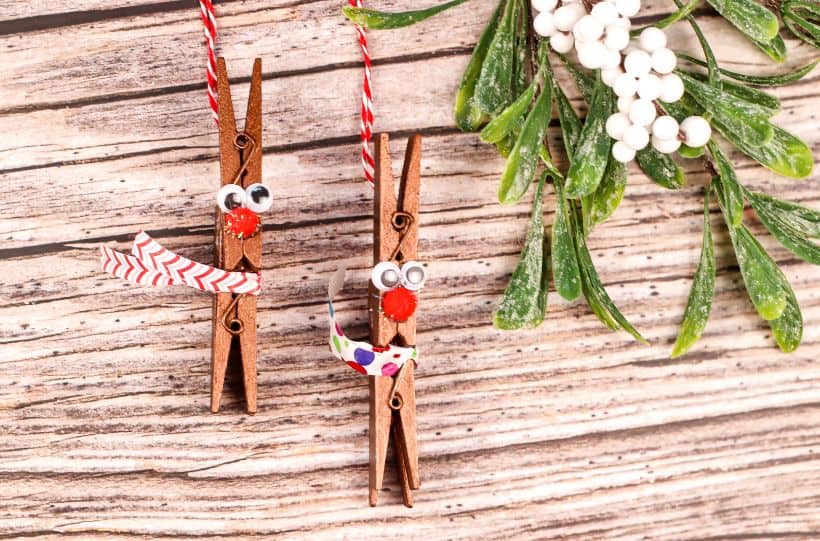
Kids will enjoy creating these clothespin Christmas crafts to gift to family and friends or for decorating the Christmas tree.
Wooden Clothespin Reindeer Ornament
Supplies
- 3 Wooden clothespins
- Brown paint
- Small pre-made bows or Holiday Ribbon
- Small googly eyes
- Red button or pompom
- Ribbon or twine
Equipment
- Foam brush
- Ruler
- Craft glue or hot glue gun
Instructions
- Paint 3 clothespins with brown paint. Allow to dry completely before applying a second coat. Allow that coat to dry completely before moving on to the next step.
- Using the craft glue or glue gun, attach two of the clothespins front to back (refer to the photo). This is the body of the reindeer.
- Cut a 4” length of ribbon and fold it in half, making a crease (this is your middle point). At the crease, attach the ribbon to the back of the reindeer’s body, about 1” from the top, with a bit of glue and tie it into a double knot around the front. This is his scarf.
- Using the craft glue or glue gun, attach the final clothespin to the front of the body, just above the scarf. This is the reindeer’s head.
- Using the craft glue or glue gun, attach the red button or pompom to the reindeer’s head, covering the hole of the clothespin. Attach the eyes above the nose.
- Cut a 6” length of ribbon or twine, form a loop, and using the craft glue or glue gun, attach it to the top of the back side of the ornament. Allow to dry completely before hanging.