This easy wooden clothespin snowflake ornament is perfect for Christmas. It’s a quick and easy project that you can make with your kids and it makes a cute ornament for your tree or as a gift. All you need are some basic supplies that you may already have on hand.
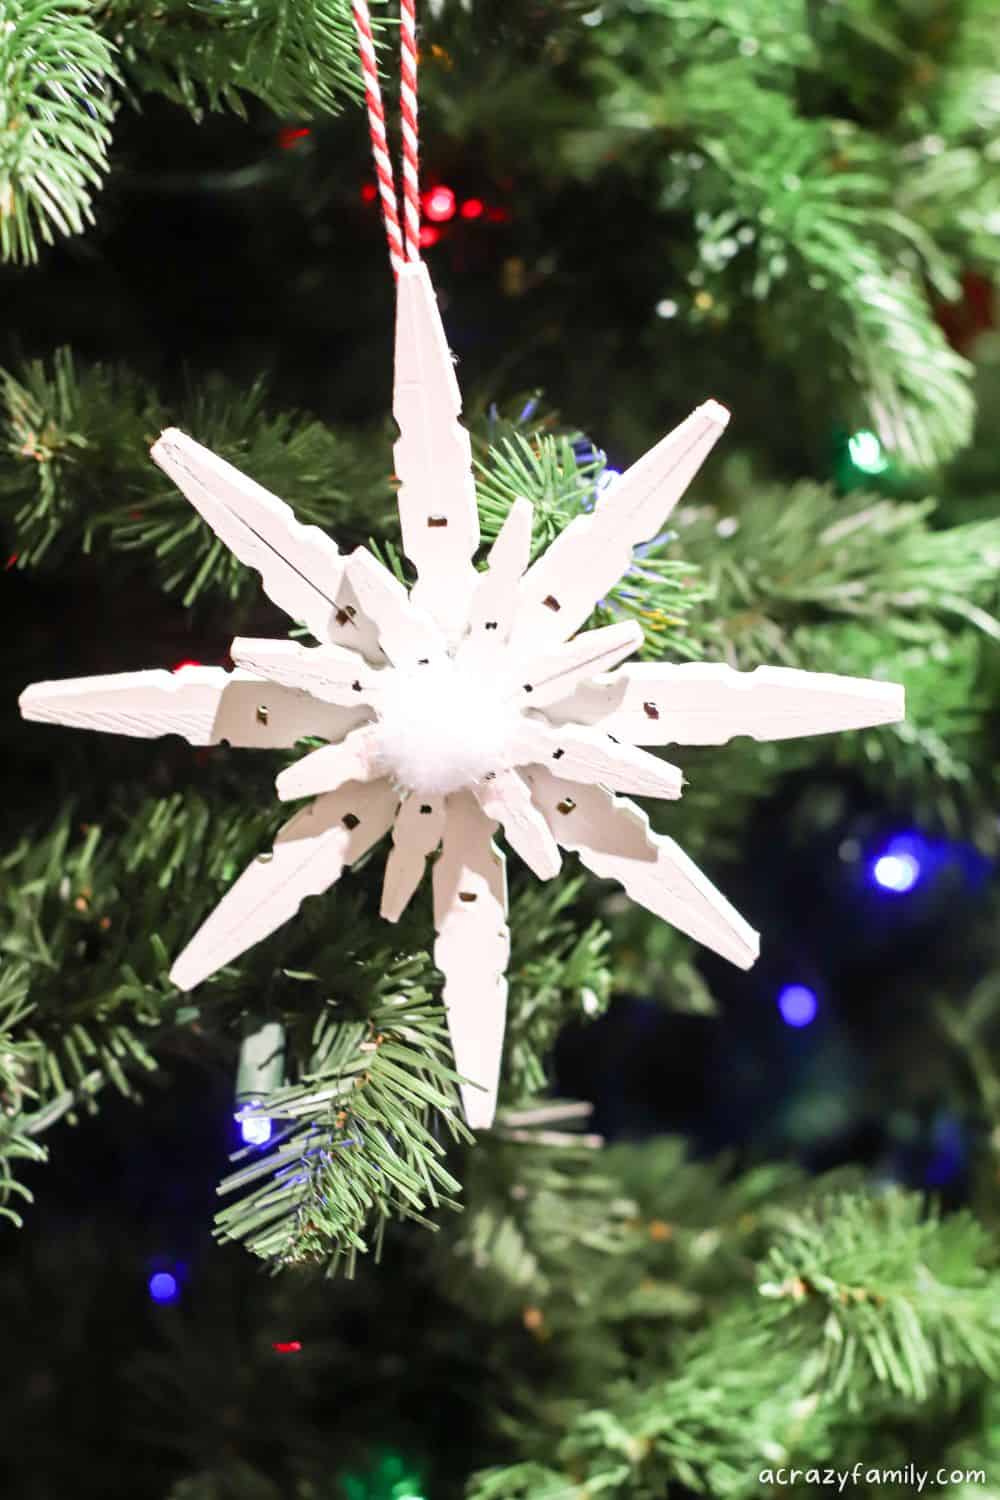
Want a fun craft to make with the kids this holiday season? This wooden clothespin ornament is the perfect way to add a homemade touch to your holiday decor. They are simple and quick, kids can make these clothespin snowflake ornaments in about 30 minutes.
If you’re looking for more easy ornament ideas, here are more of our favorites:
Now let’s make your own clothespin snowflake Christmas ornament.
Supplies
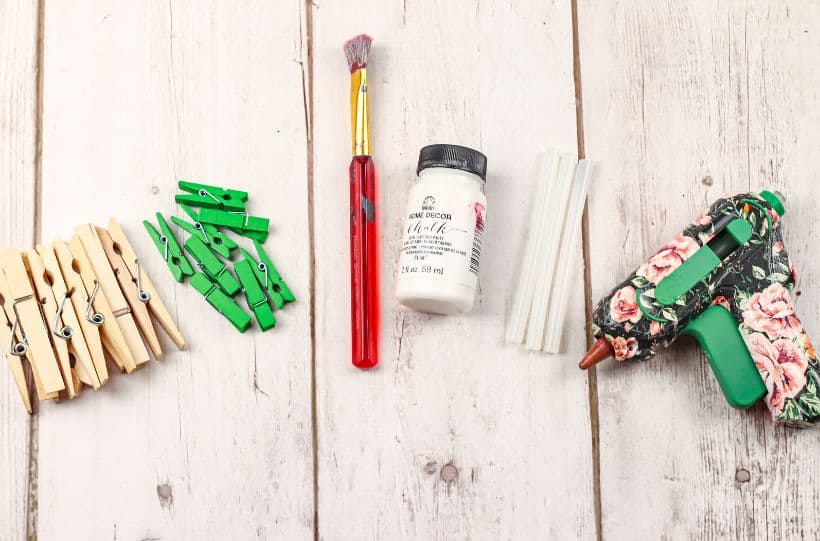
- Standard size wooden clothespins
- Mini-size wooden clothespins
- White craft paint
- Small pompom (optional)
- Ribbon or twine to hang the ornament
Equipment & Tools
- Foam brush
- Ruler
- Scissors
- Craft glue or hot glue gun
SEE THE FULL INSTRUCTIONS BELOW
How to Make Your Clothespin Snowflake Ornament
Step 1: Remove the metal springs from 8 of the large and 8 of the small clothespins.
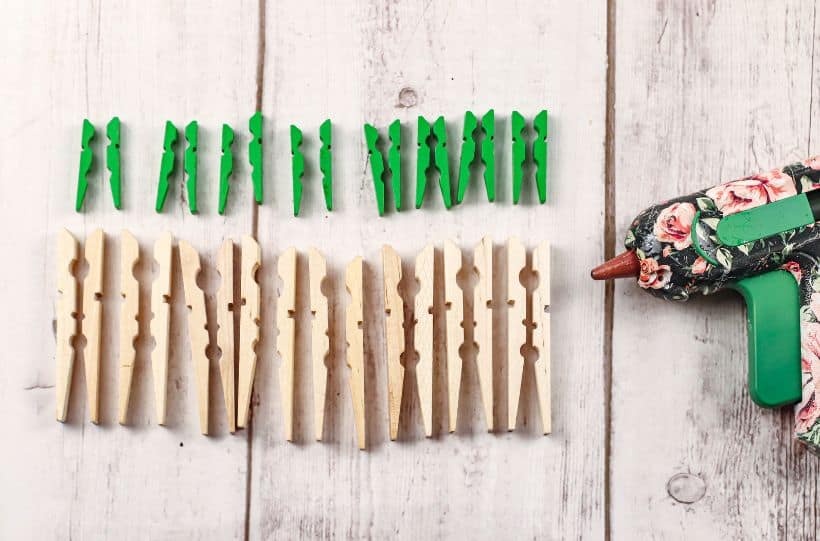
Step 2: Using the craft glue or the hot glue gun, attach two of the wooden pieces of the clothespin, flat sides together. When connected, they will resemble or human figure of sorts (see photo). Repeat with the remaining clothespins, large and small.
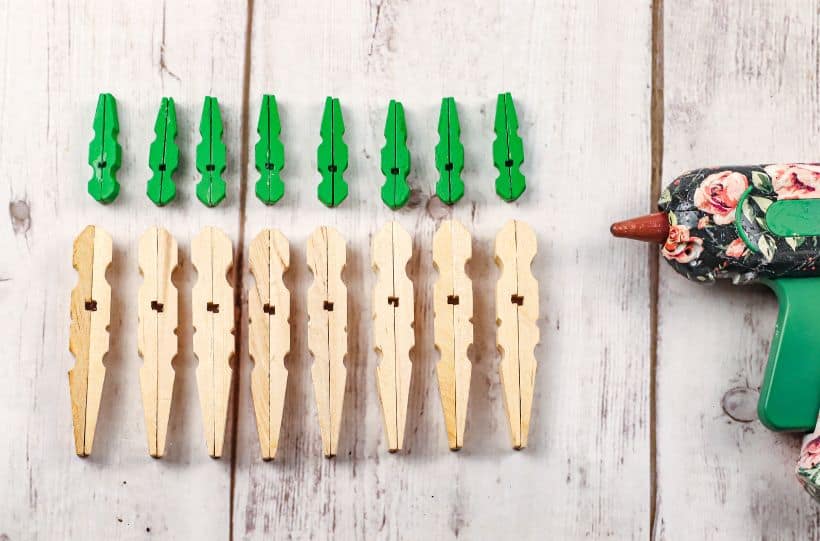
Step 3: Take two of the larger connected pieces (I am going to call them “The Arms”) and form a right angle (see photo) and using the craft glue or the hot glue gun, attach them together. Repeat.
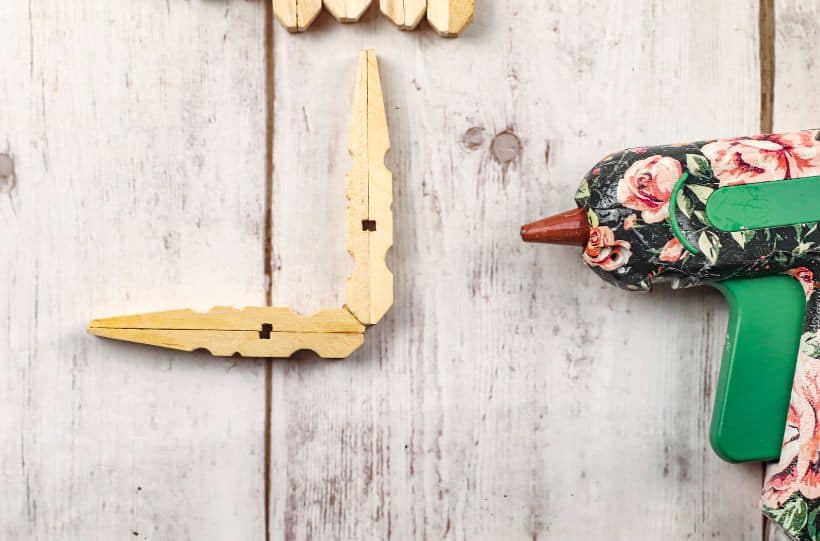
Step 4: Now, using the craft glue or the hot glue gun, attach the two sections together so they form a “+” (see photo)
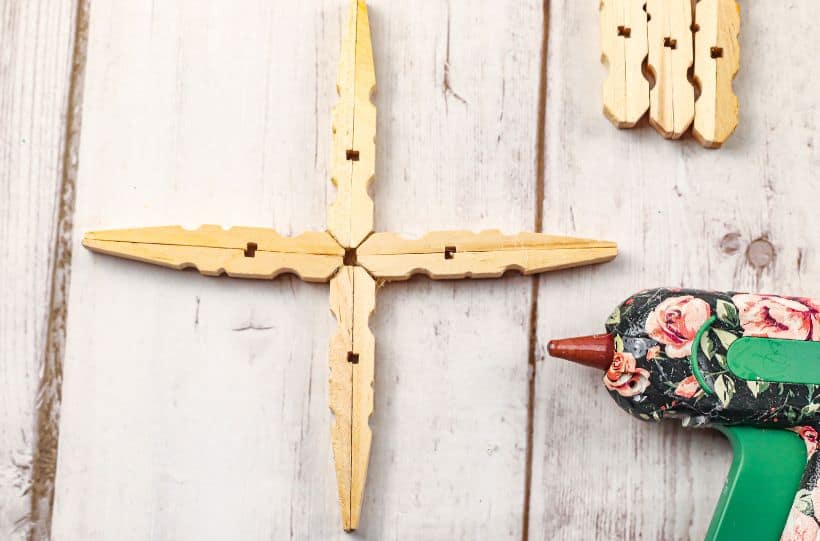
Steps 5-6: Next, take the remaining 4 “Arms” and using the craft glue or the hot glue gun, attach each of the 4 “Arms” into each “V”, forming a large snowflake.
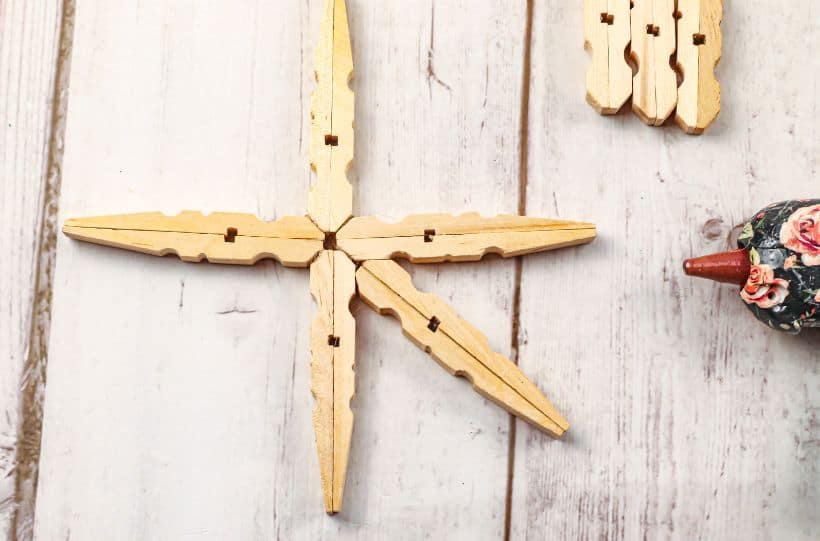
Step 7: Repeat Steps 3-5 for the smaller clothespin pieces, making a smaller snowflake. Position the smaller snowflake on top of the larger one, rotating it so the tips of the “Arms” intersect with the “V” of the larger snowflake (see photo). Using the craft glue or the hot glue gun, attach the smaller snowflake to the larger snowflake.
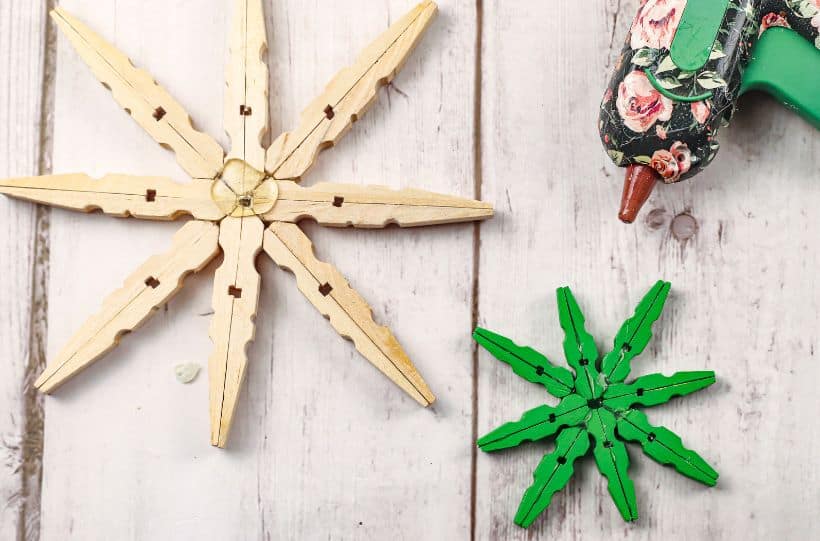
Step 8: Paint with white craft paint using a paintbrush. Let dry and apply a second coat, if necessary. Then if desired, using the craft glue or glue gun, attach your pompom to the middle of the snowflake.
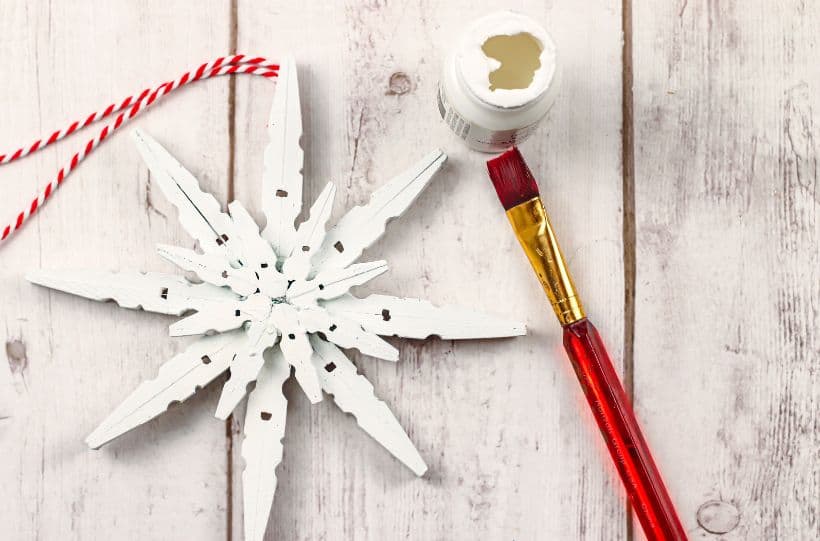
Step 9: Cut a 6” length of ribbon or twine, form a loop, and using the craft glue or glue gun, attach it to the top of the back side of the craft stick. Allow to dry completely before hanging.
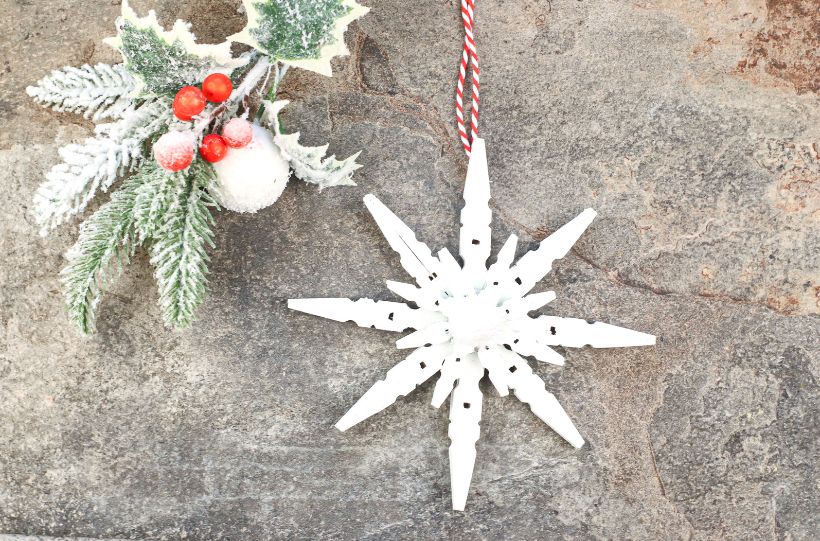
Kids will enjoy creating their own clothespin Christmas crafts to gift to family and friends or use to decorate the Christmas tree.
Layered Snowflake Christmas Ornament
Supplies
- Standard size wooden clothespins
- Mini-size wooden clothespins
- White craft paint
- Small pompom optional
- Ribbon or twine to hang the ornament
Equipment
- Foam brush
- Ruler
- Craft glue or hot glue gun
Instructions
- Remove the metal springs from 8 of the large and 8 of the small clothespins.
- Using the craft glue or the hot glue gun, attach two of the wooden pieces of the clothespin, flat sides together. When connected, they will resemble or human figure of sorts (see photo). Repeat with the remaining clothespins, large and small.
- Take two of the larger connected pieces (I am going to call them “The Arms”) and form a right angle (see photo) and using the craft glue or the hot glue gun, attach them together. Repeat.
- Now, using the craft glue or the hot glue gun, attach the two sections together so they form a “+” (see photo)
- Next, take the remaining 4 “Arms” and using the craft glue or the hot glue gun, attach each of the 4 “Arms” into each “V”, forming a large snowflake.
- Repeat Steps 3-5 for the smaller clothespin pieces, making a smaller snowflake. Position the smaller snowflake on top of the larger one, rotating it so the tips of the “Arms” intersect with the “V” of the larger snowflake (see photo). Using the craft glue or the hot glue gun, attach the smaller snowflake to the larger snowflake.
- Paint with white craft paint using a paintbrush. Let dry and apply a second coat, if necessary. Then if desired, using the craft glue or glue gun, attach your pompom to the middle of the snowflake.
- Cut a 6” length of ribbon or twine, form a loop, and using the craft glue or glue gun, attach it to the top of the back side of the craft stick. Allow to dry completely before hanging.