How to Make Origami Rose Flowers
This post may contain affiliate links. Please read our disclosure policy.
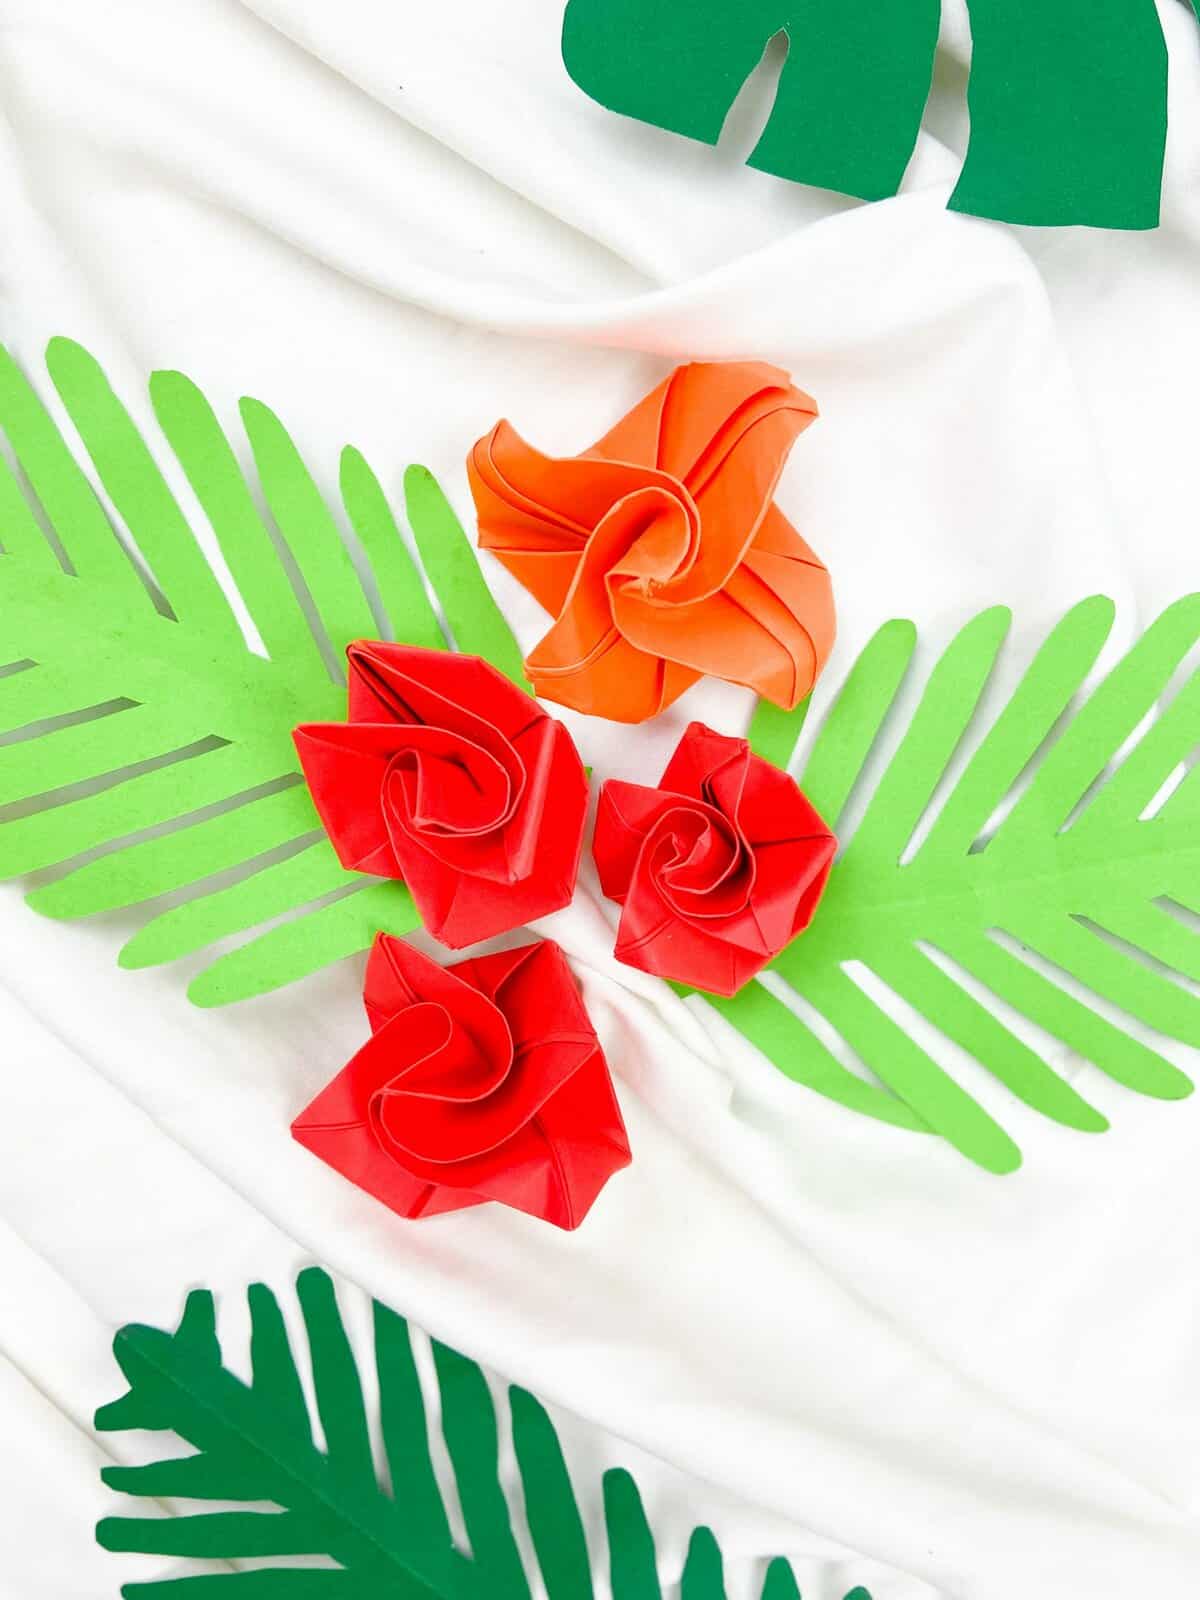
Making origami rose flowers is a delightful, creative craft that anyone can enjoy! Making these delicate petals can be both fun and rewarding, as the final result provides stunningly crafted blooms in no time!
Easy Origami Roses
This origami rose is a beautiful way to show your love. It’s simple to make and doesn’t require any special skills or tools. Just follow the step-by-step instructions, and learn how to make origami rose flowers that are perfect for any occasion.
These beautiful roses are perfect for Mother’s Day, Valentine’s Day, or any special occasion. Here’s how to make them:
Supplies
- Construction paper
How to Make Paper Rose Flowers
Make a perfect square on a construction paper. You may use a ruler to make sure it is a perfect square.
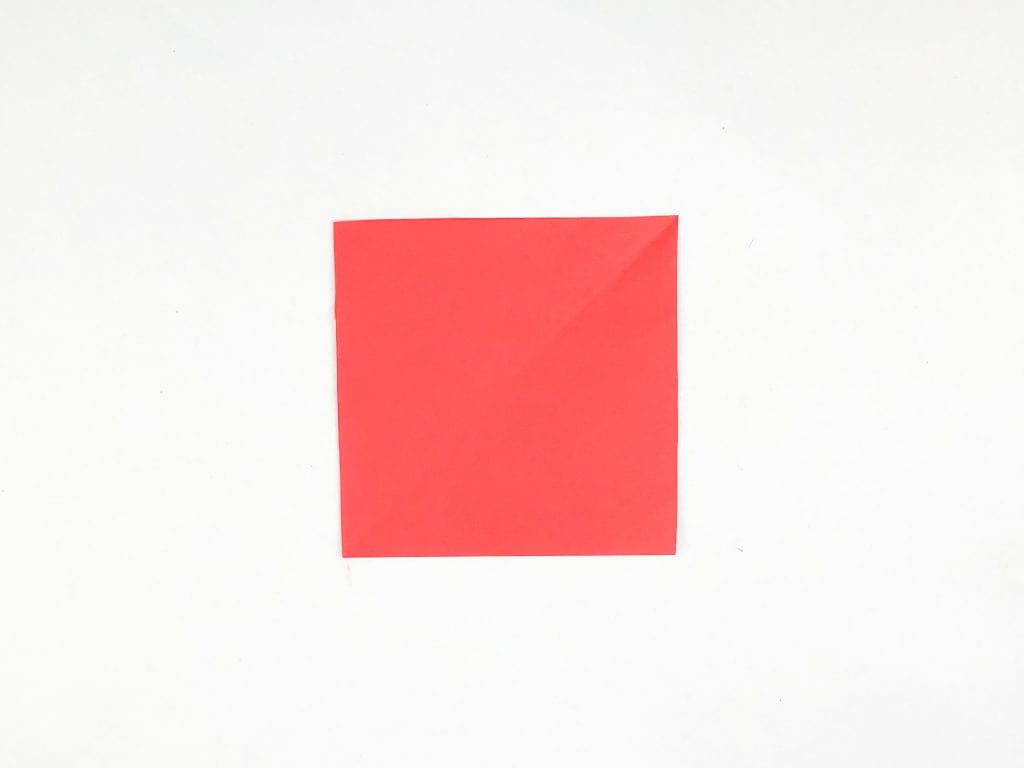
Fold the paper in half from both sides to make criss-cross folds. Flip the paper and fold it in half again to make diagonal folds.
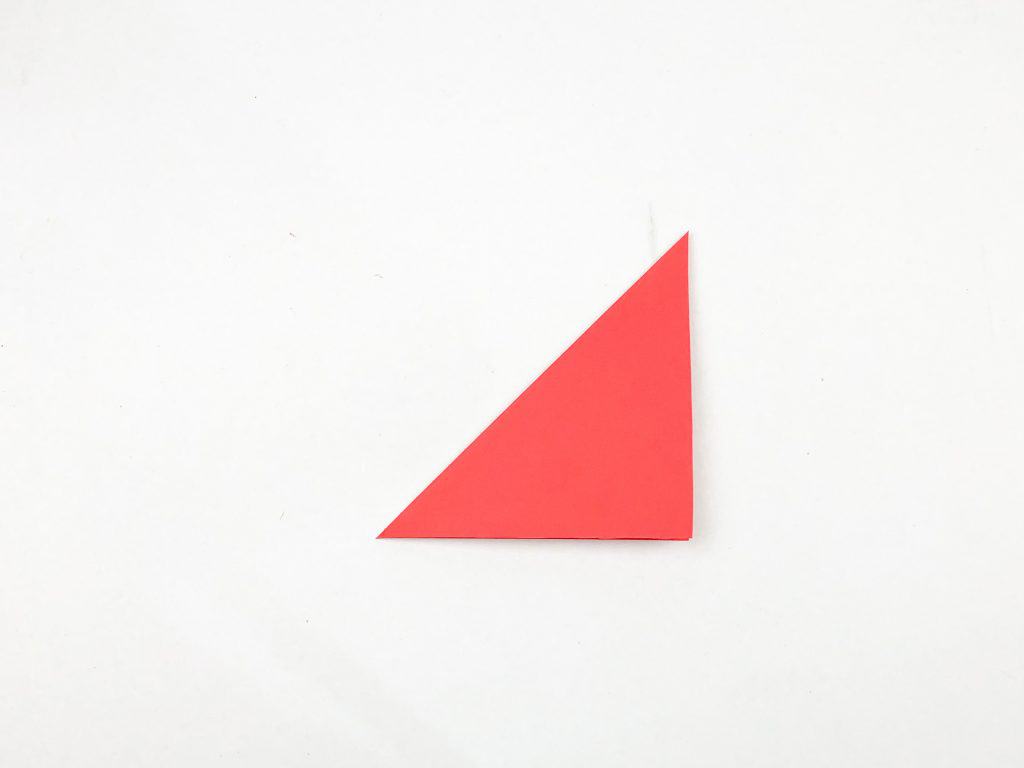
Fold up the diagonal folds and fold the vertical-horizontal folds inward to make a 4-star.
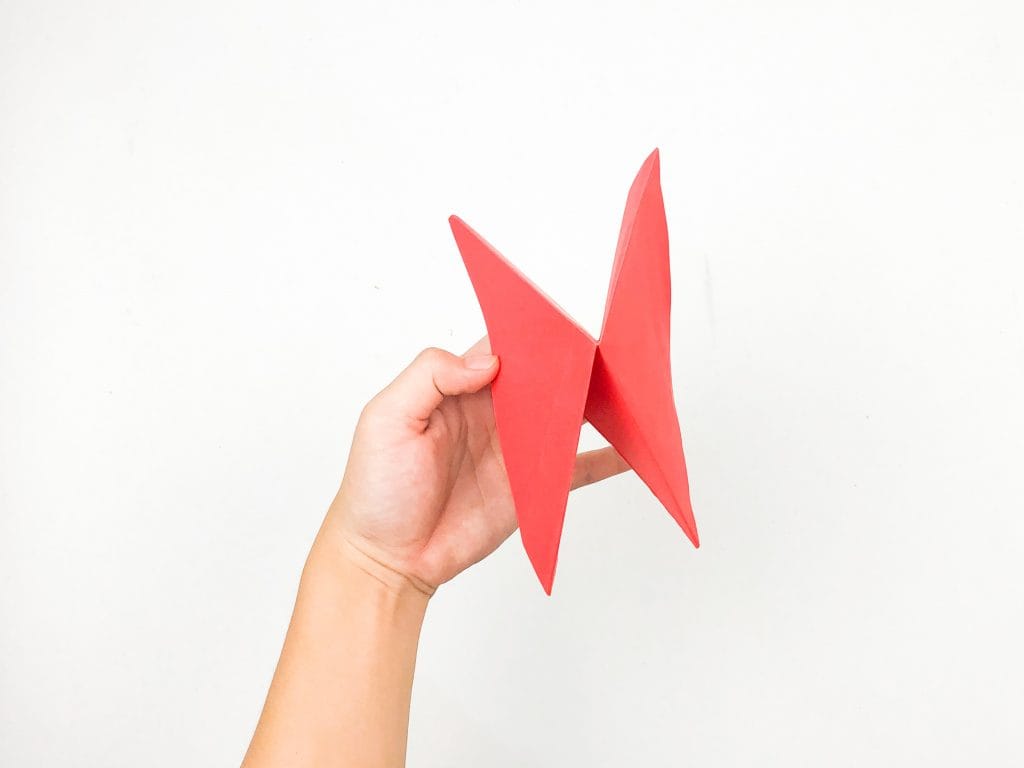
Combine the adjacent parts and flatten the paper. Fold up the bottom corners and join them with the top corner of the current pattern (triangle).
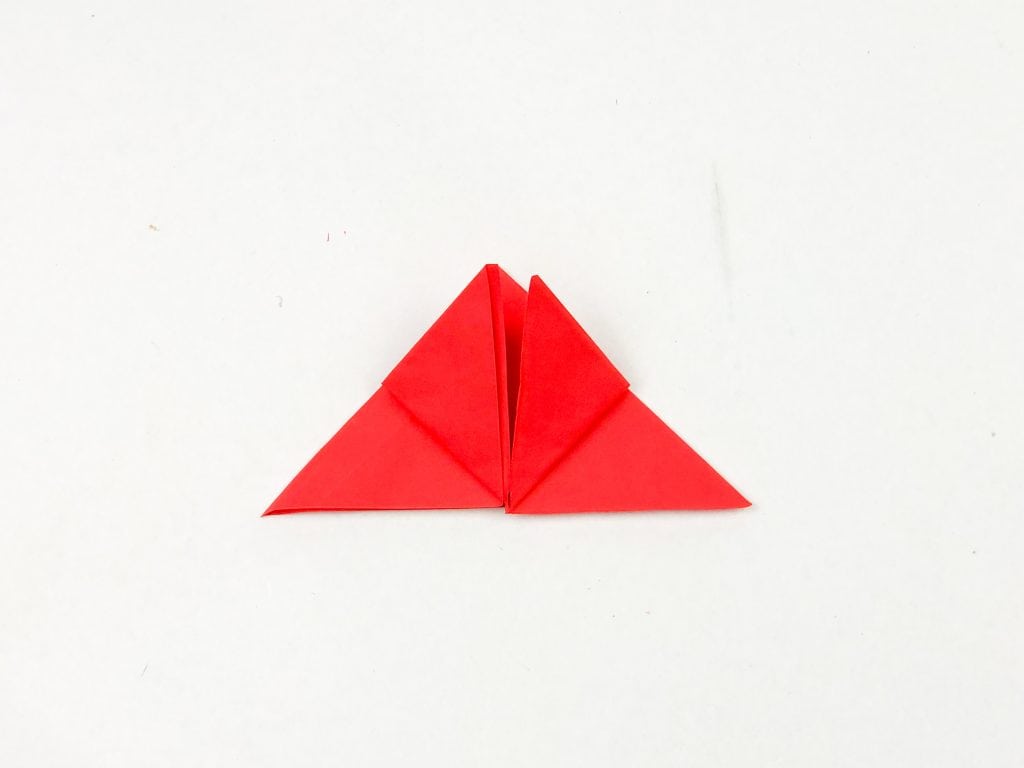
Fold up the bottom part of the triangle. Then open the pocket to make a square. And fold up the middle part.
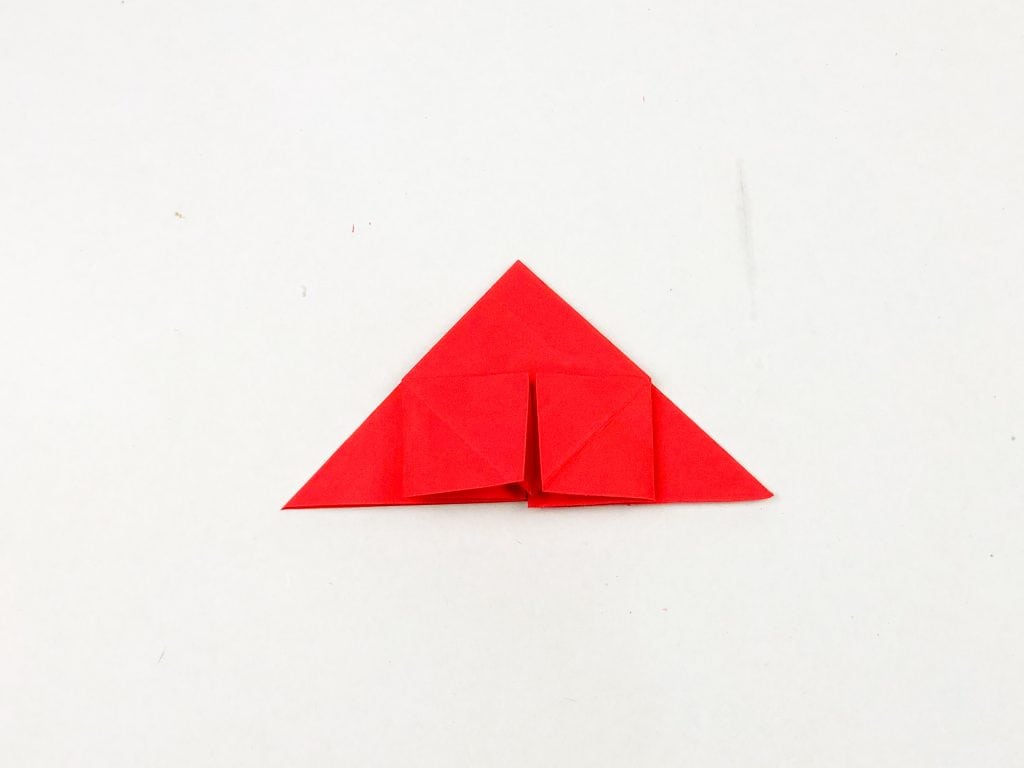
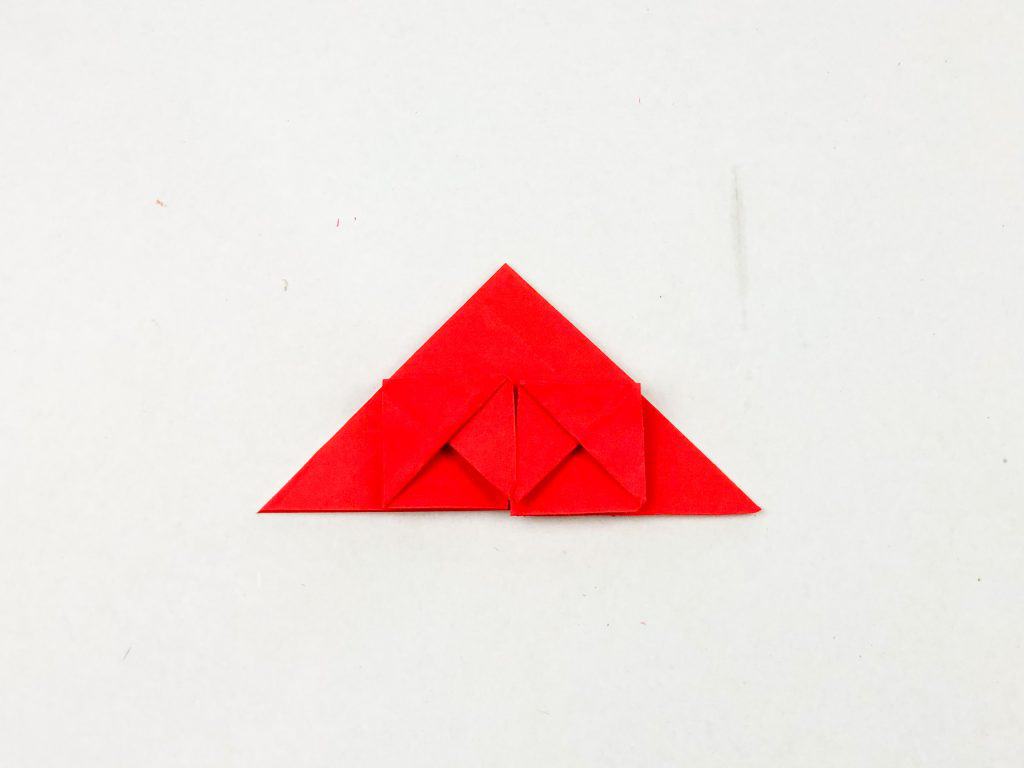
Repeat the process on all sides until you have a boat-like structure.
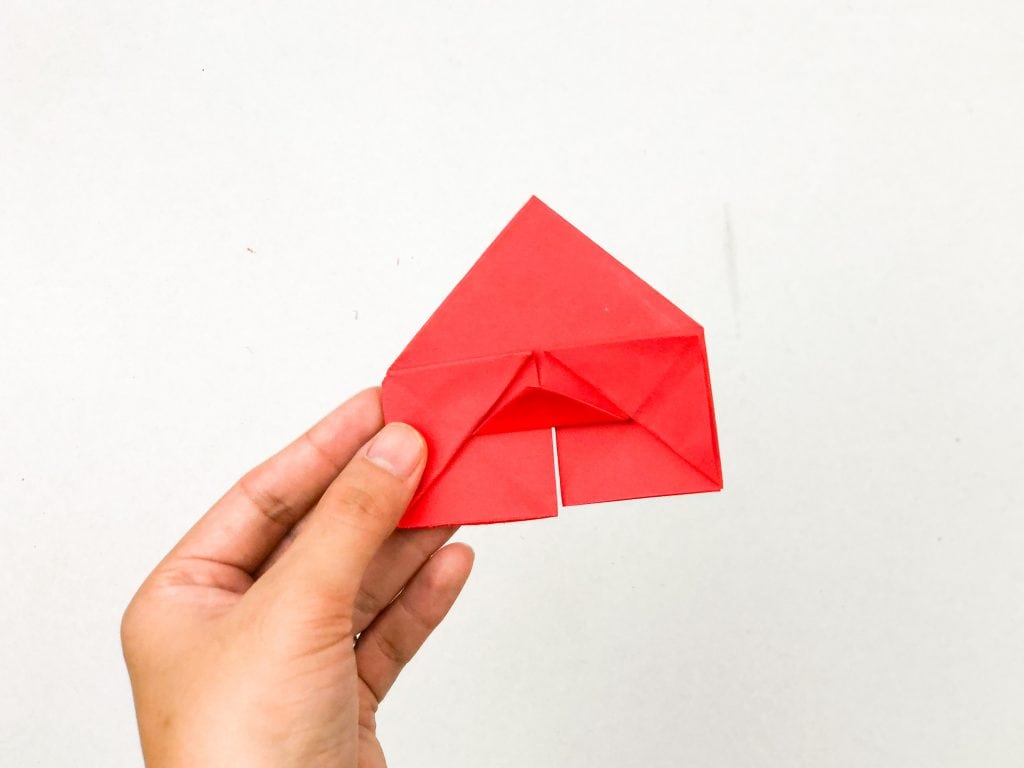
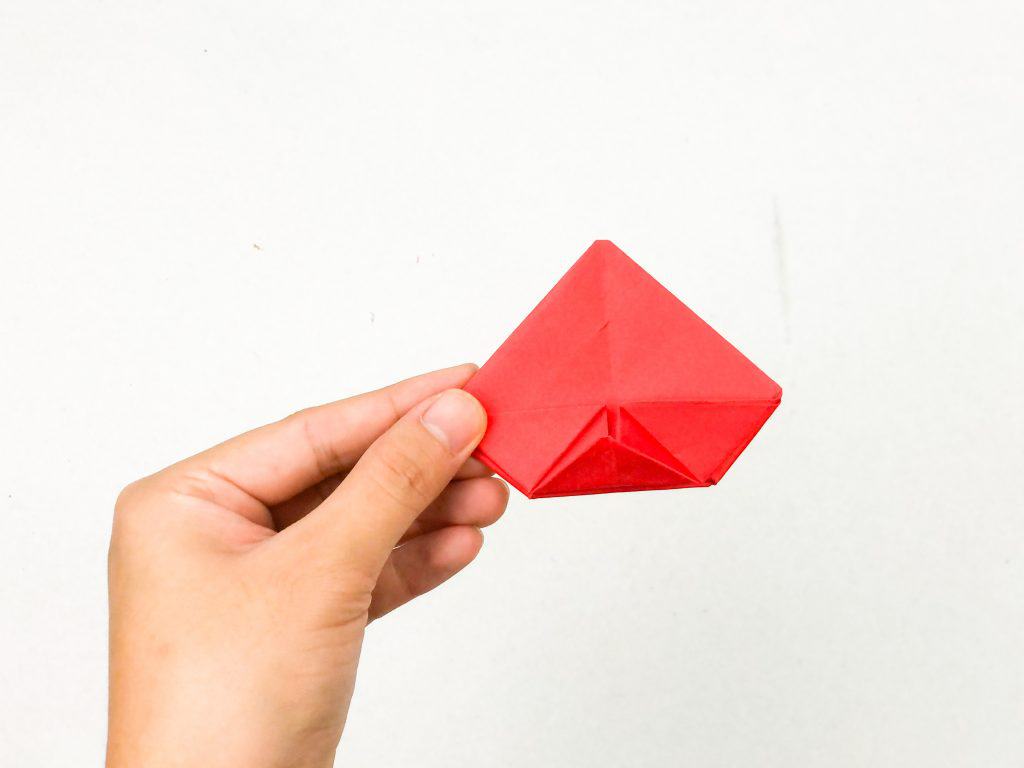
Open up the bottom part to make it flat.
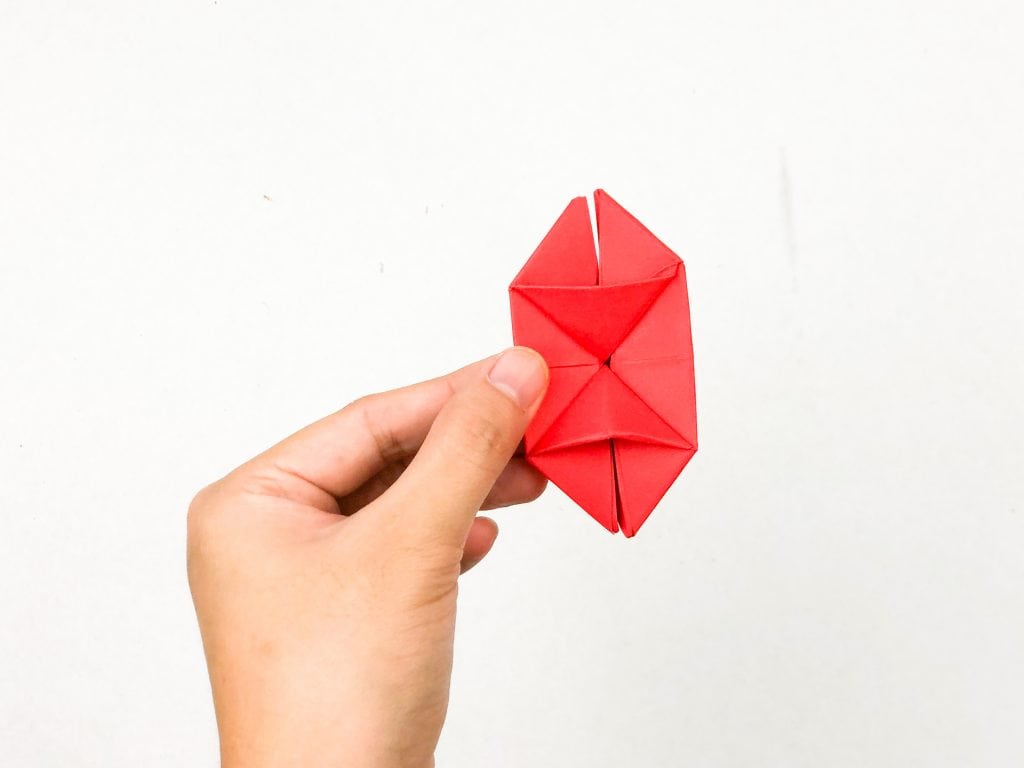
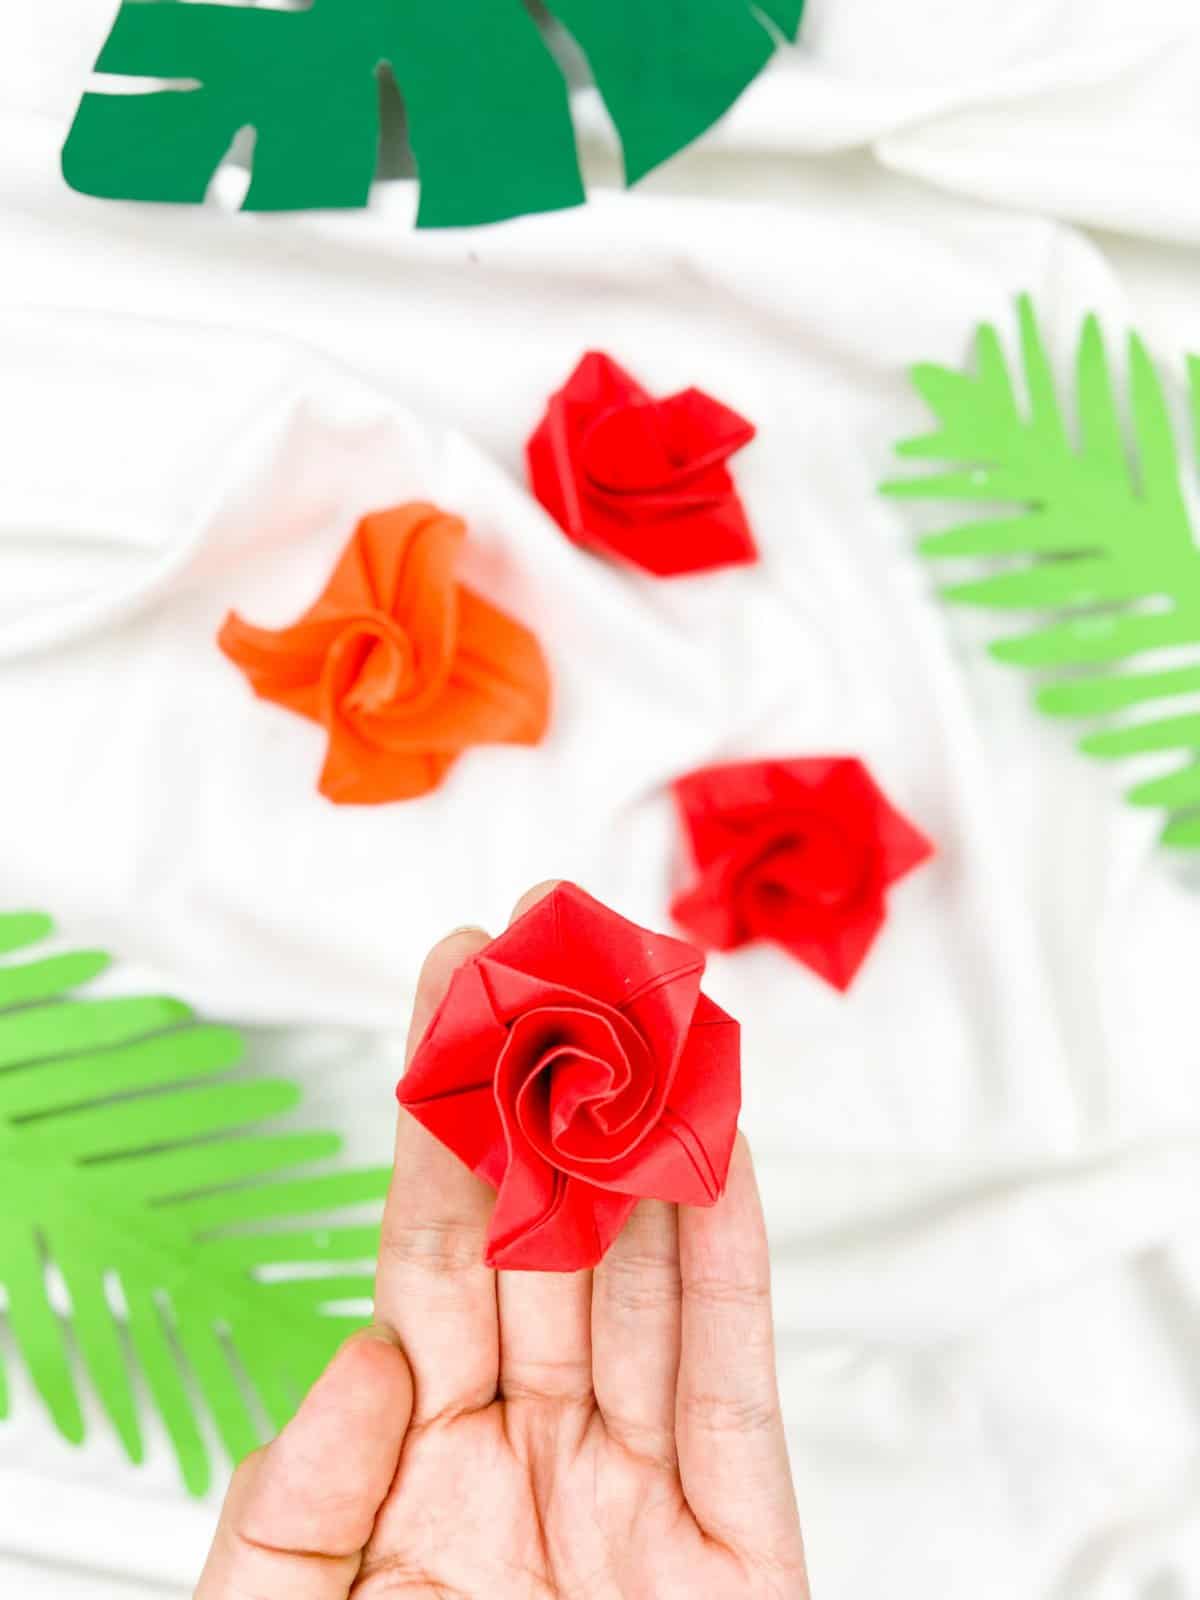
Turn the paper up and twist the paper in a clockwise pattern. Twist it until you see a rose pattern.
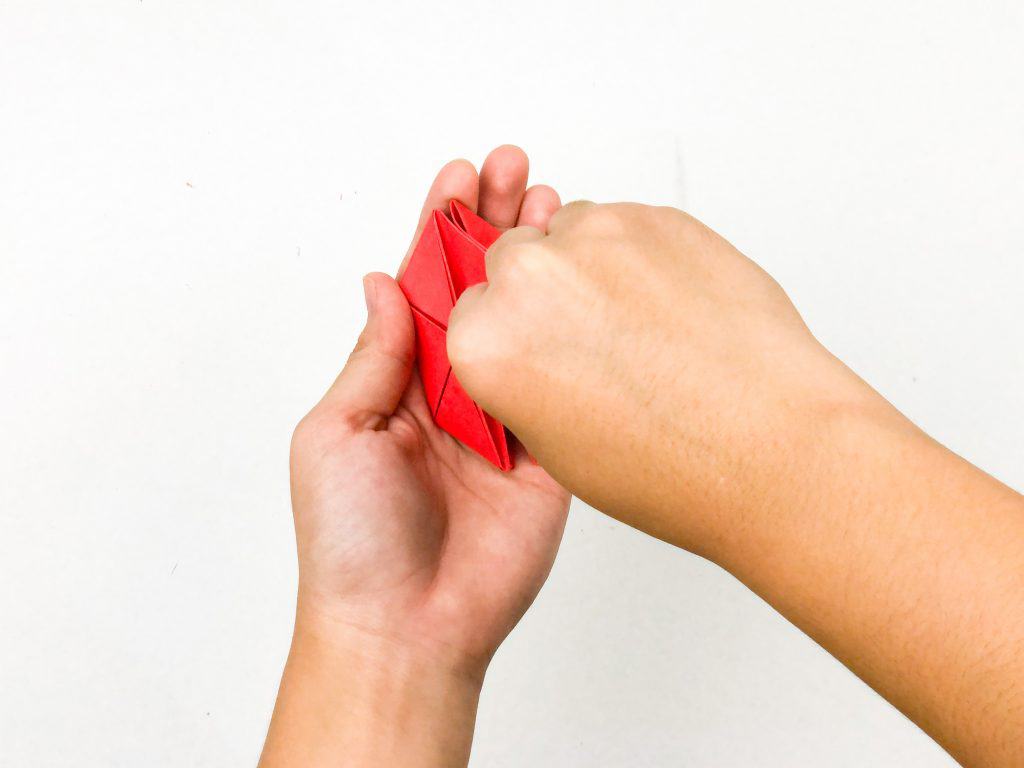
Fold up some petals outwardly.
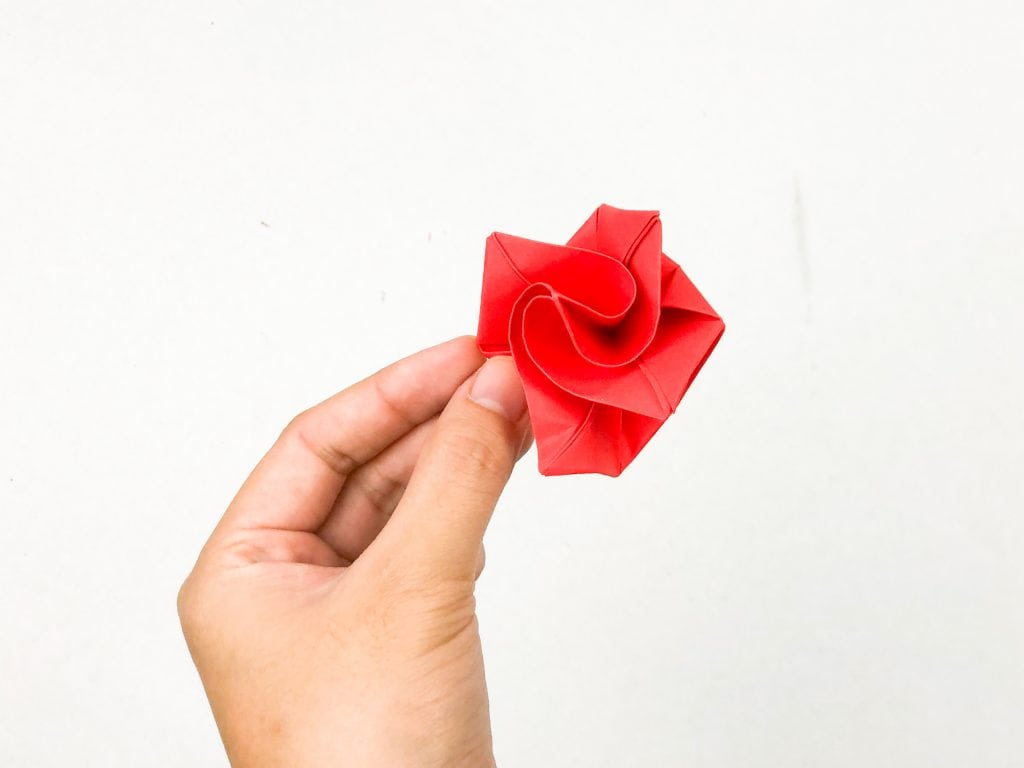
When you’re done, it should look something like this:
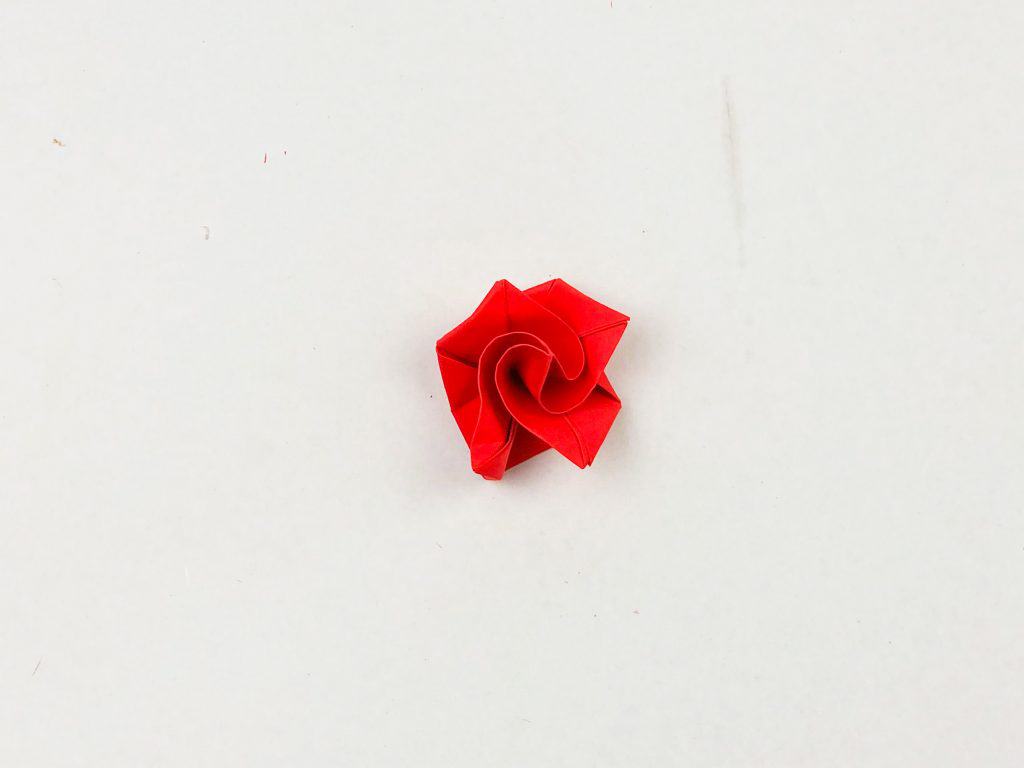
Repeat the process to make as many as you like!
Helpful Origami Tips
- Always use a crisp, clean sheet of paper to make the best origami shapes.
- Be sure to press all folds firmly and accurately so that your model holds its shape.
- Make sure you check the instructions carefully before beginning each fold.
- For more complex models, lightly draw guidelines on the paper first.
- If needed, use a bit of glue or tape to secure the final shape.
