Make your own bath bombs to enjoy for a relaxing spa day at home with these easy DIY geode bath bombs. These gorgeous bath bombs were inspired by crystal rocks.
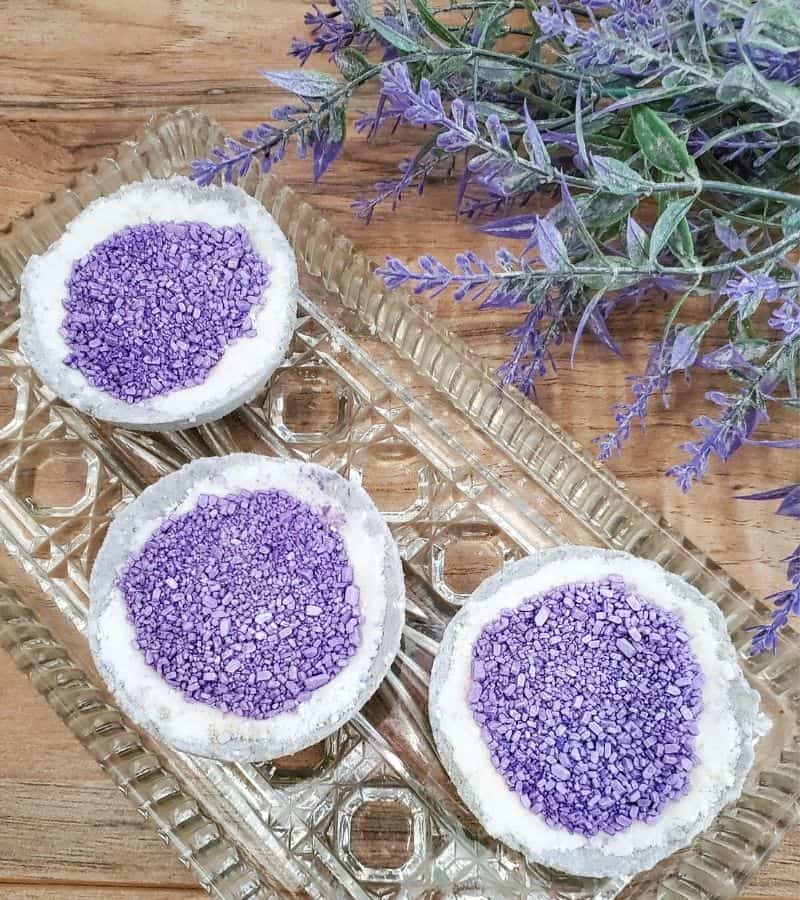
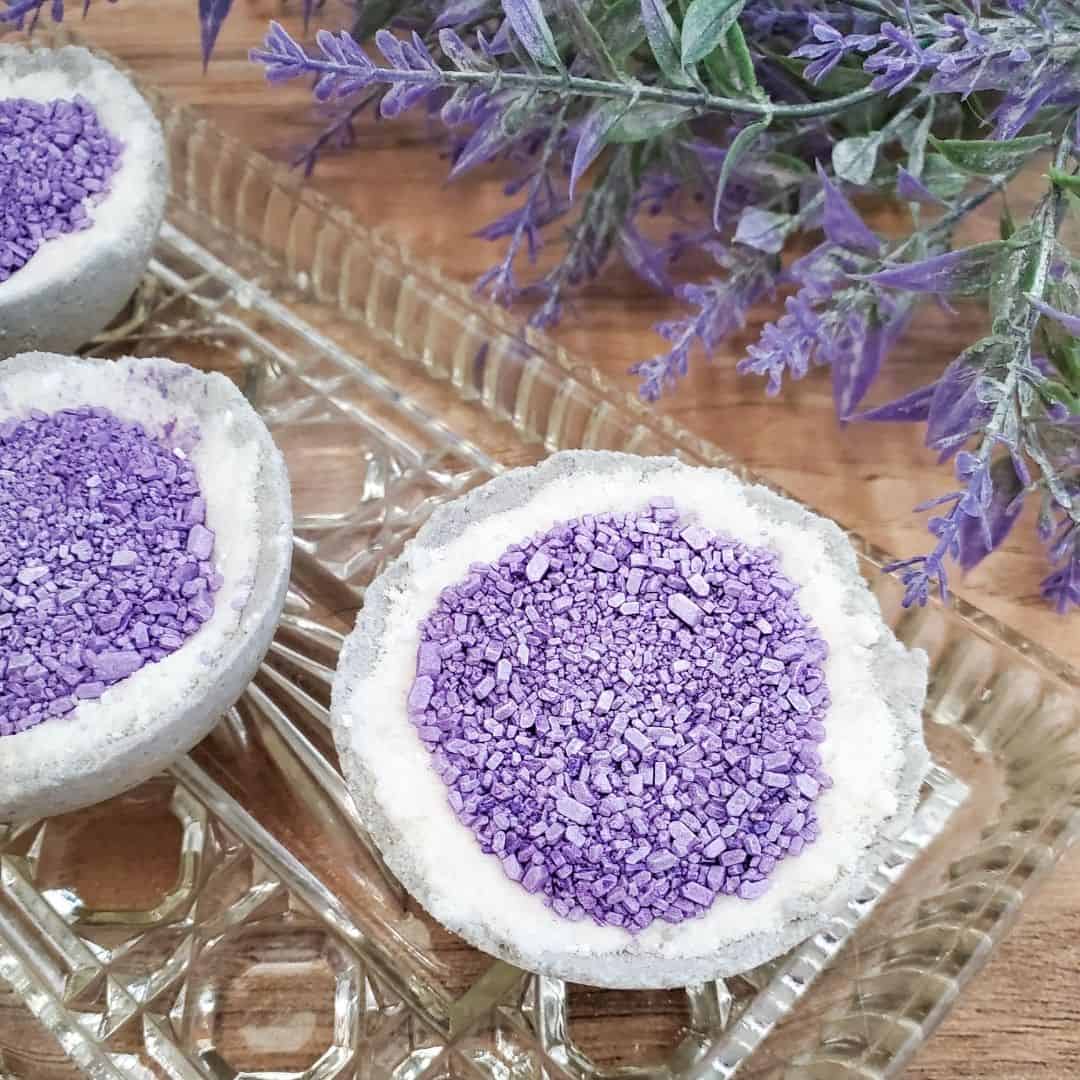
Bath Bombs That Look Like Crystal Rocks
These geode bath bombs are perfect for anyone who loves spending time in the tub. Plus, they look so pretty that they would make a great gift for someone special. Keep reading for the how-to and make your own geode bath bombs!
These bath bombs should last up to a year if stored properly. To make sure your bath bombs last as long as possible, be sure to store them in an airtight container out of direct sunlight.
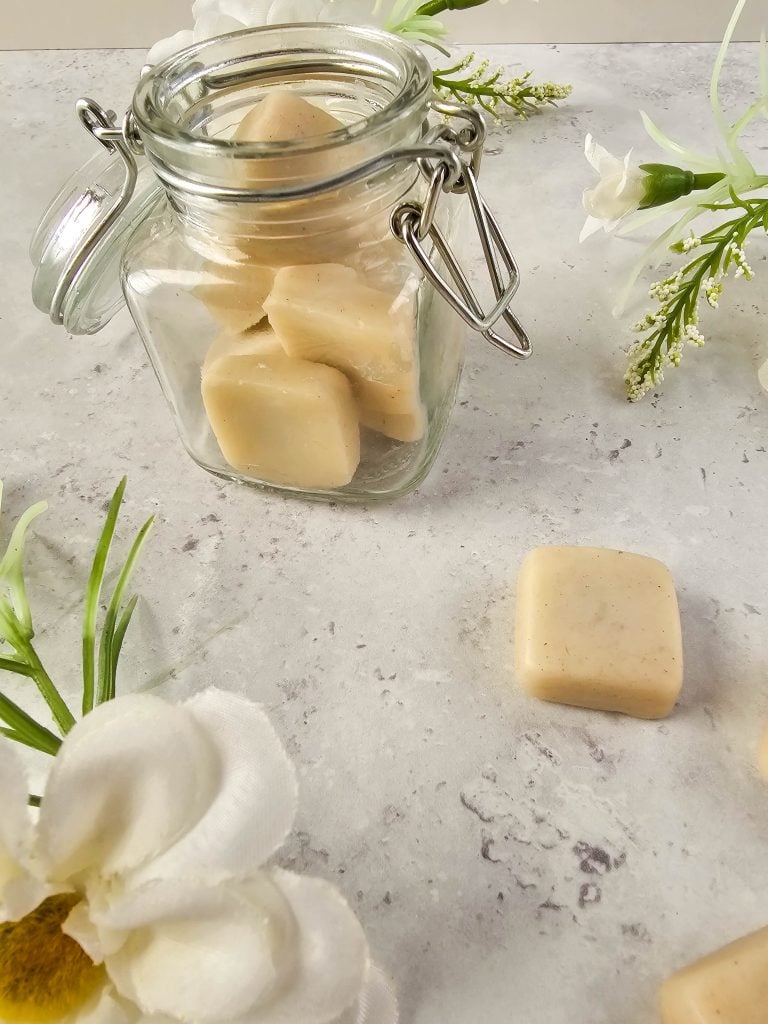
To complete your at-home spa experience, these lemon lavender sugar scrub cubes will nourish your skin back to a silky smooth glow.
Let’s get started on these Geode Bath Bombs!
Supplies
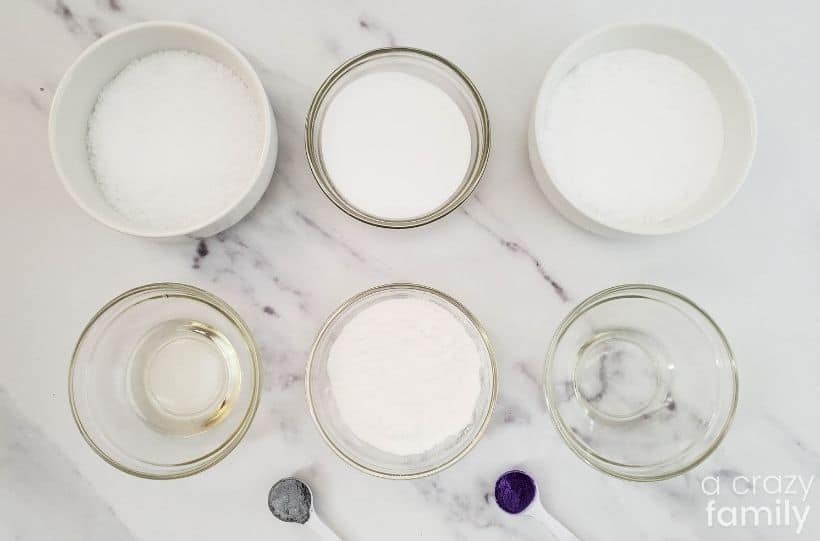
- Baking soda
- Citric acid
- Cornstarch
- Epsom salts
- Silver-grey mica powder
- Purple mica powder
- Sweet almond oil
Recommended Tools
- Large bath bomb molds
- Whisk
- Small jar with lid
How to Make Geode Bath Bombs
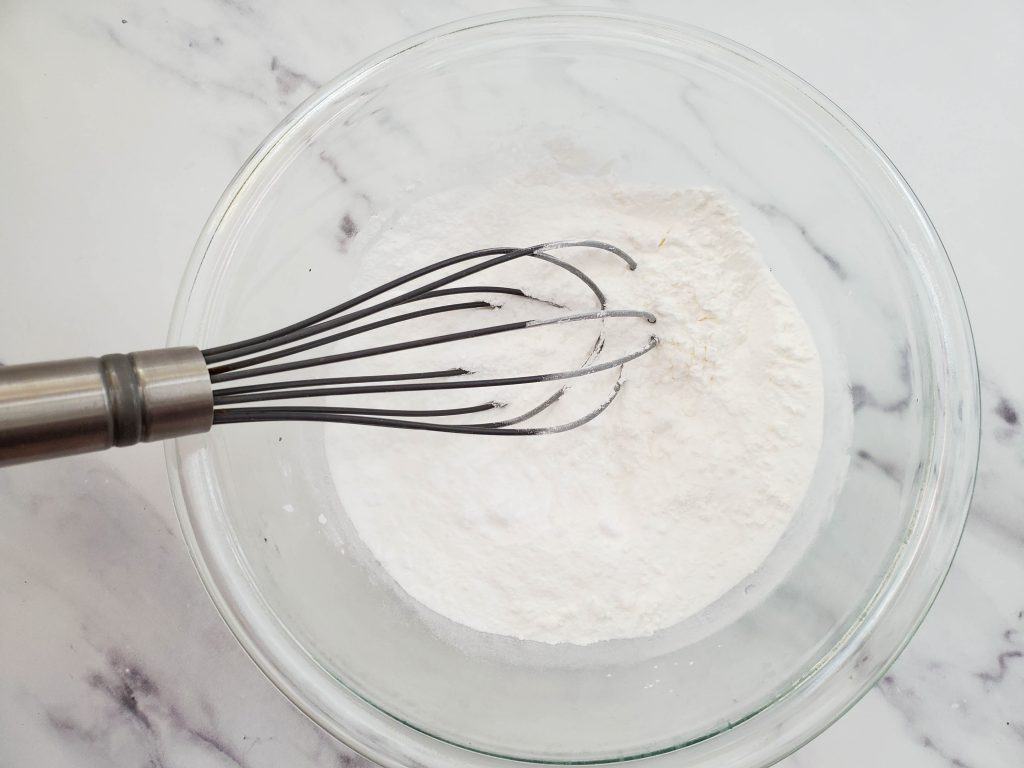
1. Add baking soda, citric acid, cornstarch, and ¼ cup of the Epsom salts (set aside the remaining ¼ cup of Epsom salts) to a large bowl and stir well with the whisk.
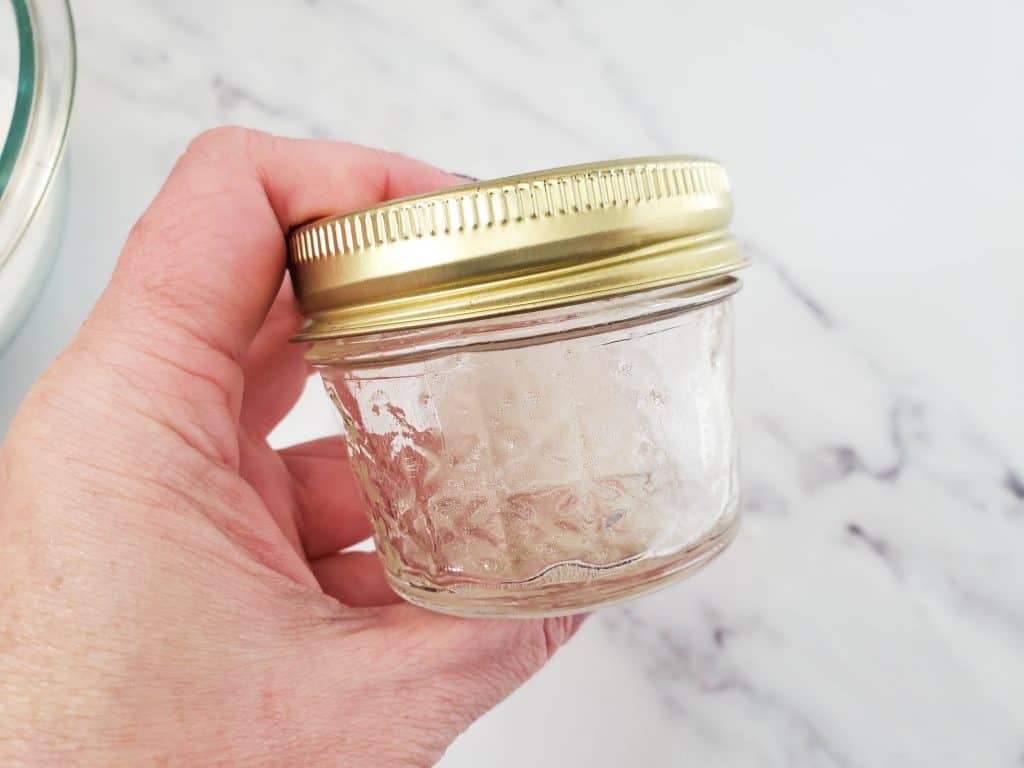
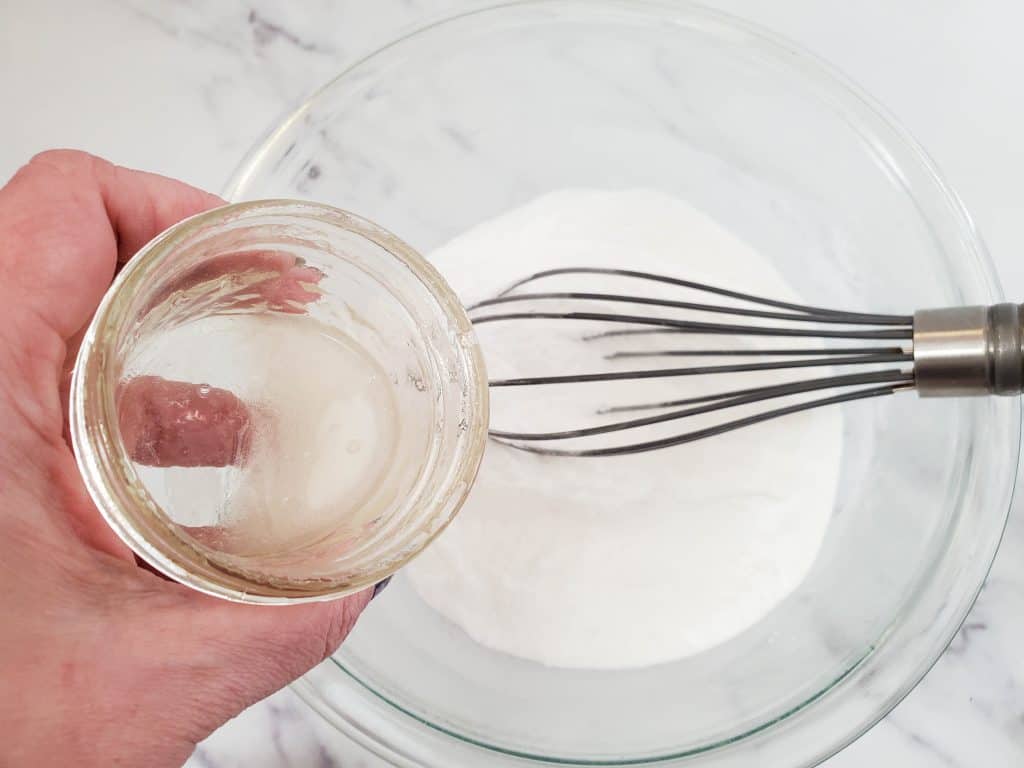
2. Add the sweet almond oil and water to a jar with a lid and shake well.
3. Very slowly add the liquid to the dry mixture while whisking the entire time.
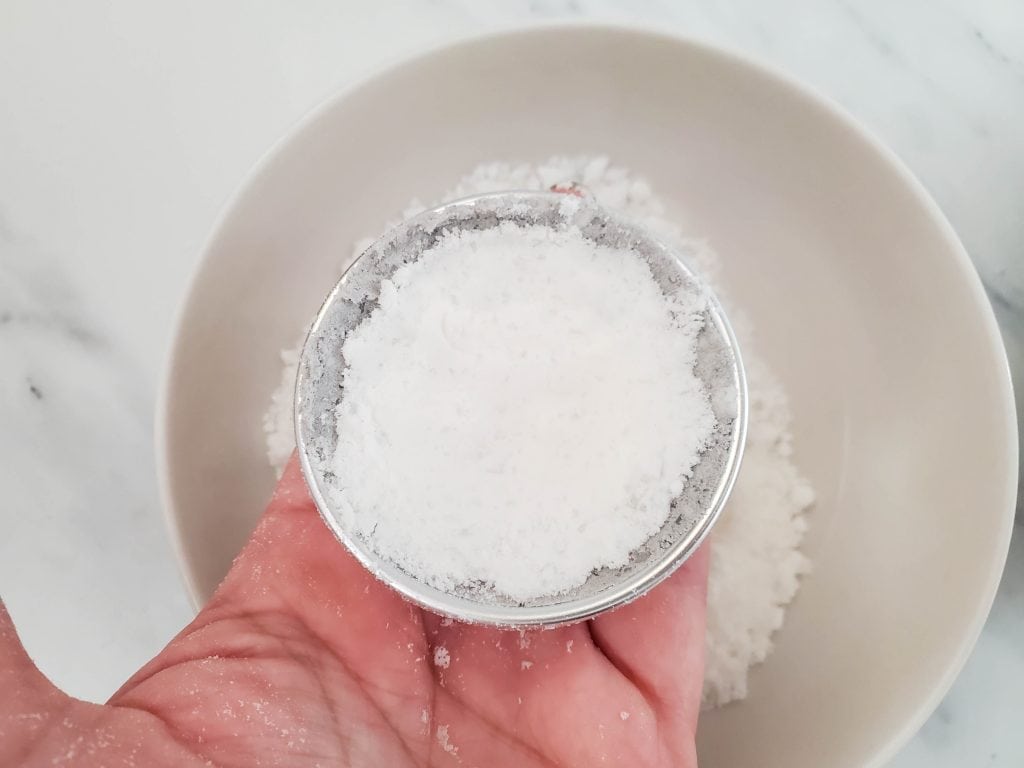
4. Take out ⅓ cup of the mixture and add it to a smaller bowl.
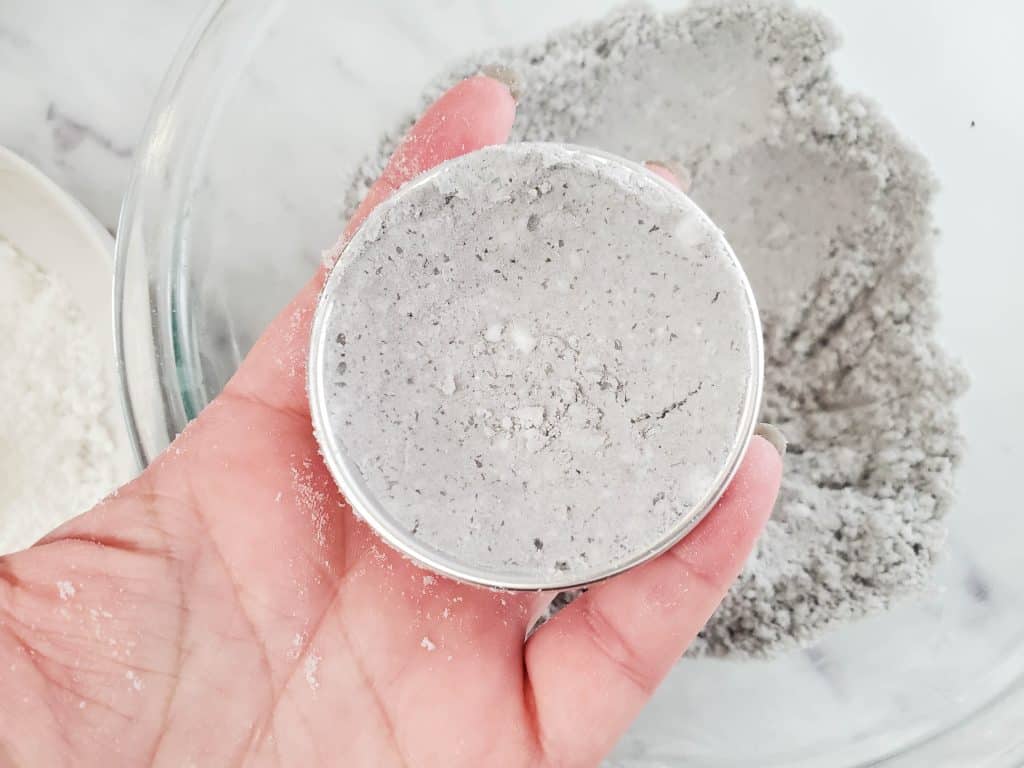
5. Add the silver-grey mica to the mixture in the larger bowl and stir until the color is solid.

6. Fill one bath bomb mold halfway with the mixture, then press around the sides until the entire mold is coated in the silver. Repeat for the rest of the molds.
7. Add a spoonful of the non-colored mixture into the middle, then press down, making sure that you can still see the silver-grey edges.
8. Allow bath bombs to set for a day, then unmold by gently pushing from one side until they release.
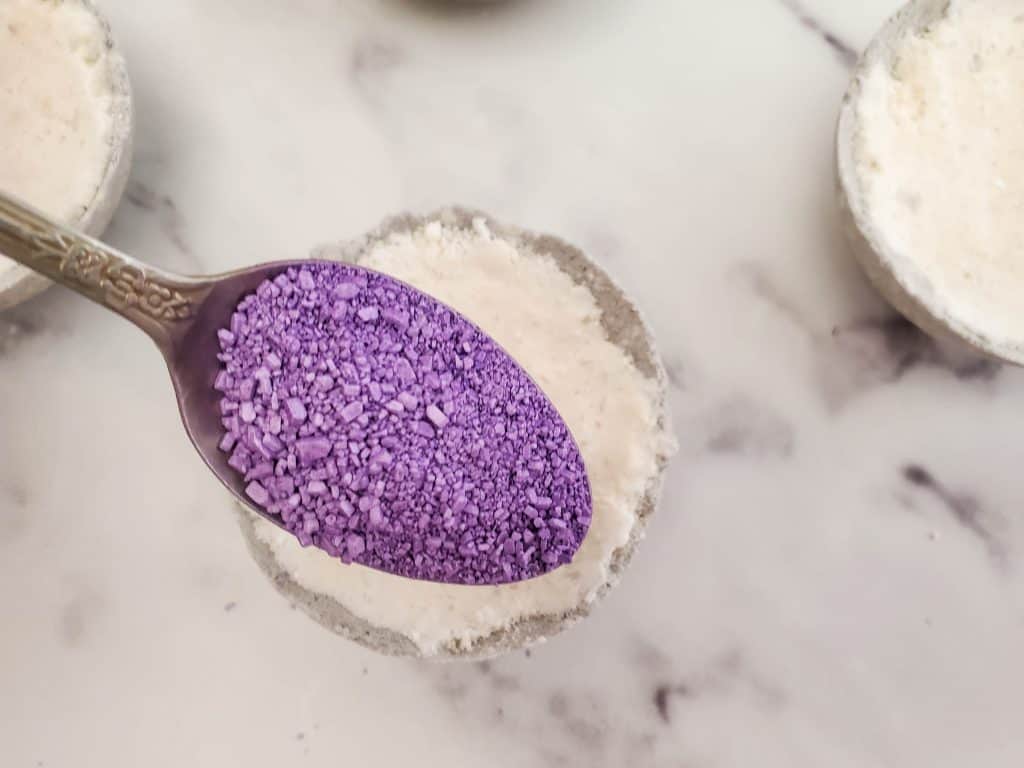
9. Add the purple mica powder to the Epsom salts that you had set aside, and stir until the color is solid.
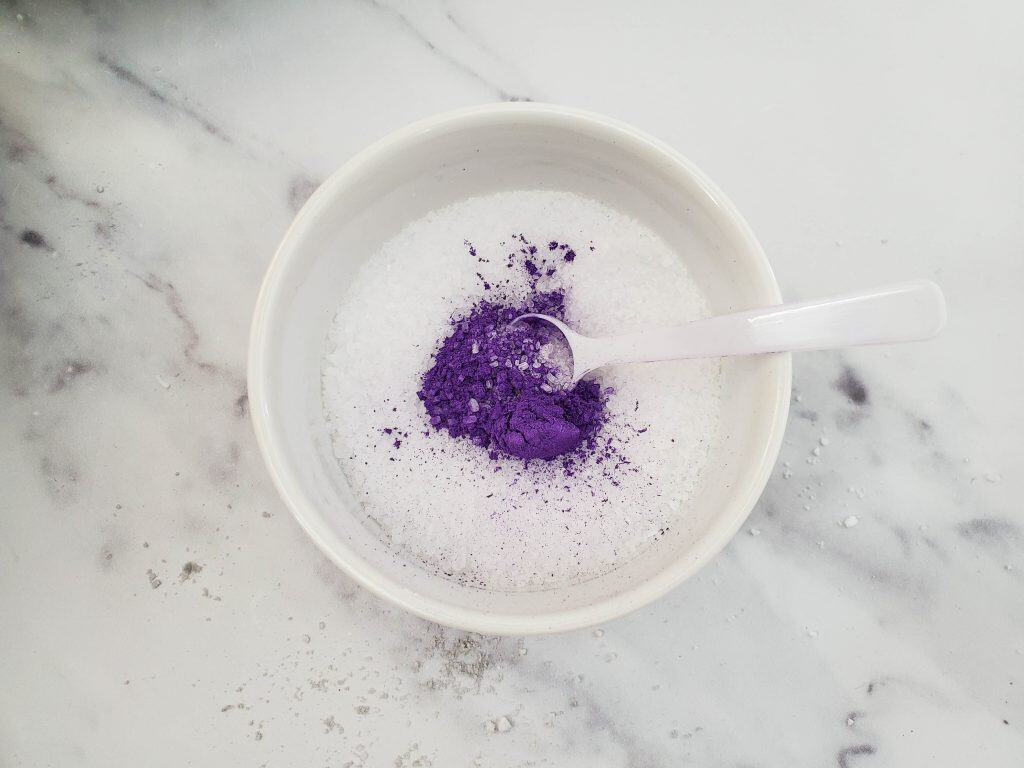
10. Add a small spoonful of Epsom salts to the center of each bath bomb, making sure that you can still see the edges of the silver-grey and the white.
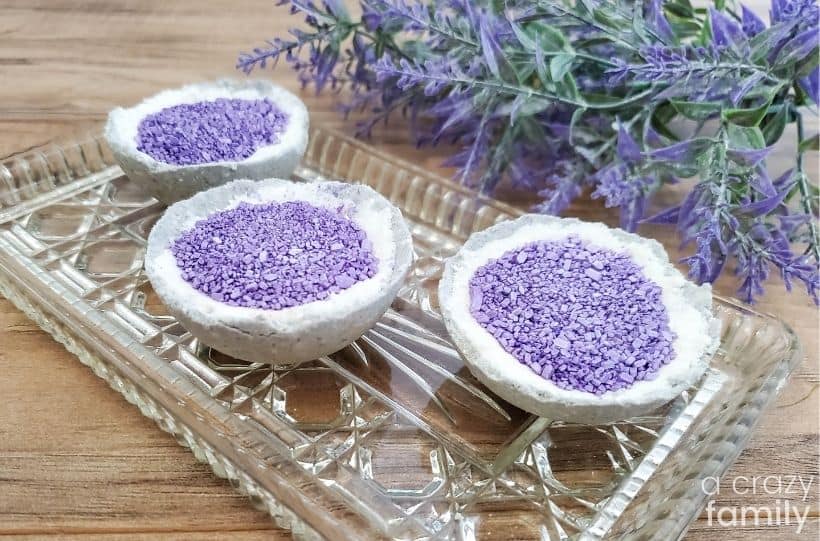
11. All done! Now place them upright in a flat container.
Storing the Geode Bath Bombs
To ensure that your Geode Bath Bombs remain of good quality, you want to avoid them being exposed to oxygen and moisture. So make sure you store them in an airtight container. Keep them upright so that they stay intact.
Tips and Tricks
- If you want to add a scent, then you could add essential oils or fragrance oils.
- Use different-shaped molds if you are looking to create something a bit different.
- Add some glitter to the bath bombs but keep in mind that this will transfer onto you and the bath. My best advice would be to not go overboard with it.
- Make sure you have all of your supplies to hand before starting this process. As some parts of the method require you to keep monitoring and stirring your mixture, it makes things much easier to ensure that you get it right.
- If children are helping, make sure they are supervised at all times. The last thing you want is for them to put their fingers in their mouths if they have touched any of the ingredients you are using.
- If you struggle to find some of these supplies in your local shop, searching online is a great place to start. You will likely find all of these ingredients on platforms like Amazon.

These DIY Bath Bombs are Bomb!
If you are looking for a way to add a little bit of glamour to your bath time, these DIY geode bath bombs are just the thing! With just a few ingredients, you can make your own bath bombs that will help you relax and rejuvenate. Plus, they look amazing, too!
More Bath & Body DIYs You’ll Love
- Snowberry Sugar Scrub Bars
- Mango Strawberry Sugar Scrub
- Rainbow Bath Bombs
- Unicorn Layered Sugar Scrub
I hope you enjoy your Geode Half Bath Bombs. If so, please leave a star ★★★★★ rating and a comment below! Follow along on Pinterest, Facebook, or Twitter for more fun crafts!

Geode Bath Bombs
Supplies
- ½ cup baking soda
- ¼ cup citric acid
- ¼ cup cornstarch
- ½ cup Epsom salts divided
- 1 tsp silver-grey mica powder
- 1 tsp purple mica powder
- 1 tbsp sweet almond oil
- ½ tbsp water
Equipment
- Large bath bomb molds
- Whisk
- Small jar with lid
Instructions
- Add baking soda, citric acid, cornstarch, and ¼ cup of the Epsom salts (set aside the remaining ¼ cup of Epsom salts) to a large bowl and stir well with the whisk.
- Add the sweet almond oil and water to a jar with a lid and shake well.
- Very slowly add the liquid to the dry mixture, while whisking the entire time.
- Take out ⅓ cup of the mixture and add it to a smaller bowl.
- Add the silver-grey mica to the mixture in the larger bowl and stir until the color is solid.
- Fill one bath bomb mold halfway with the mixture, then press around the sides, until the entire mold is coated in the silver. Repeat for the rest of the molds.
- Add a spoonful of the non-colored mixture into the middle, then press down, making sure that you can still see the silver-grey edges.
- Allow bath bombs to set for a day, then unmold by gently pushing from one side until they release.
- Add the purple mica powder to the Epsom salts that you had set aside, and stir until the color is solid.
- Add a small spoonful of Epsom salts to the center of each bath bomb, making sure that you can still see the edges of the silver-grey and the white.
- Store upright in a flat container.