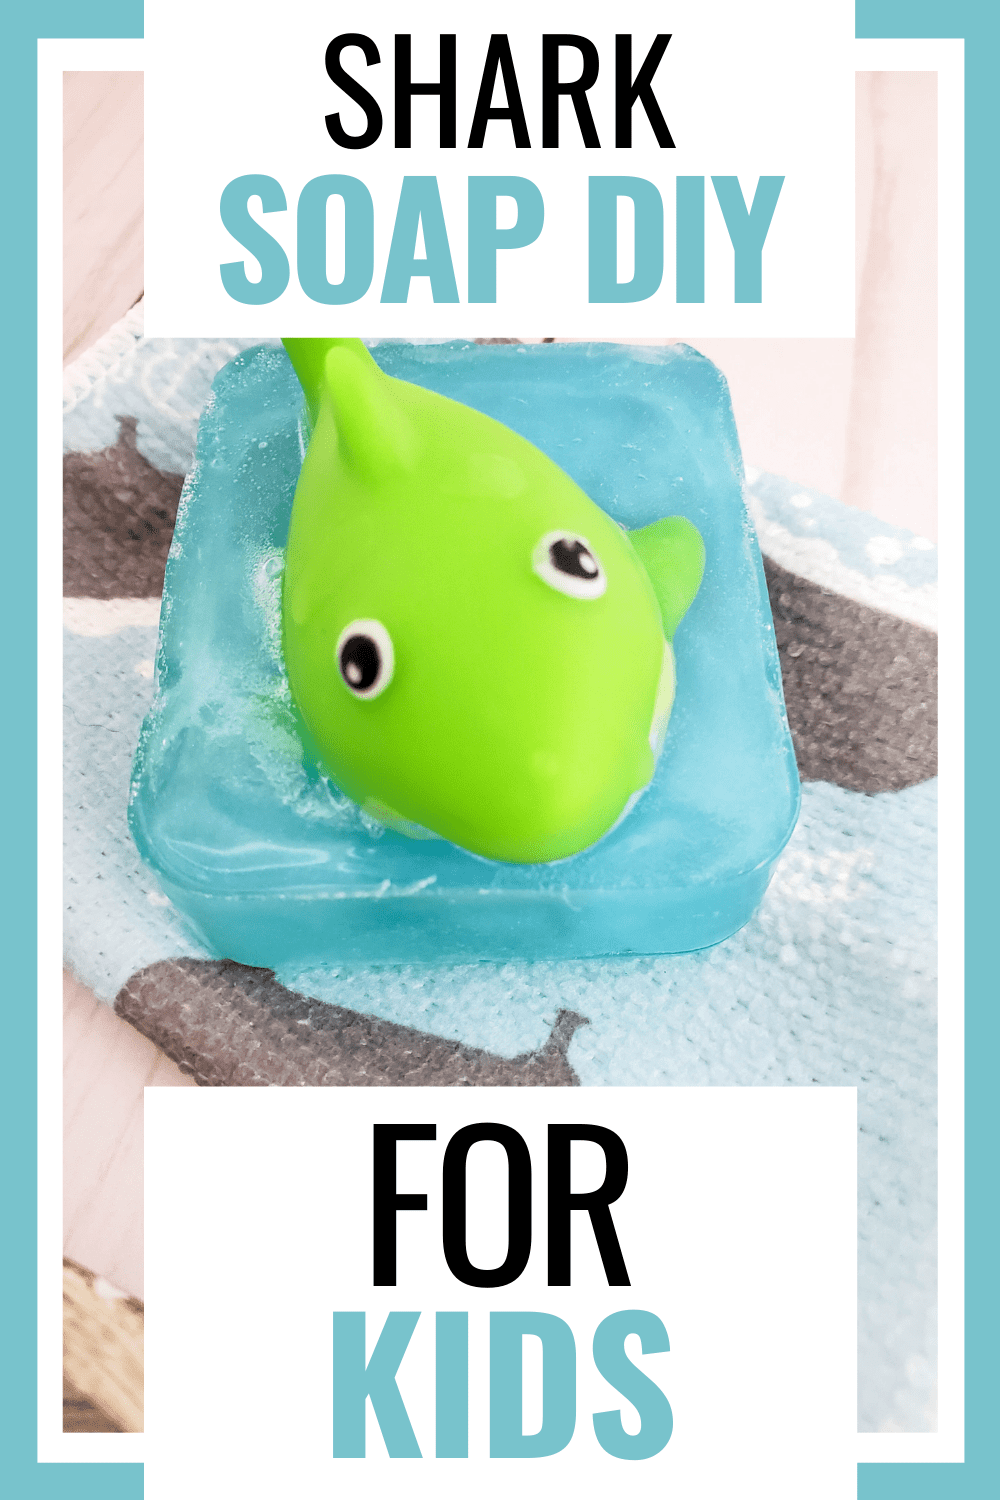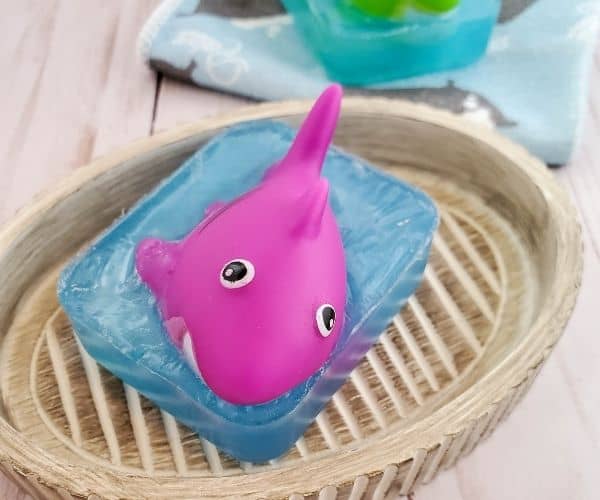
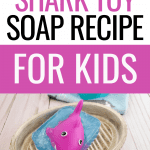
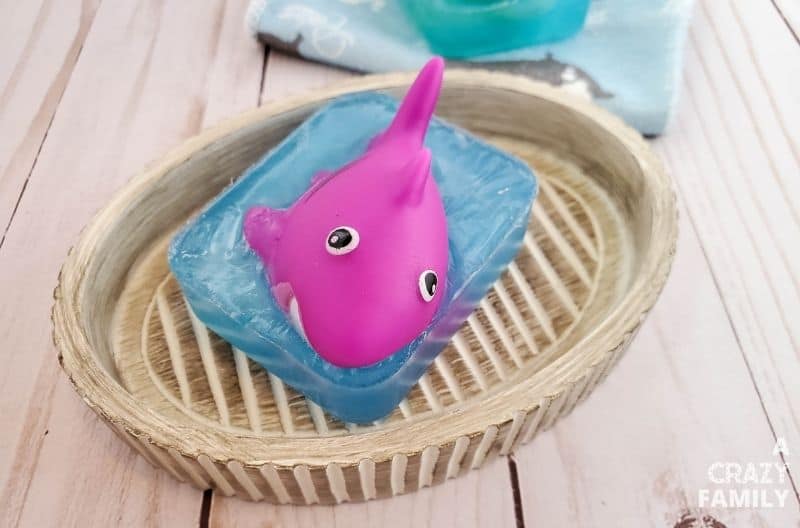
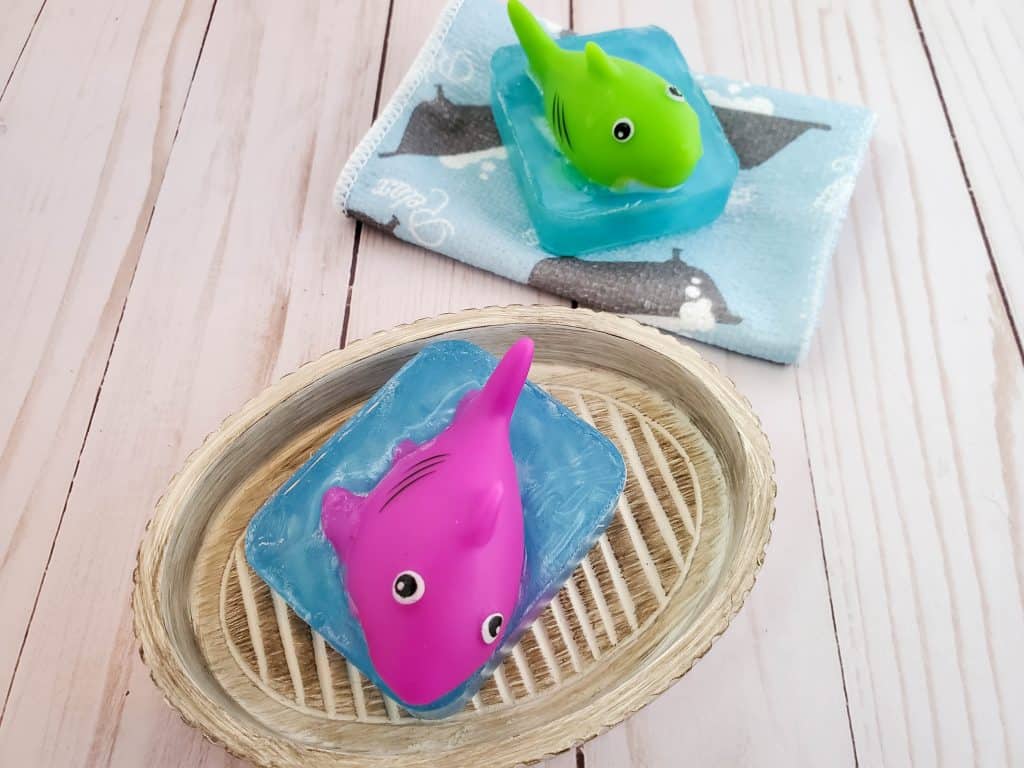
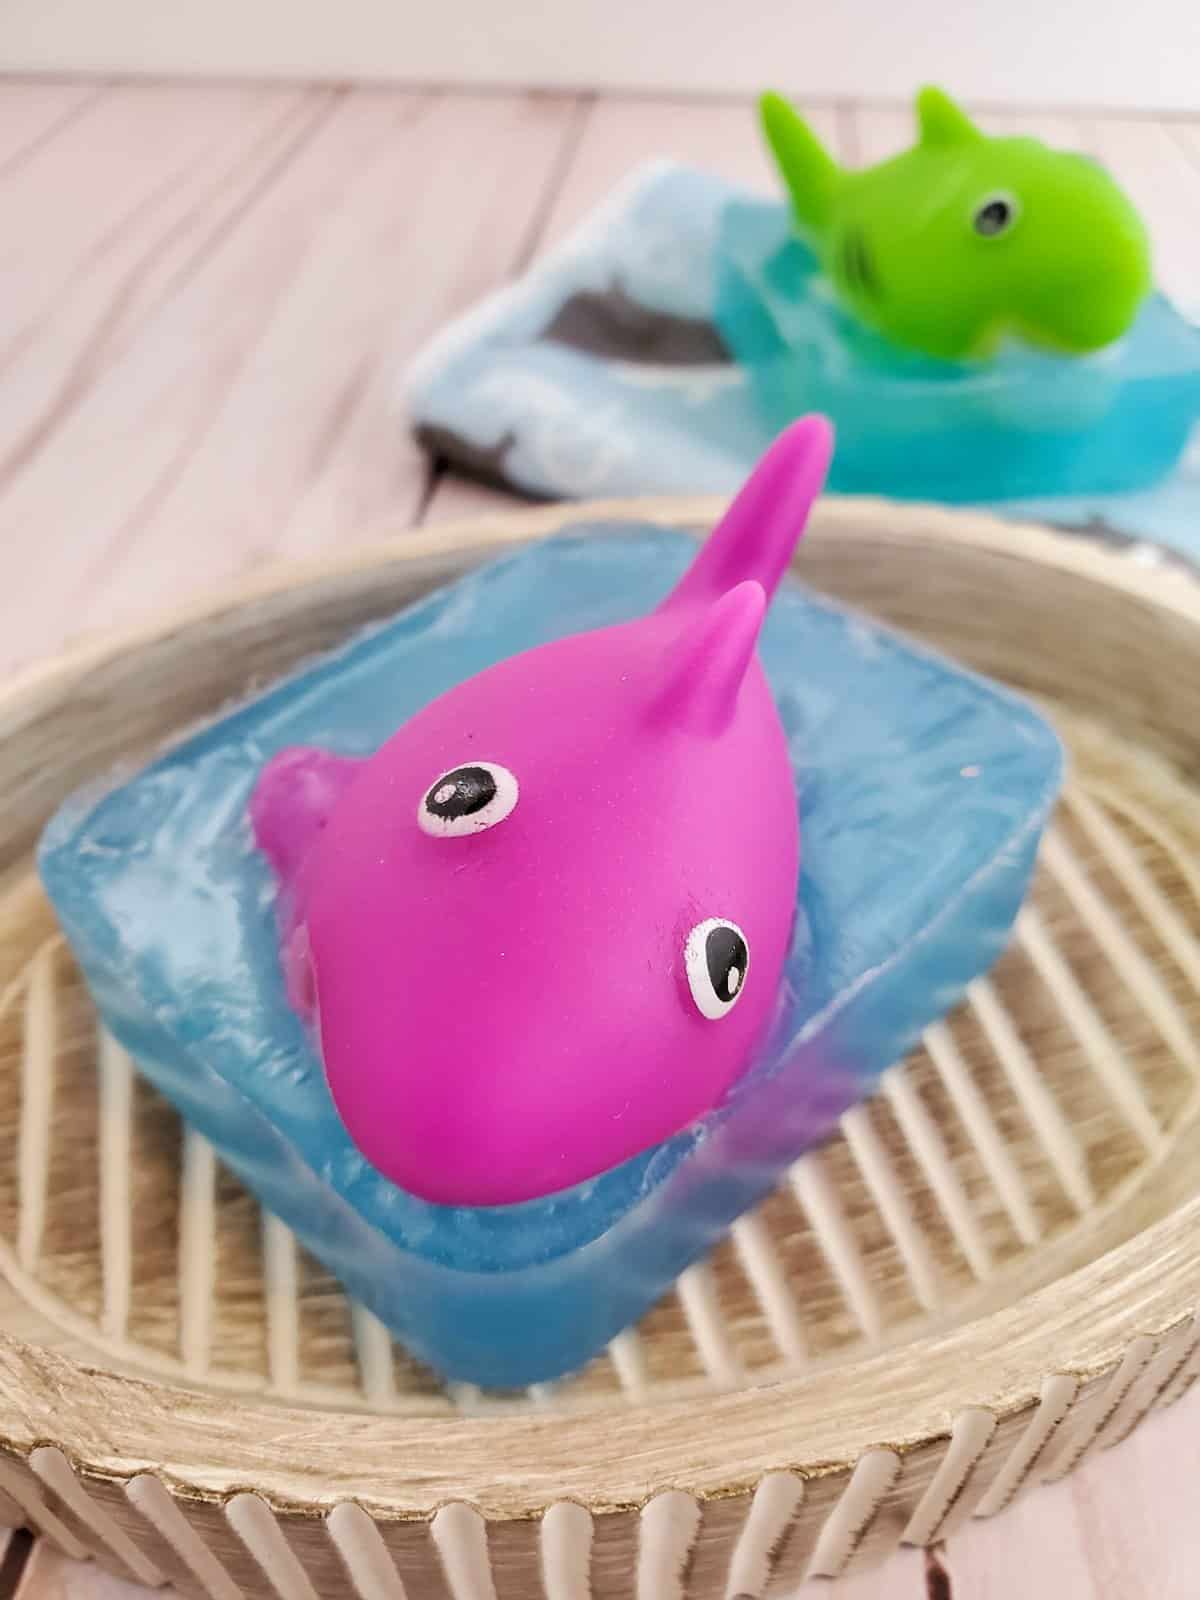
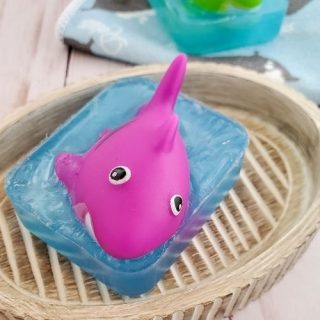
This adorable shark kids soap DIY will be a huge hit! Make them for your kids, and all the kids you know! After the soap is used, they will have a fun bath toy to enjoy.
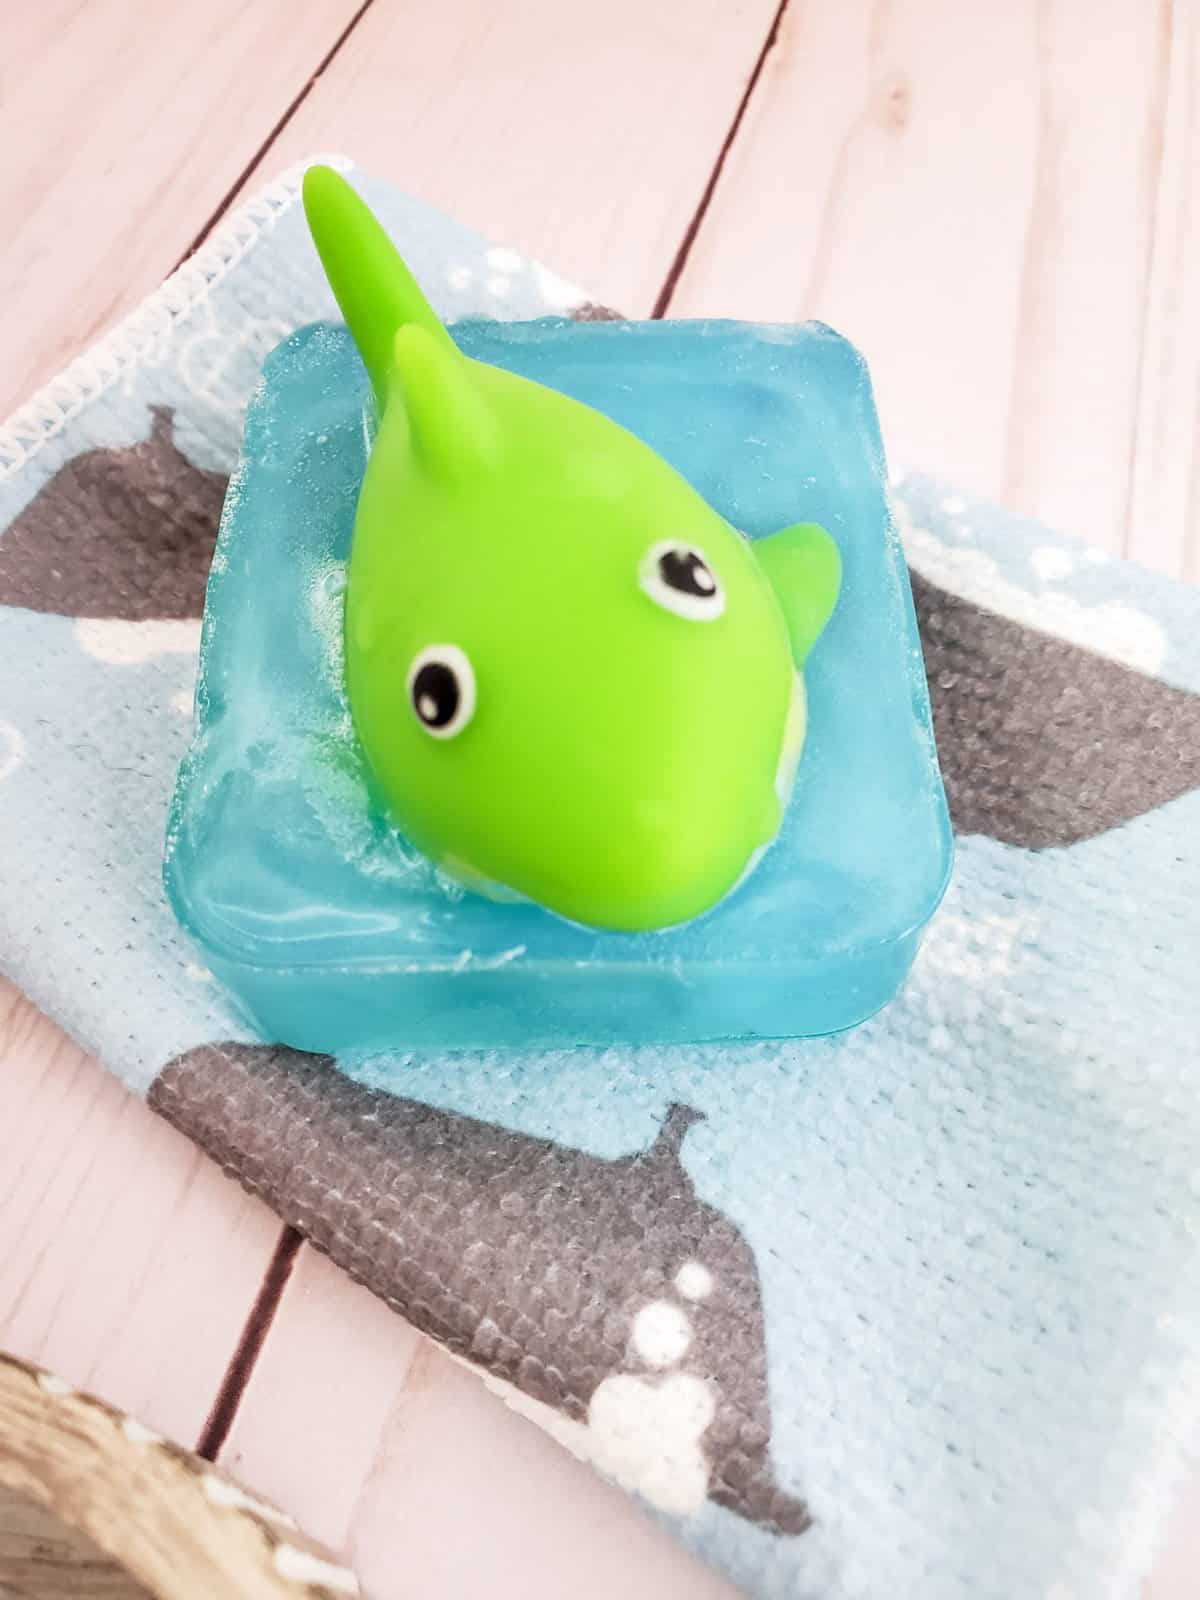
Kids will love bathing with these cute, homemade shark soaps! They are so easy to make and exciting for children of all ages. This DIY will provide endless fun and give your children something cool to enjoy once the soap has been used up.
This adorable Shark Kids Soap DIY will be a huge hit! Make them for your kids as well as friends’ children…
Now, let’s take a look at how easy these shark soaps are to make!
Easy DIY Baby Shark Soap Bars
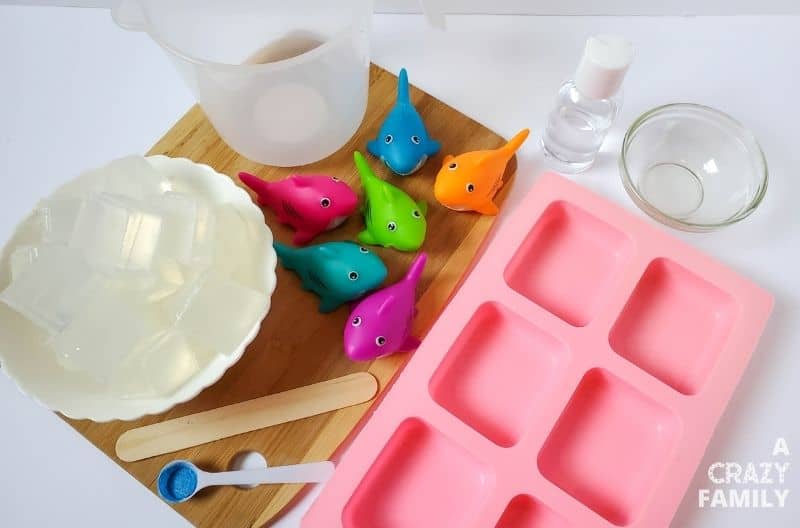
Supplies:
- 1 lb clear glycerin soap base
- ⅛ tsp bright blue mica powder
- 6 rubber shark bath squirters
- Rubbing alcohol
- Rectangle silicone mold
- 4-Cup Pyrex Glass Measuring Cup (or similar)
- Wooden craft stick
How to Make Shark Toy Soap Bars
Cut your soap into 1-inch cubes, and place it into the measuring cup.
Heat on high for 30 seconds, remove and stir well. Heat in additional 30-second intervals, stirring between each heat session until the soap is fully melted and there are no clumps.
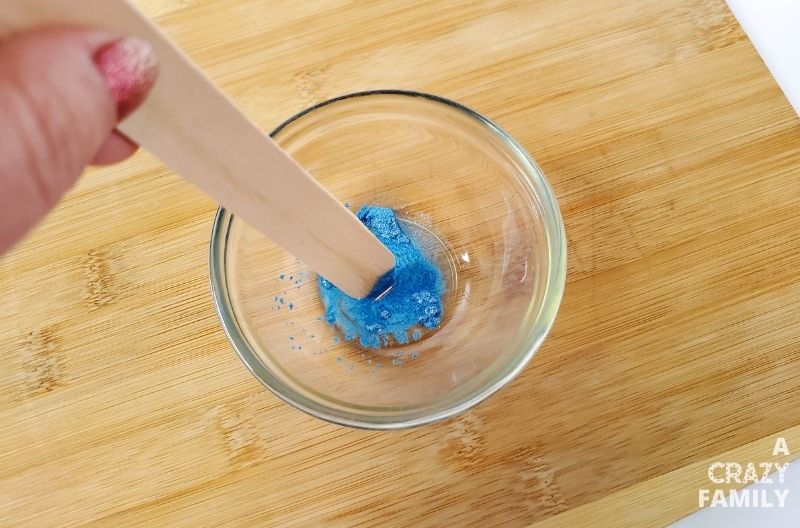
Add mica to a small dish and add just a little bit of rubbing alcohol to it. Stir until the color is combined.
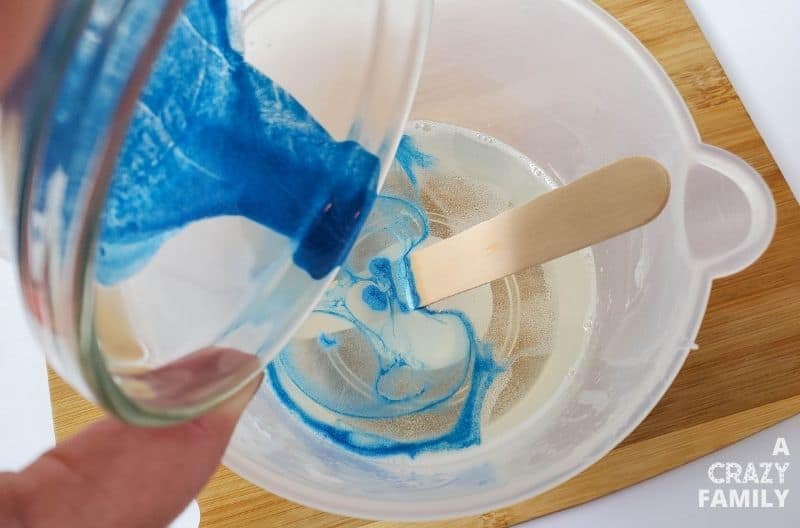
Add color to the soap base, and stir until the color is solid.
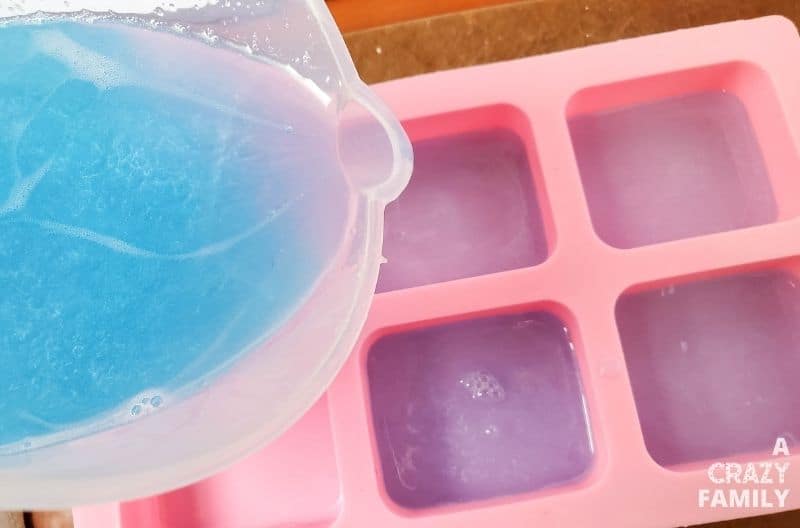
Pour a small amount of soap into each mold cavity.
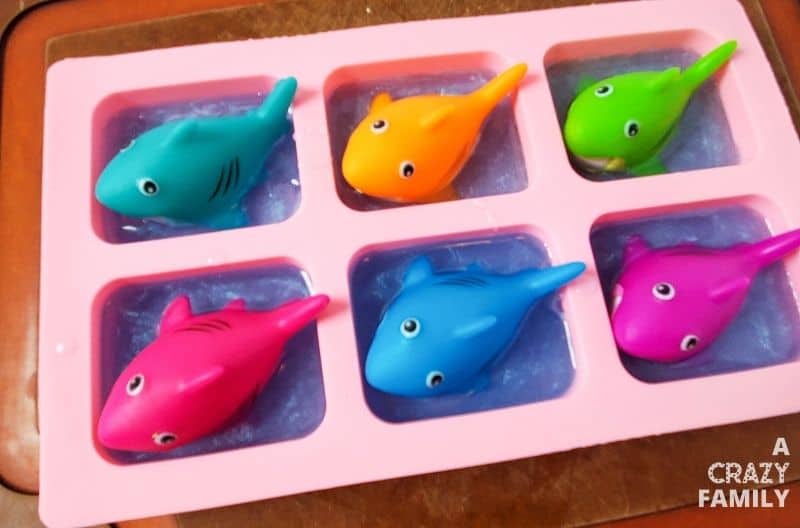
Place a shark into each mold cavity.
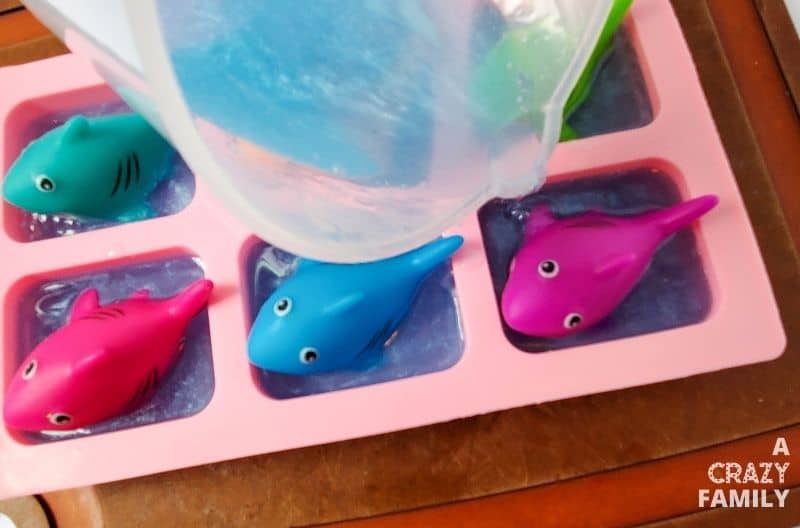
Fill the rest of each mold cavity with the remaining soap base. If you have bubbles, you may spray with rubbing alcohol.
Allow the soap to set for about 2 hours.
Tips & Tricks
- Make sure you have all of your supplies to hand in before starting this process. It is important to help you move to each step.
- If children are helping, then make sure they are supervised at all times. You will be dealing with a hot soap mixture, which can be dangerous if your children are left alone with it.
- Make sure you give the soap bars time to set. This will ensure that they form properly and will be able to be used.
- Don’t overheat the soap mix cubes. Always do 30-second intervals in the microwave and check each time.
Frequently Asked Questions
How long does homemade soap last?
Homemade soap can last up to three years if it is stored properly. The key to extending the shelf life of homemade soap is to keep it away from moisture, direct sunlight, and high temperatures.
How do I store homemade soap?
Homemade soap should be stored in a cool, dry place away from direct sunlight. It is best to store the soap in an airtight container to protect it from moisture. The soap should also be kept away from heat sources, as the high heat can melt and degrade the soap’s quality.
Do melt and pour soaps need to cure?
No, melt-and-pour soaps do not need to cure. Melt-and-pour soaps are ready to use when they are set. As opposed to cold-process or hot-process soaps, which require a curing time of several weeks before they are safe for use.
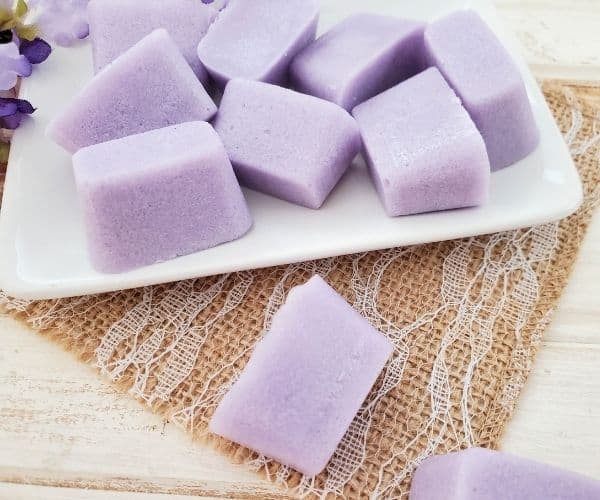
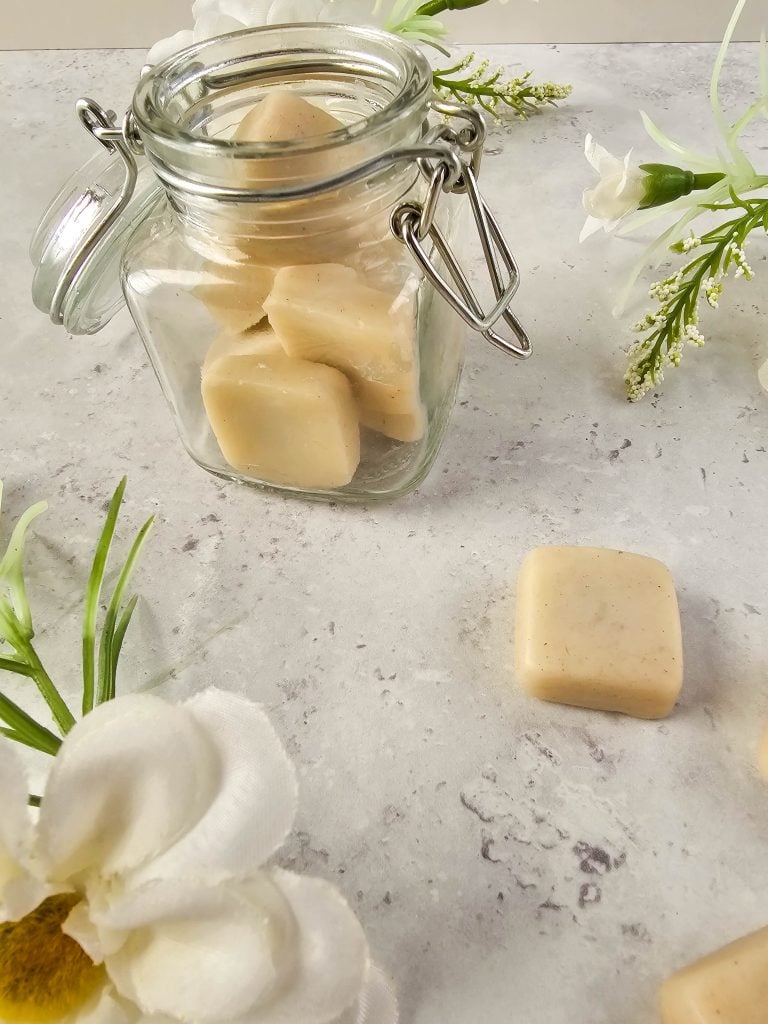
More Fun DIY Soaps:
I hope you enjoy these Easy DIY Baby Shark Soap Bars. If so, please leave a star ★★★★★ rating and a comment below! Follow along on Pinterest, Facebook, or Twitter for more fun crafts!
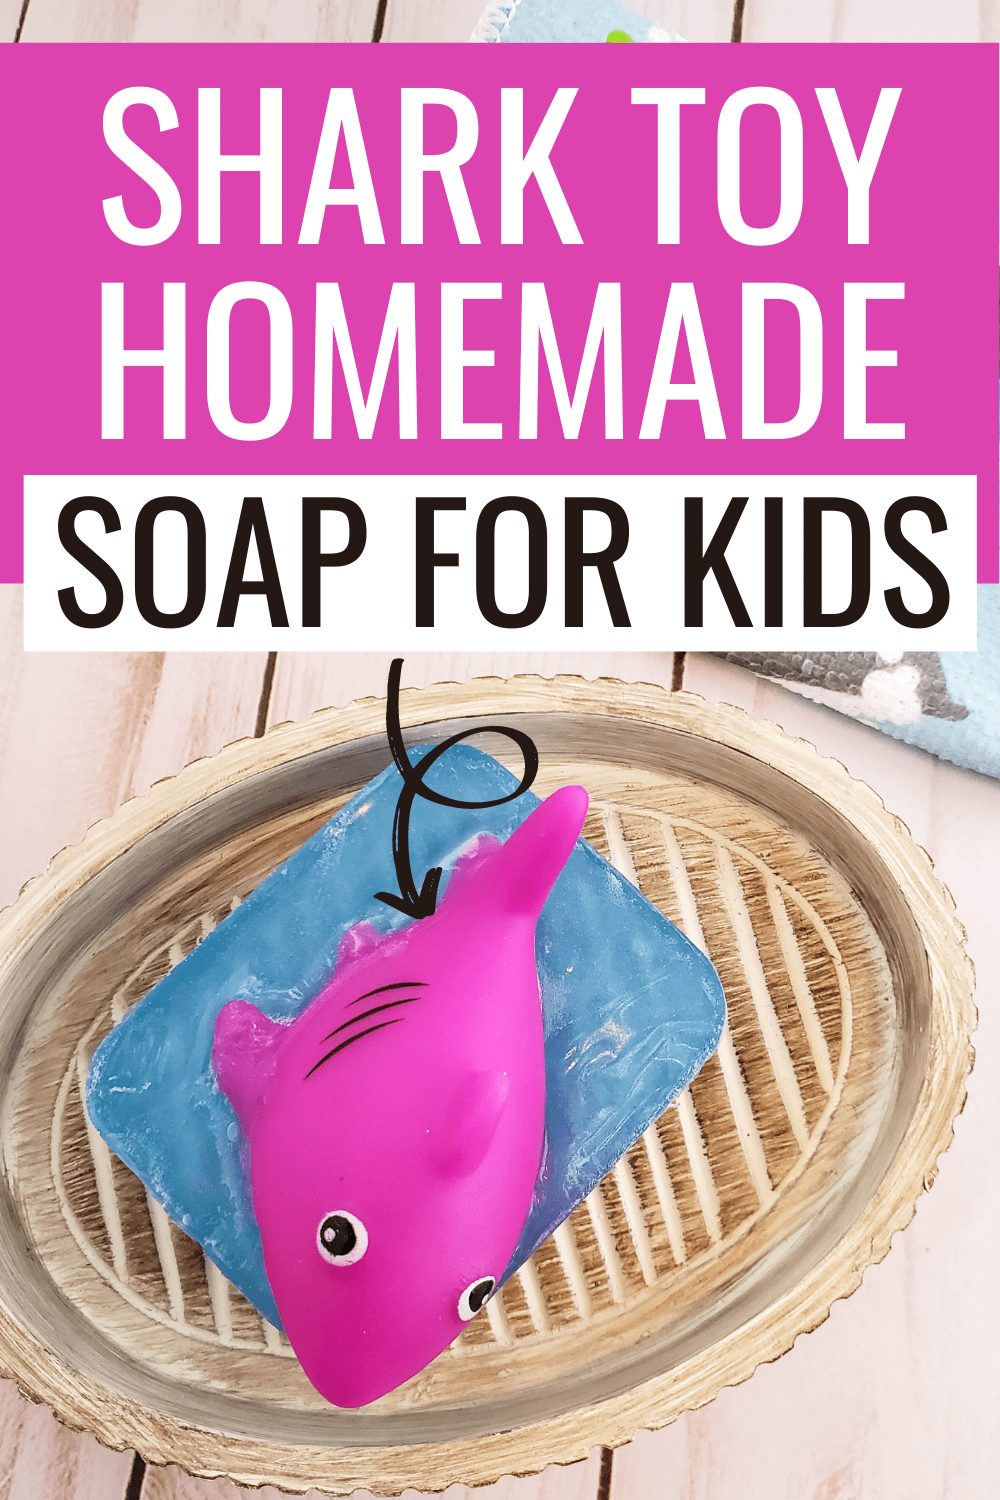
Easy DIY Shark Toy Soap For Kids
Supplies
- 1 lb clear glycerin soap base
- ⅛ tsp bright blue mica powder
- Rectangle silicone mold
- 6 rubber shark bath squirters
- Microwave safe 4 cup measuring cup with spout
- Wooden craft stick
- Rubbing alcohol
Instructions
- Cut your soap into 1-inch cubes, and place it into the measuring cup.
- Heat on high for 30 seconds, remove and stir well. Heat in additional 30-second intervals, stirring between each heat session until soap is fully melted, and there are no clumps.
- Add mica to a small dish and add just a little bit of rubbing alcohol to it. Stir until color is combined.
- Add color to the soap base, stir until the color is solid.
- Pour a small amount of soap into each mold cavity.
- Place a shark into each mold cavity.
- Fill the rest of each mold cavity with the remaining soap base.
- If you have bubbles, you may spray with rubbing alcohol.
- Allow soap to set for about 2 hours.
Pin it for later!