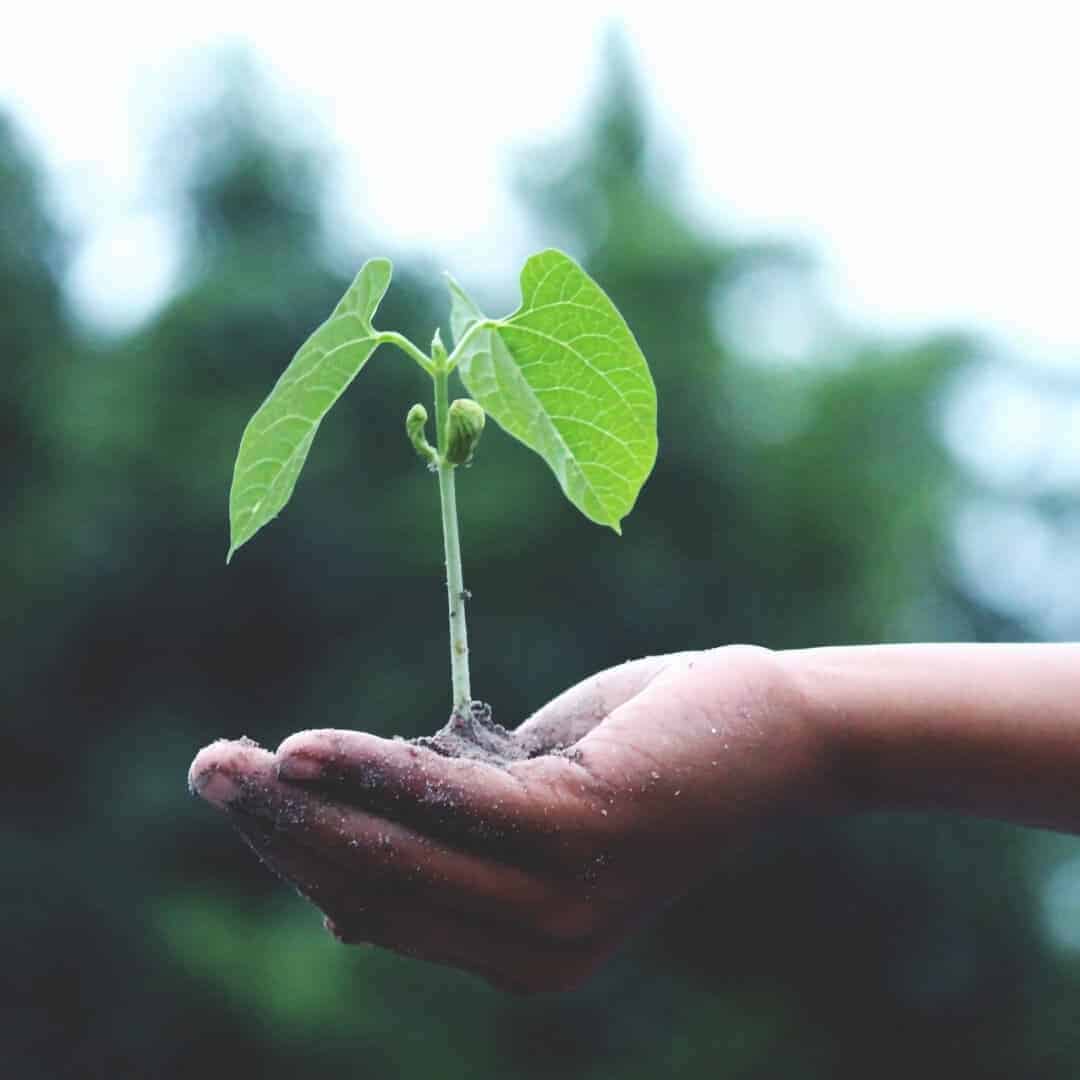
Are you starting on a new journey? It may not be your first time planting a seed, but I bet it’s still an exciting activity to do. The thought of your efforts manifesting into something both tangible and beautiful is appealing. However, what’s not exciting is if you fail to nurture the seed and it either doesn’t grow or dies.
Don’t fret too much, though. It happens to even the savviest gardeners. With that in mind, here are three things to do before planting your first seed to achieve optimal results.
Preparing for the seed’s future
If it’s your first time, know that it isn’t too difficult to find cheap garden plants and seeds. There’s no need to break the bank, and you can still end up with some interesting plants to grow.
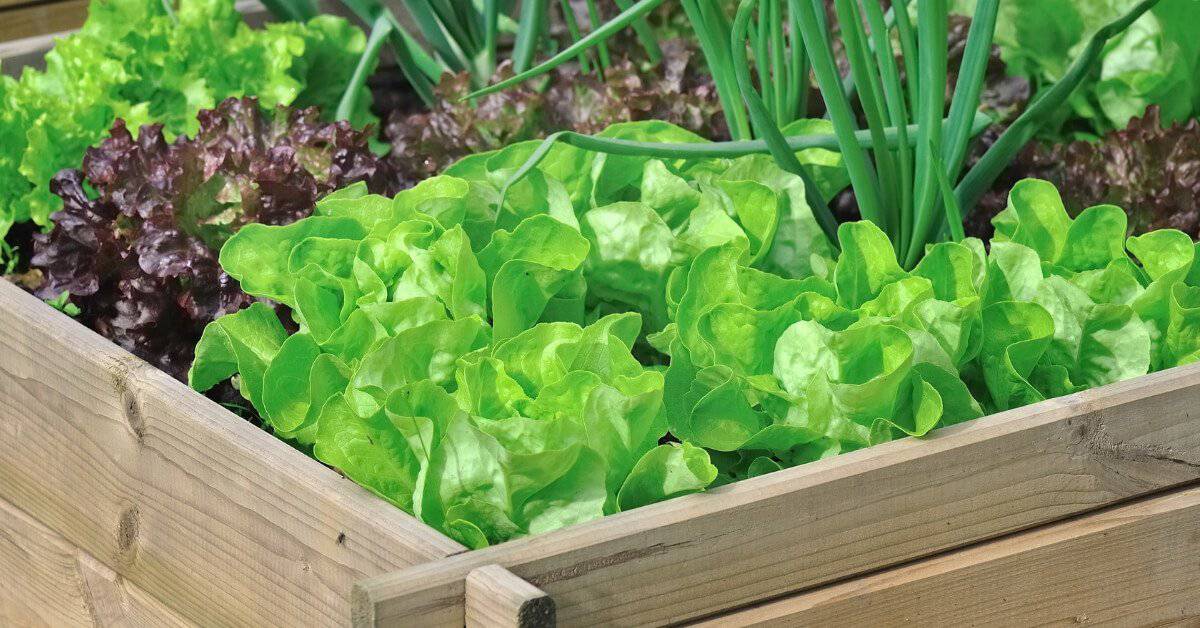
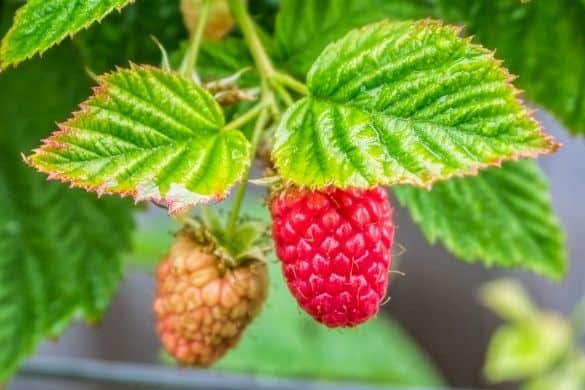
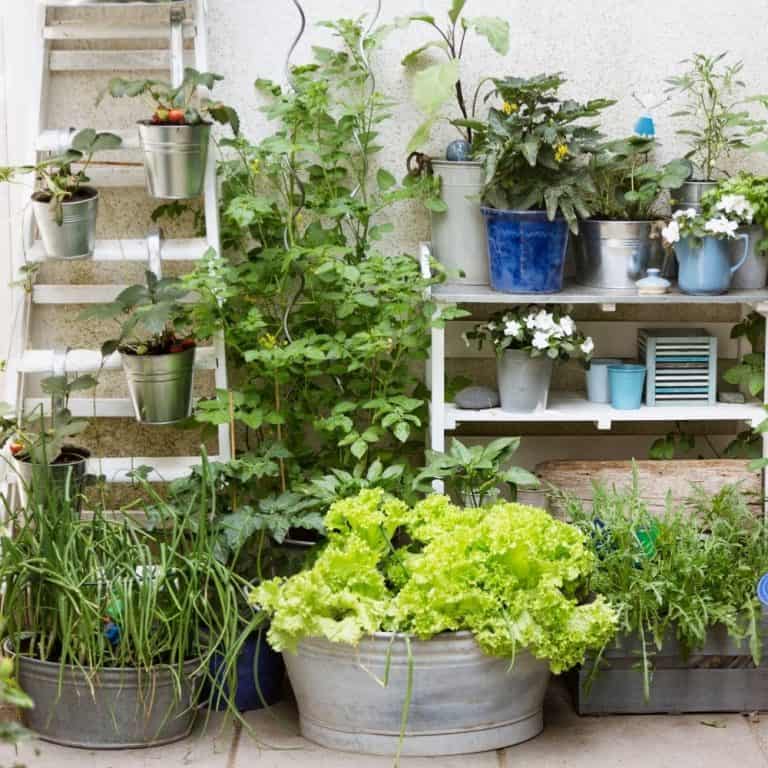
However, before you begin any sort of preparation, you must have a clear vision on two things: what kind of seed do you want to plant and where will it be placed. Whether you want to grow strawberries in containers or maybe onions and lettuces, know that there are different things to prepare for depending on your decision.
1. Have A Tray Or Pot Ready
You’ll need to acquire a seed starting tray from a gardening store or use any small container that has drainage holes.
However, if you choose to recycle a random container in your home, make sure to clean it first. You can do this by bathing it in a 9 parts hot water and 1 part bleach solution. When it has dried out, all harmful microorganisms that would have been hazardous to the seed should be gone.
2. Soil Preparation: Purchase Or Use Your Own Soil (Seed-starting Mix)
For the starting mix, you may make your own or purchase from a local store.
Soil preparation is essential for healthier crops or plants. First, select the area in which you will be planting the seed. Clean that area up by removing any rubbish and large rocks, stones, or rubble.
Next, work hard on adding compost or enriched topsoil. Doing this step properly might just be the most vital factor in growing your seeds as best as possible.
After which you should add organic fertilizer, maybe some bone meal or superphosphate. Now that the ingredients to healthy soil are in place use your rake to mix it around. Once that is done, all that is left to do is to even out the surface.
If you’ve heard of the lasagna gardening method, it is also an excellent alternative to preparing your soil.
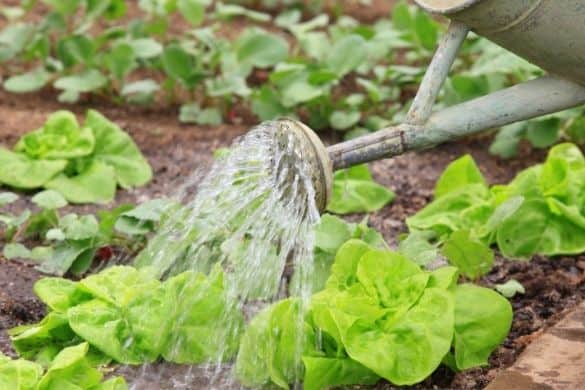
These tips are even more vital if you are planting cucumbers, sunflowers, lettuce, and melons because they thrive better outdoors — where their roots wouldn’t be disturbed from uprooting.
If you decide to make your own seed starting mix, just mix vermiculite, coir (or peat moss), and perlite in equal amounts. This is a light mix; thus, the seeds won’t be susceptible to rot because it drains fast and it is easy for the seed to sprout to the surface.
If you choose to use peat moss rather than coir, it is highly advised to add in hot water to help the substances mesh together better. Also, since peat moss is acidic, balance out the soil pH with something that is alkaline like lime.
3. Test your soil’s pH level
Different plants prefer different pH levels. The pH level, or the potential of hydrogen, is just a measurement of how acidic or alkaline a solution is. In your case, the soil. When deciding what to plant, knowing the pH level of your soil is very helpful.
As a rough guide, a pH level of 6.5 and below means that the soil is acidic, 7 is neutral, and 7.5-onwards means that the soil alkaline.
To test your soil’s pH level, you may either use a soil testing kit or go the D.I.Y. route. You can purchase a kit from your local gardening store. Simply follow the instructions of the kit, it should be straightforward. Normally, you would only need to acquire the tester, go to the area you want to test, and then you take a reading.
If you want to go the do-it-yourself route, you will need a few things. Acquire apple cider or distilled white vinegar, baking soda, a trowel, a sturdy spoon for mixing or any viable substitute, two bowls or jars, and distilled water.
First, use your trowel or any viable substitute to get a big chunk of the soil and put a piece in each of the two containers. Pour the household vinegar you have inside one of the containers. If it fizzes, that means your soil is alkaline.
If not, pour water and baking soda into the other container. With a spoon, mix up the container. If you observe any fizzing, that means that your soil is acidic.
If no fizzing occurred after both experiments, that means your soil is neutral or pH level 7.
Finish up
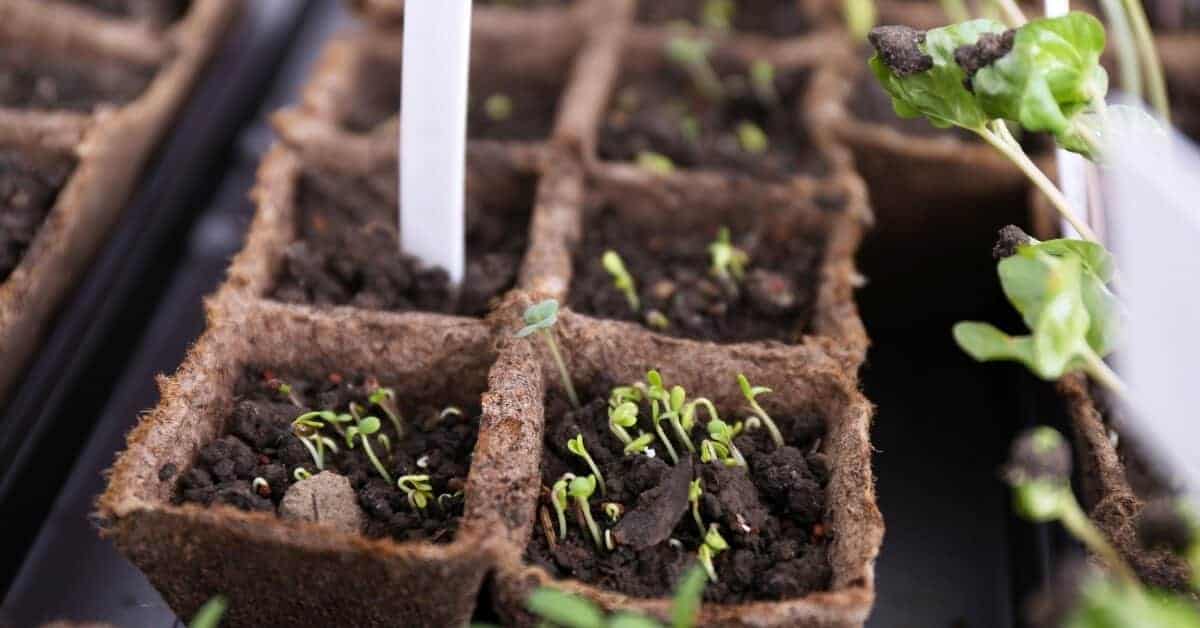
Plant your seeds and cover it with plastic or a glass sheet.
Now that the preparations are done, it is finally time to plant the seeds. Here is a short guide that is helpful to remember:
- Separate pots or plug trays: Plant two small seeds or one large seed of the same kind in each container.
- Using a shared container and only one variety of the seed: Scatter the seeds evenly across the entire container. It helps to imagine a grid layout.
- Using a shared container but with multiple varieties: Outline shallow rows 2–5 centimeters apart with a ruler or any viable substitute. Drop seeds of varying kinds into separate rows. After which, it helps to label each row however you like.
It is a good rule of thumb to remember that you should bury the seed only as deep as twice its diameter. Also, although milled sphagnum moss and dry vermiculite is a great option for covering the seeds, dry seed starting mix works just as fine as well.
Seeds are highly vulnerable to almost anything. Thus, eliminating any potential dangers is the best route to go. Since a lack of moisture is terrible for the seed, cover your container with at least one layer of plastic or a sheet of glass. This should aid in the germination process by keeping the moisture in. An excellent alternative to plastic is to grow your seedlings inside an old, unused aquarium.
Good luck and happy gardening!
If you found these gardening tips helpful, please share them on Pinterest!
WHAT’S NEXT?
You may also enjoy these vegetable growing tips & ideas on A Crazy Family –