This easy Dollar Tree Christmas sign is a fun way to create an easy holiday craft without spending a ton of money.
Making your own holiday decorations is a fun way to add some personalized style to your home and save a little money. And when you can find supplies for your holiday crafts at Dollar Tree, you’ll save even more money on your Christmas decorations!
With the help of your Cricut, you can easily transform boring Dollar Tree Christmas decorations into stylish décor to add to your home.

Supplies for a DIY Christmas Sign
To put this easy craft together, you’ll need a few simple craft supplies, including:
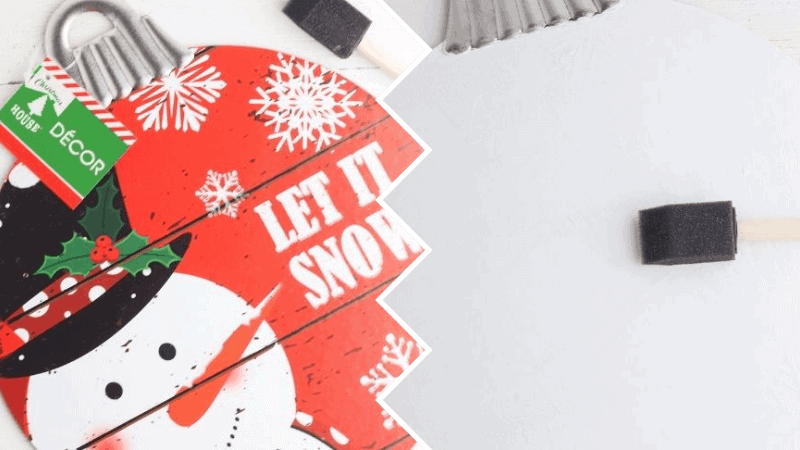
- Dollar Tree sign: This cute ornament-shaped sign makes a great canvas for a DIY Christmas sign. Just ignore the design on the front of the sign, because it can easily be covered with paint.
- Paint: To cover the design on the front of the sign, you’ll need plenty of paint. I used classic white paint to decorate my holiday sign, but any color would work well for this easy craft.
- Vinyl: Add a holiday phrase to the front of your sign with the help of vinyl. For my Christmas sign, I used red vinyl. The color you pick will depend on the color you decide to paint your sign.
- Cutting machine: To create the design for the front of your sign, you’ll need a cutting machine. You can use a Cricut or Silhouette to make this easy sign at home.
- Ribbon: Decorate the top of your sign with ribbon to add a holiday touch to your Dollar Tree sign. The plaid ribbon I used to decorate my sign was purchased at Dollar Tree, too.
How to Paint a Dollar Tree Sign
Before you can start making the design for your Christmas sign, you’ll need to cover up the print on the front of your Dollar Tree sign. Luckily, that’s as simple as brushing a few coats of paint over the top.
I have found that using chalk paint on these types of crafts is a good idea. The matte finish of chalk paint allows it to grip the smooth surface of the Dollar Tree sign, so you won’t see streaks or brush strokes after the paint has dried.
Give you sign several coats of paint until you can no longer see the design on the front of the sign, then allow the paint to dry completely.
Making sure your paint is completely dry is essential. When you transfer your vinyl design to the front of the sign, you’ll risk peeling the paint off the sign if it isn’t completely dry.
DIY Cricut Christmas Sign
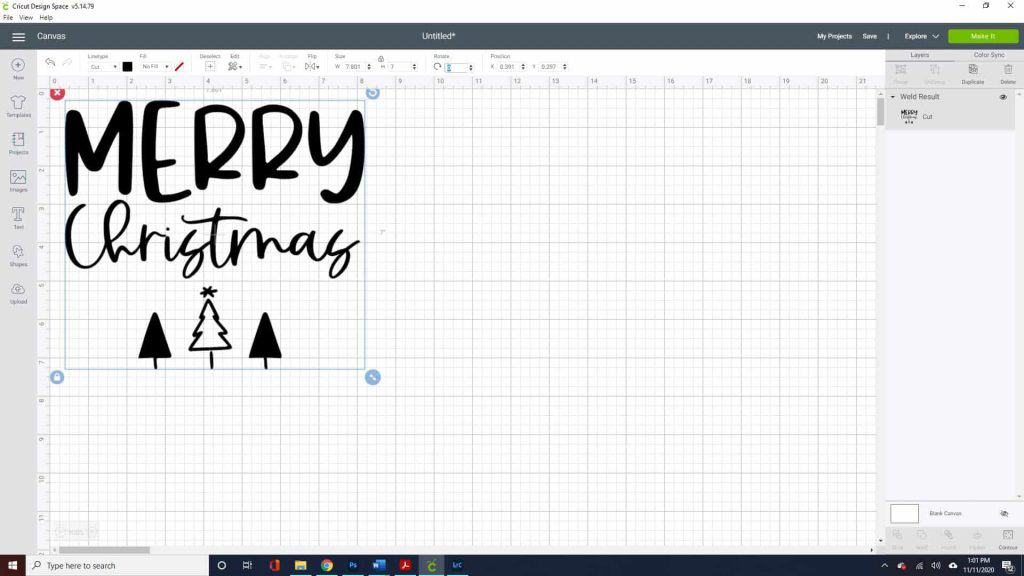
Once you have your sign ready to go, you can add a fun design to the front. Download my free SVG file to create a cute Merry Christmas sign to decorate your home this holiday season.

After you have downloaded the file, upload the SVG into Design Space to get it ready for cutting.
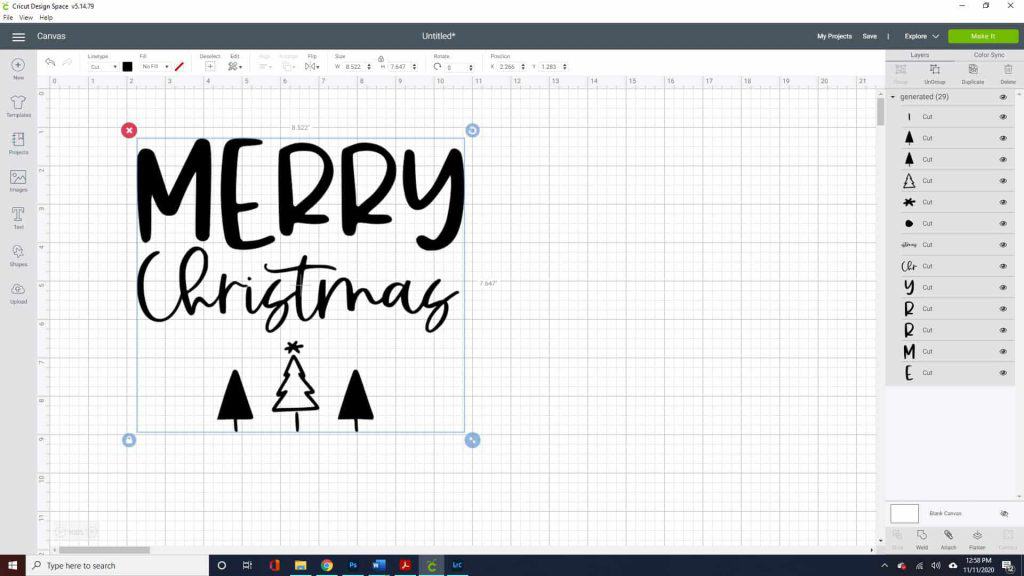
When you have your SVG file uploaded, you’ll notice that all the elements are separate components, including all the letters of each word. To be able to easily resize the sign without messing up the placement of each letter, it’s a good idea to group and weld the entire design together.
Start by selecting all the elements of the design with your mouse, then choose to group the elements together at the top of the right-hand menu. Next, select the weld option at the bottom of the right-hand menu.
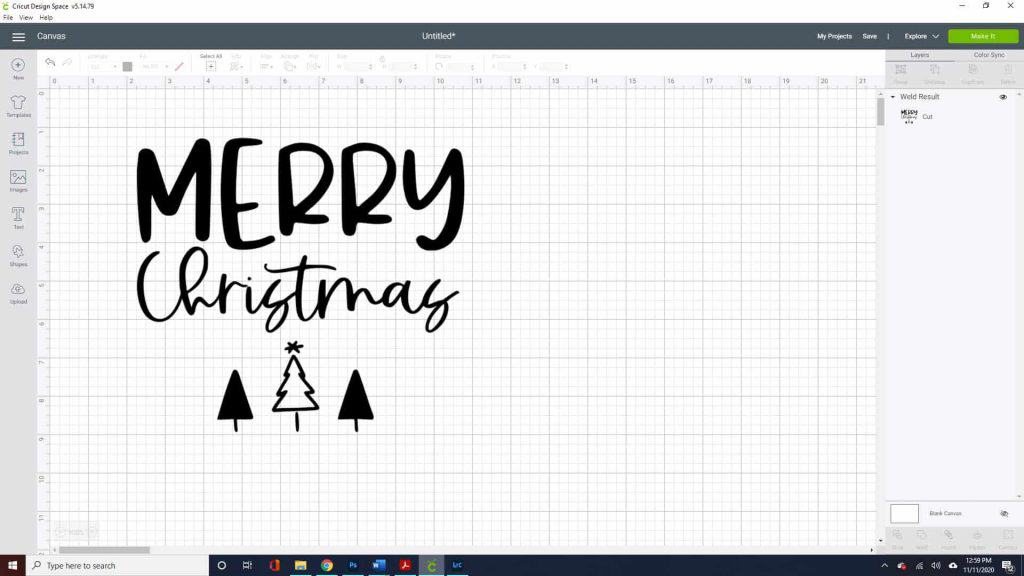
Now that all the sign design elements are grouped together, you can easily move and resize the design without worrying about selecting all the pieces every time you want to make an edit.
Select the design and resize it to fit on your sign.
If you’re using this ornament sign from Dollar Tree, I suggest resizing the design to be seven inches tall to fit perfectly in the center of the sign.
Once the design has been resized, it’s ready to cut. Hit the Make It button in the upper right-hand corner to send your design to your Cricut. Make sure to select vinyl from the menu or set the dial on your machine to vinyl before you start cutting.
Load your vinyl onto your Cricut cutting mat and send the design to the Cricut to cut.
When the machine has finished cutting, unload the mat and start weeding out all the extra vinyl from around the design.
After the vinyl is ready, use transfer tape to move the vinyl from the paper backing onto your Christmas sign.
Make sure the design is centered on the sign, then use a flat object, like a credit card, to press the vinyl onto the front of the sign.
When the vinyl is nicely stuck to the front of the sign, carefully remove the transfer tape to reveal your Christmas sign design.
With the vinyl added to the front of your sign, the only thing left to do is decorate it with a bow.
Tie a bow using some holiday-themed ribbon, then add a small amount of hot glue to the top of the sign. Press the bow into place and hold it unit the glue sets.


Snow Globe Ornaments
Supplies
- Empty snow globe ornament from Dollar Tree
- Cotton balls
- Mini trees
- Glitter snowflakes
- Burlap
- Jute twine
- Hot glue gun
Instructions
- Remove lid from snow glob
ornament. - Glue cotton ball to inside
bottom of the lid. Glue three trees around the snow. - Pour a small amount of glitter
snow flakes inside the top of the snow globe ornament. - When the glue is dry, carefully
place the lid on the snow globe ornament. - Cut two small squares from the
burlap. Glue the burlap squares to the bottom of the ornament. Tie a piece of
jute twine around the burlap to secure it in place and finish with a bow. - Tie another piece of twine on
the top of the ornament to hang it from the Christmas tree.
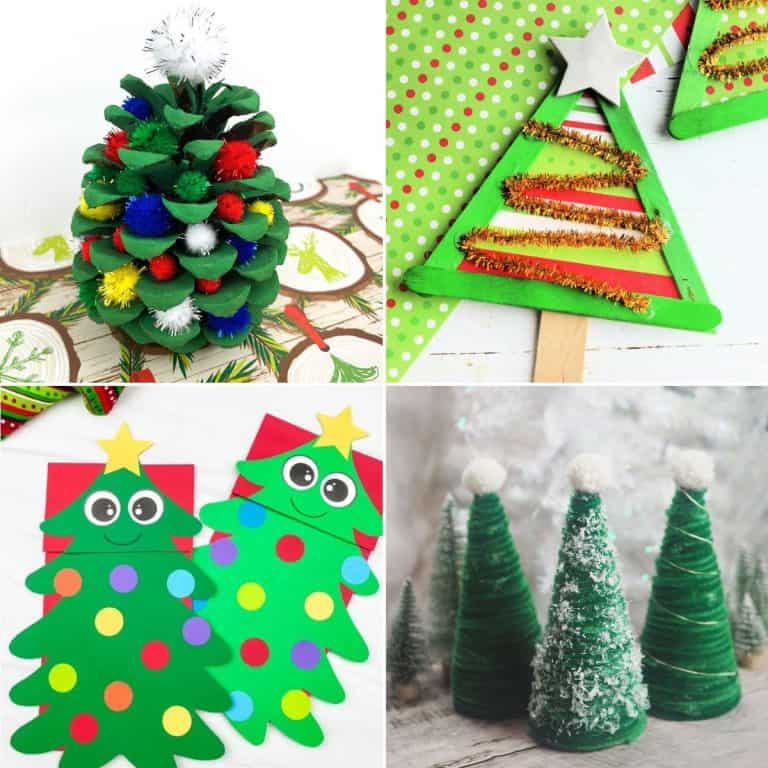
More Christmas Inspiration…
- For more fantastic holiday recipe ideas, check out these 27 Festive and Delicious Christmas Party Food Your Guests Will Love.
- And, for your children’s letter to Santa, why not use our FREE Letter to Santa Printable.
Pin for Later: